Mark's Art Resource takes on projects of all sorts of forms. Whether it's a mural, or a logo, or some sort of branding or signage, or even just a fun print to gift to a friend and/or loved one. Mark specializes in oil paintings and acrylic murals, but loves to do marker panels as well. As noted on the home page, Mark prefers to work murals at an hourly rate with materials covered, but like all projects, we're willing to negotiate. A key understanding that all customers must have is that we are humans that work full time. Give us a deadline and we'll get it done by then, but you need to be patient as we have lives too! Please feel free to reach out to us via email to acquire about getting a project knocked out. Our availability depends on several factors - most importantly, if travel is required, we would need to negotiate lodging expenses. All projects can be currently worked on in the local Martinsburg, WV area.
Check out our Completed Projects!
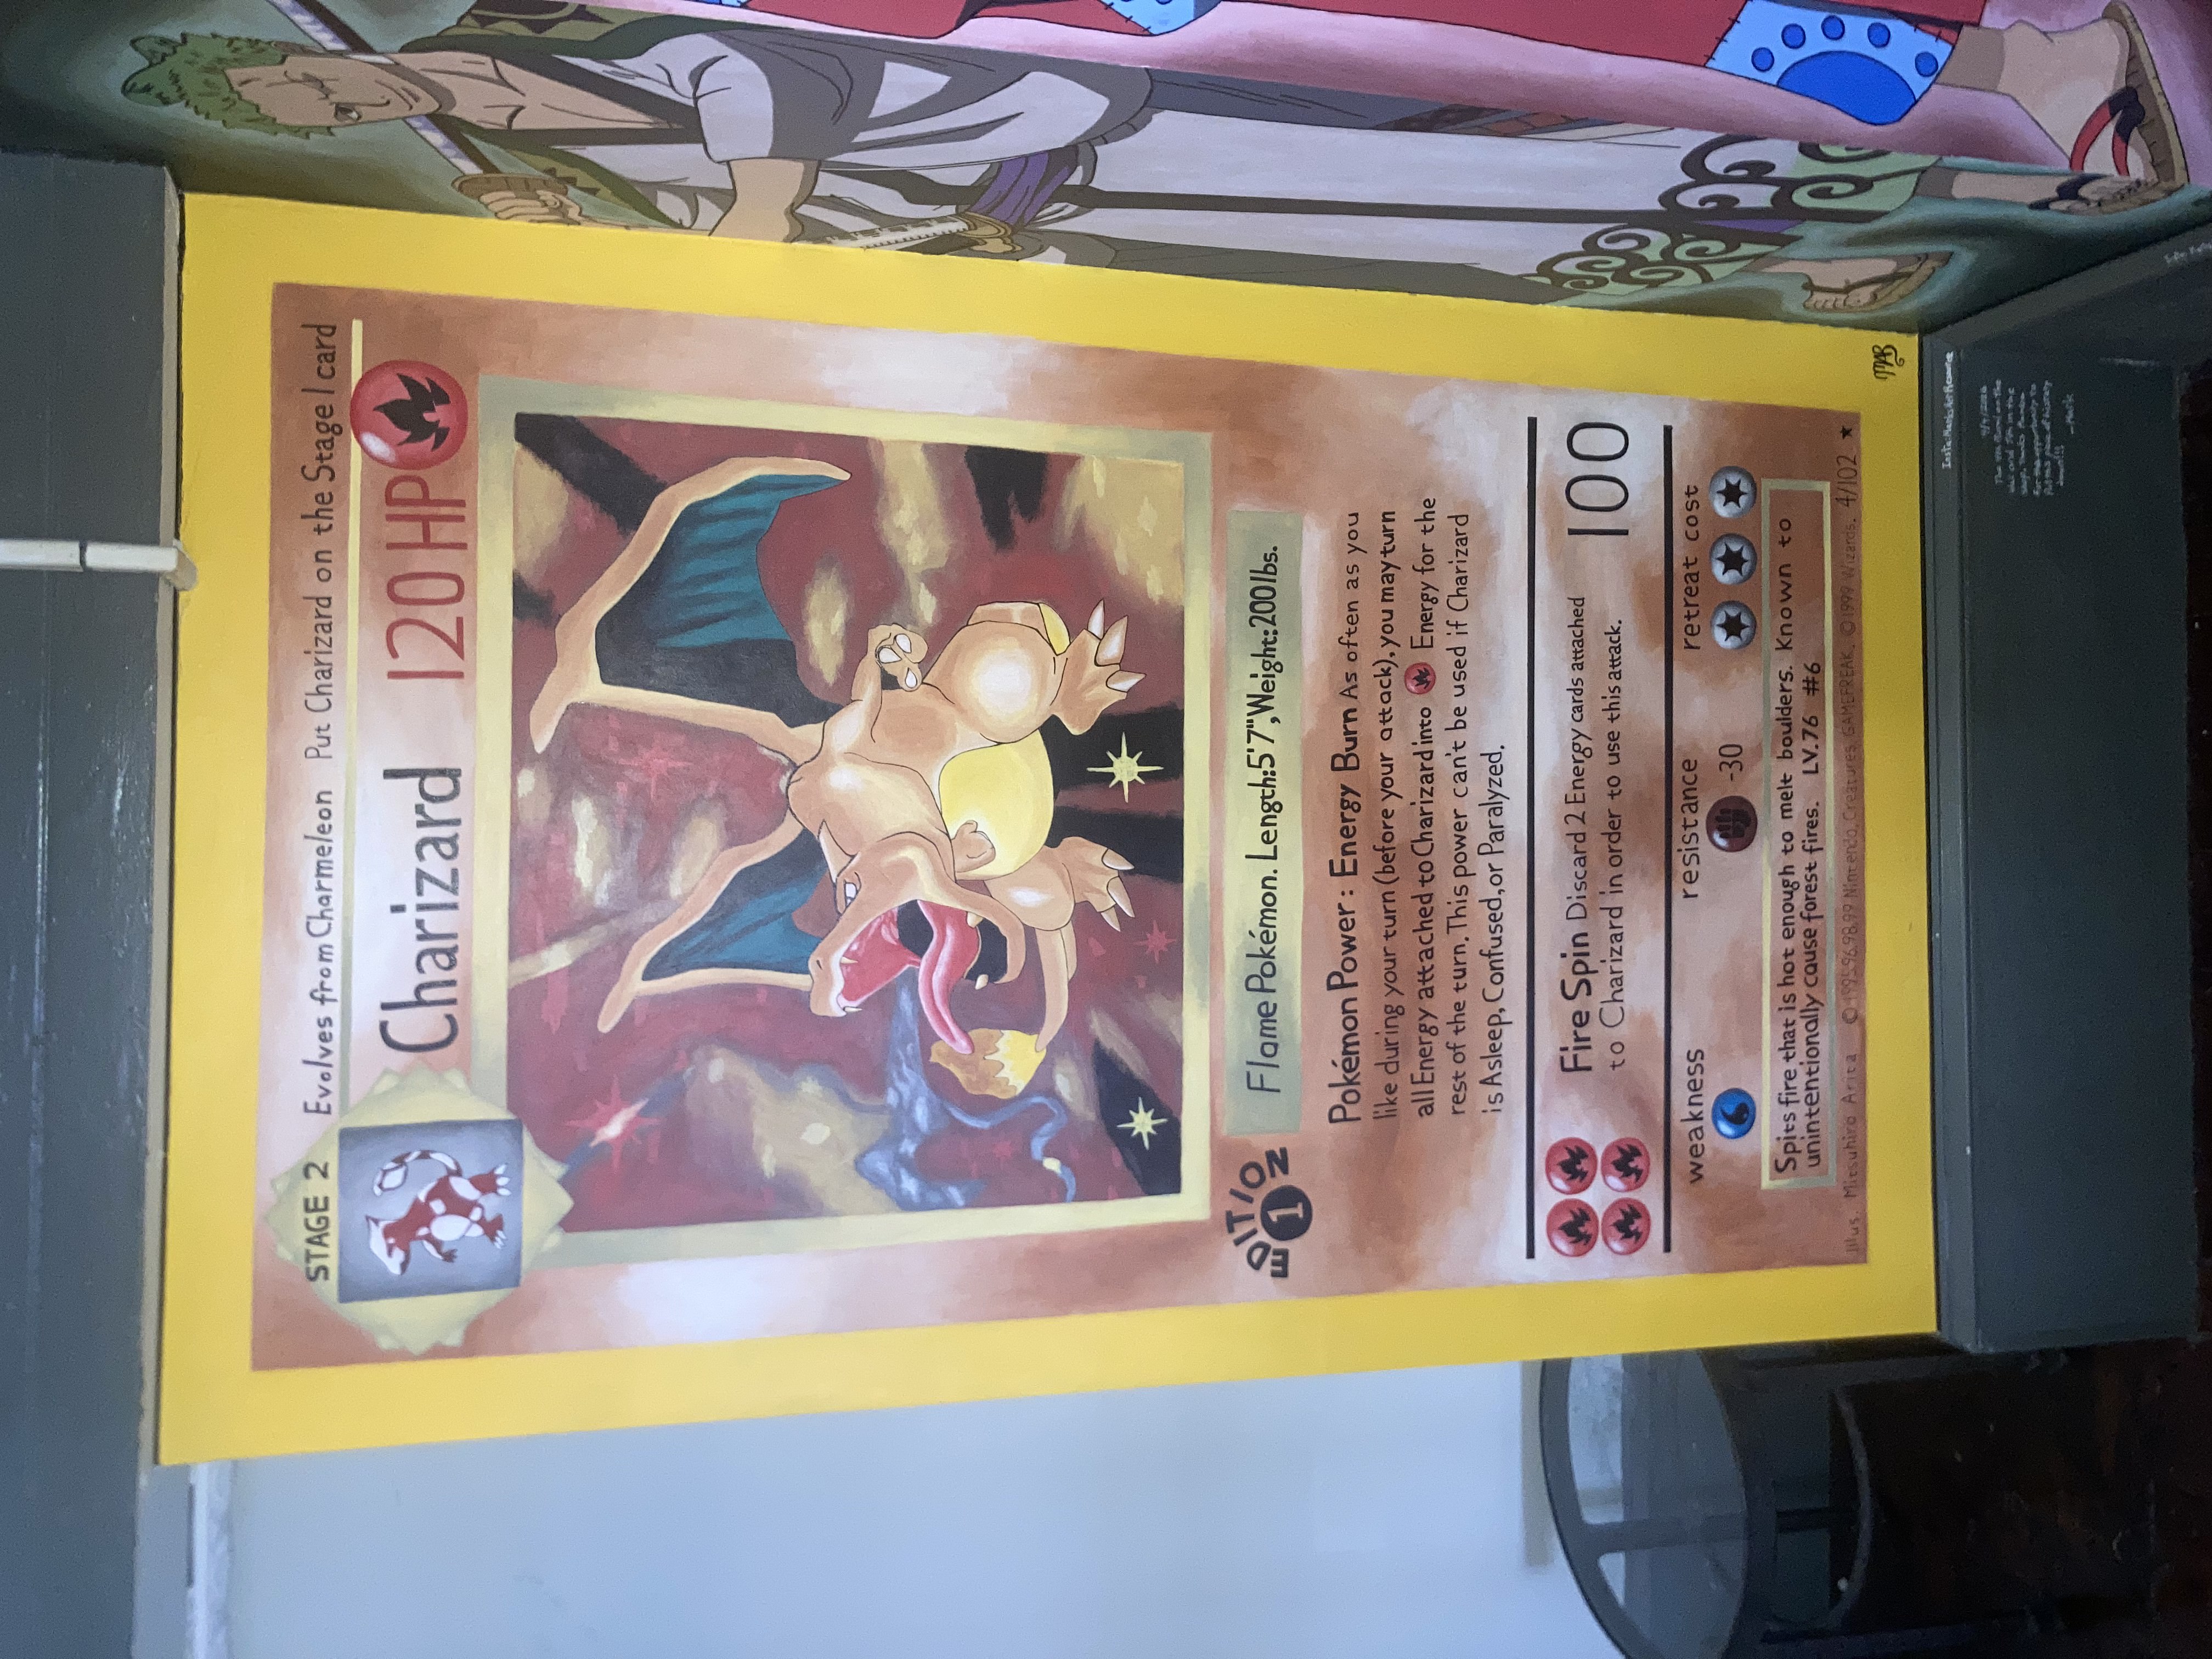
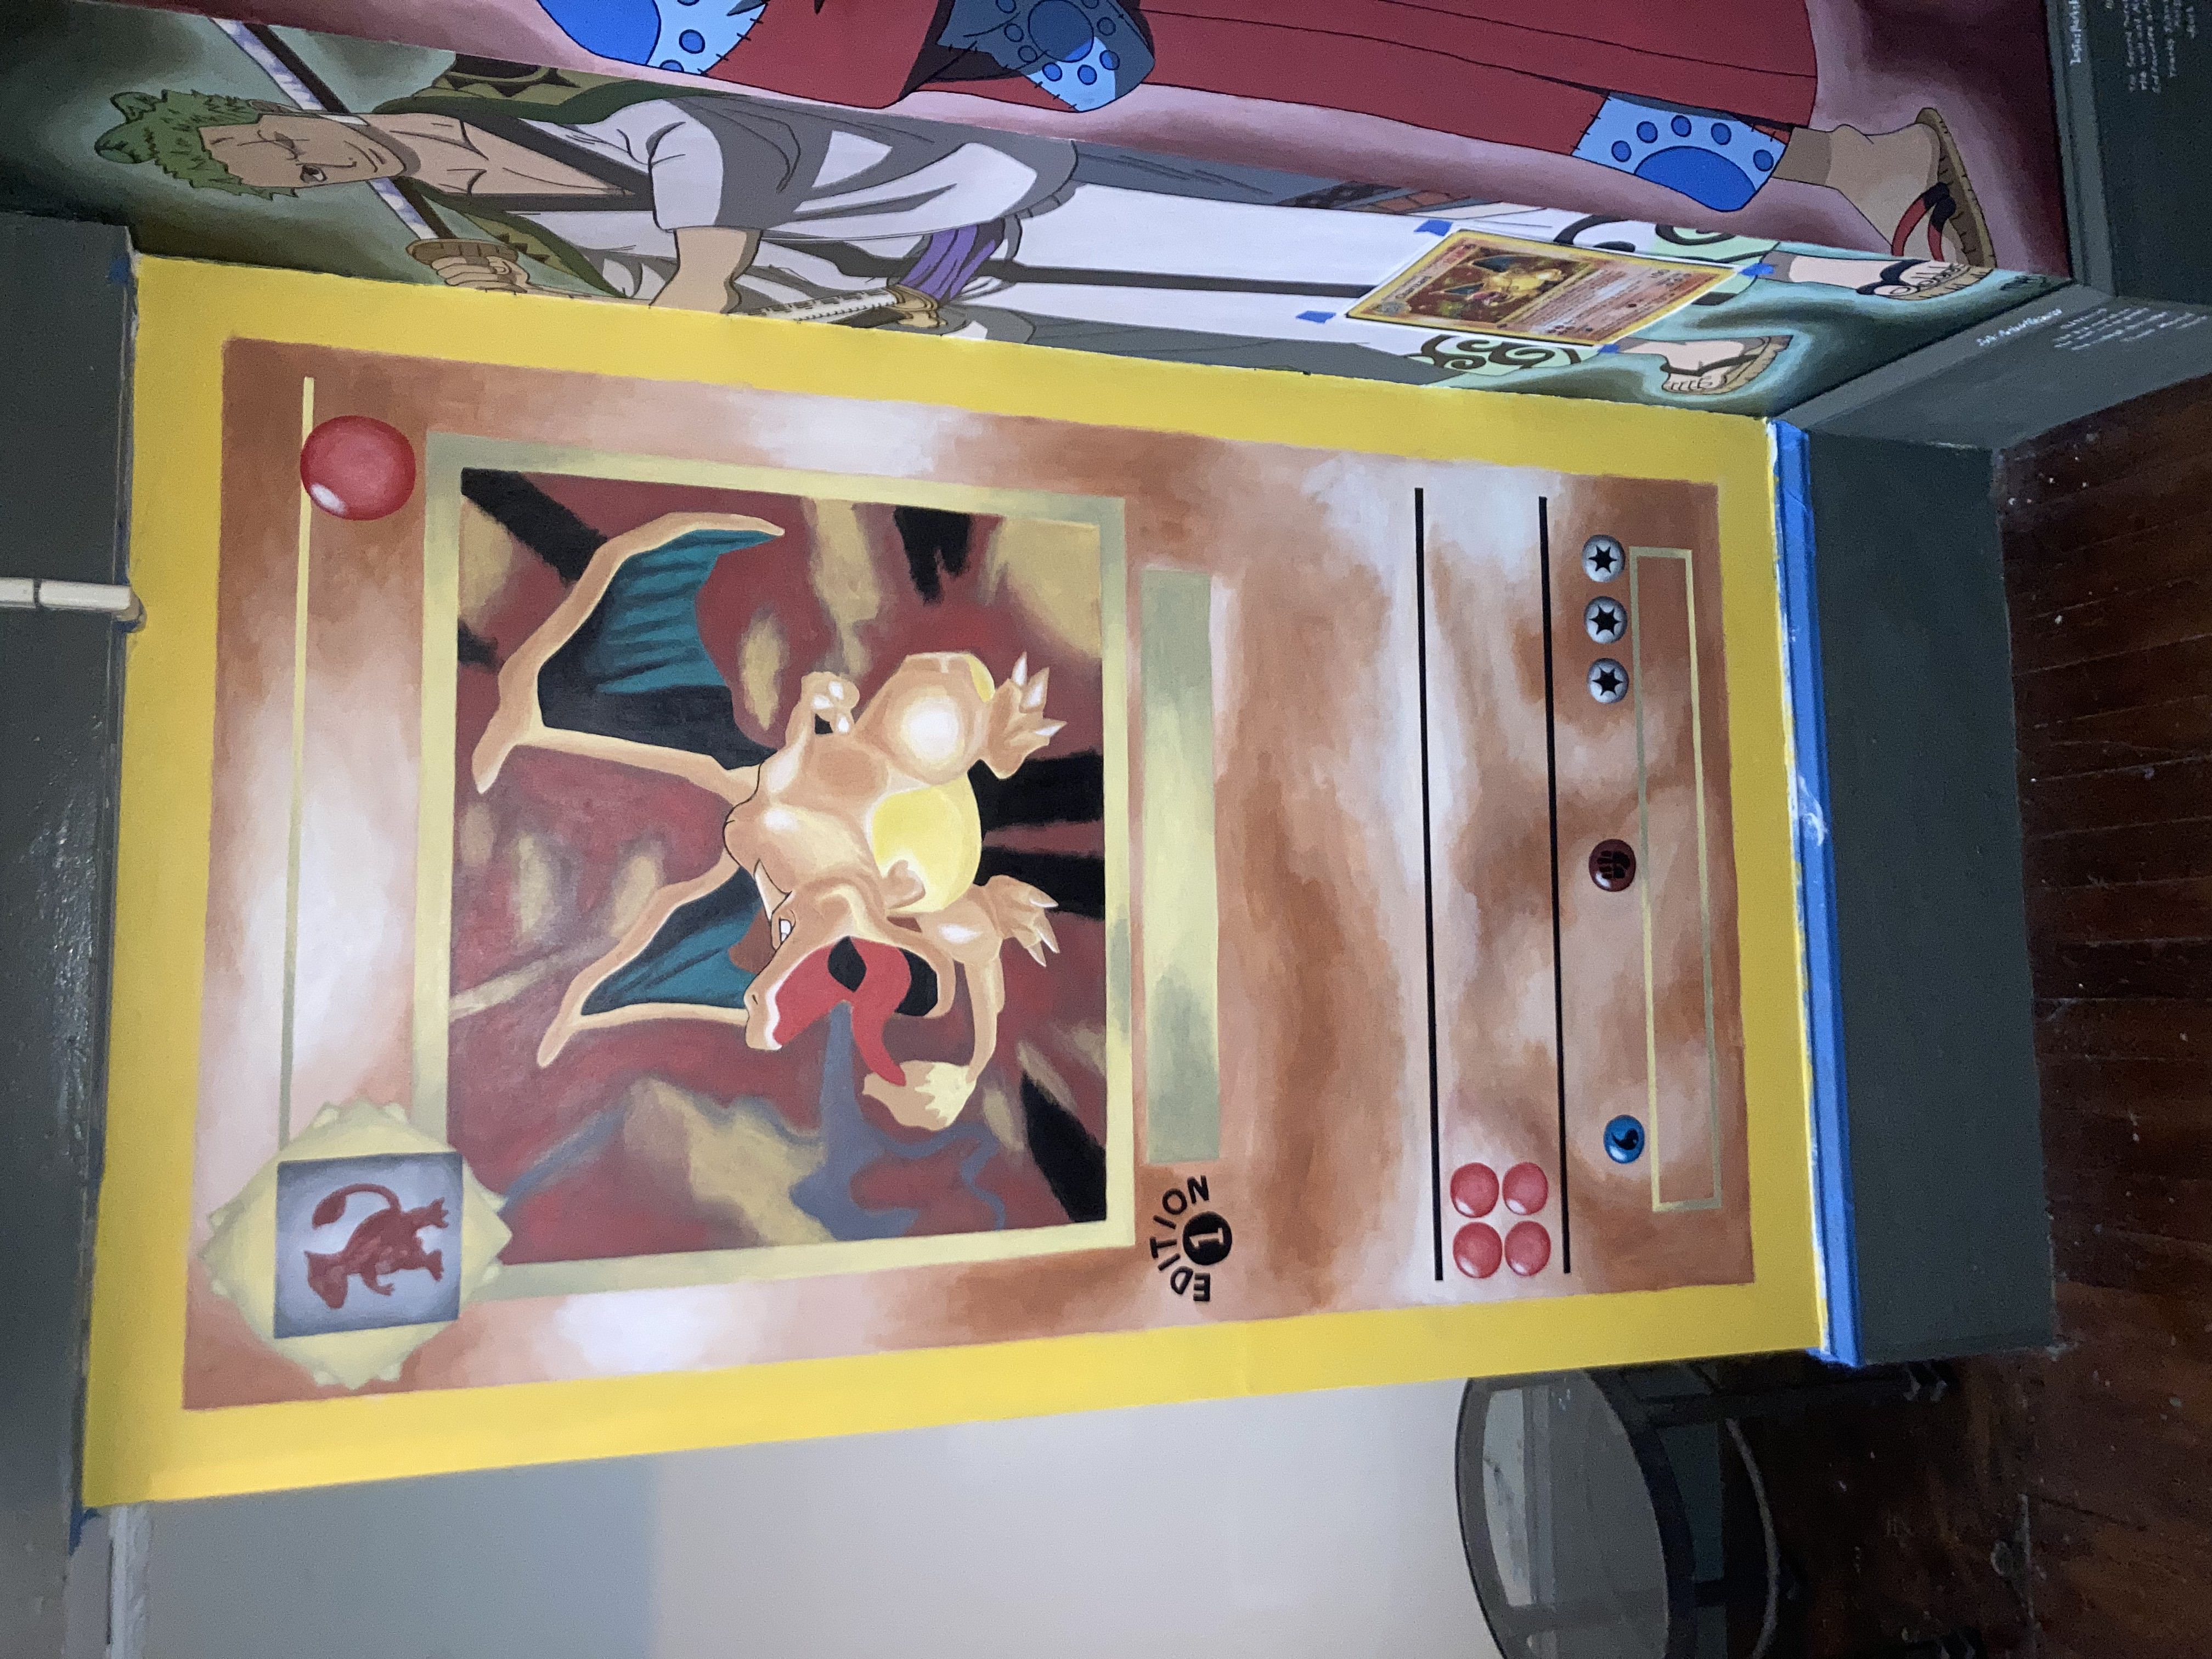
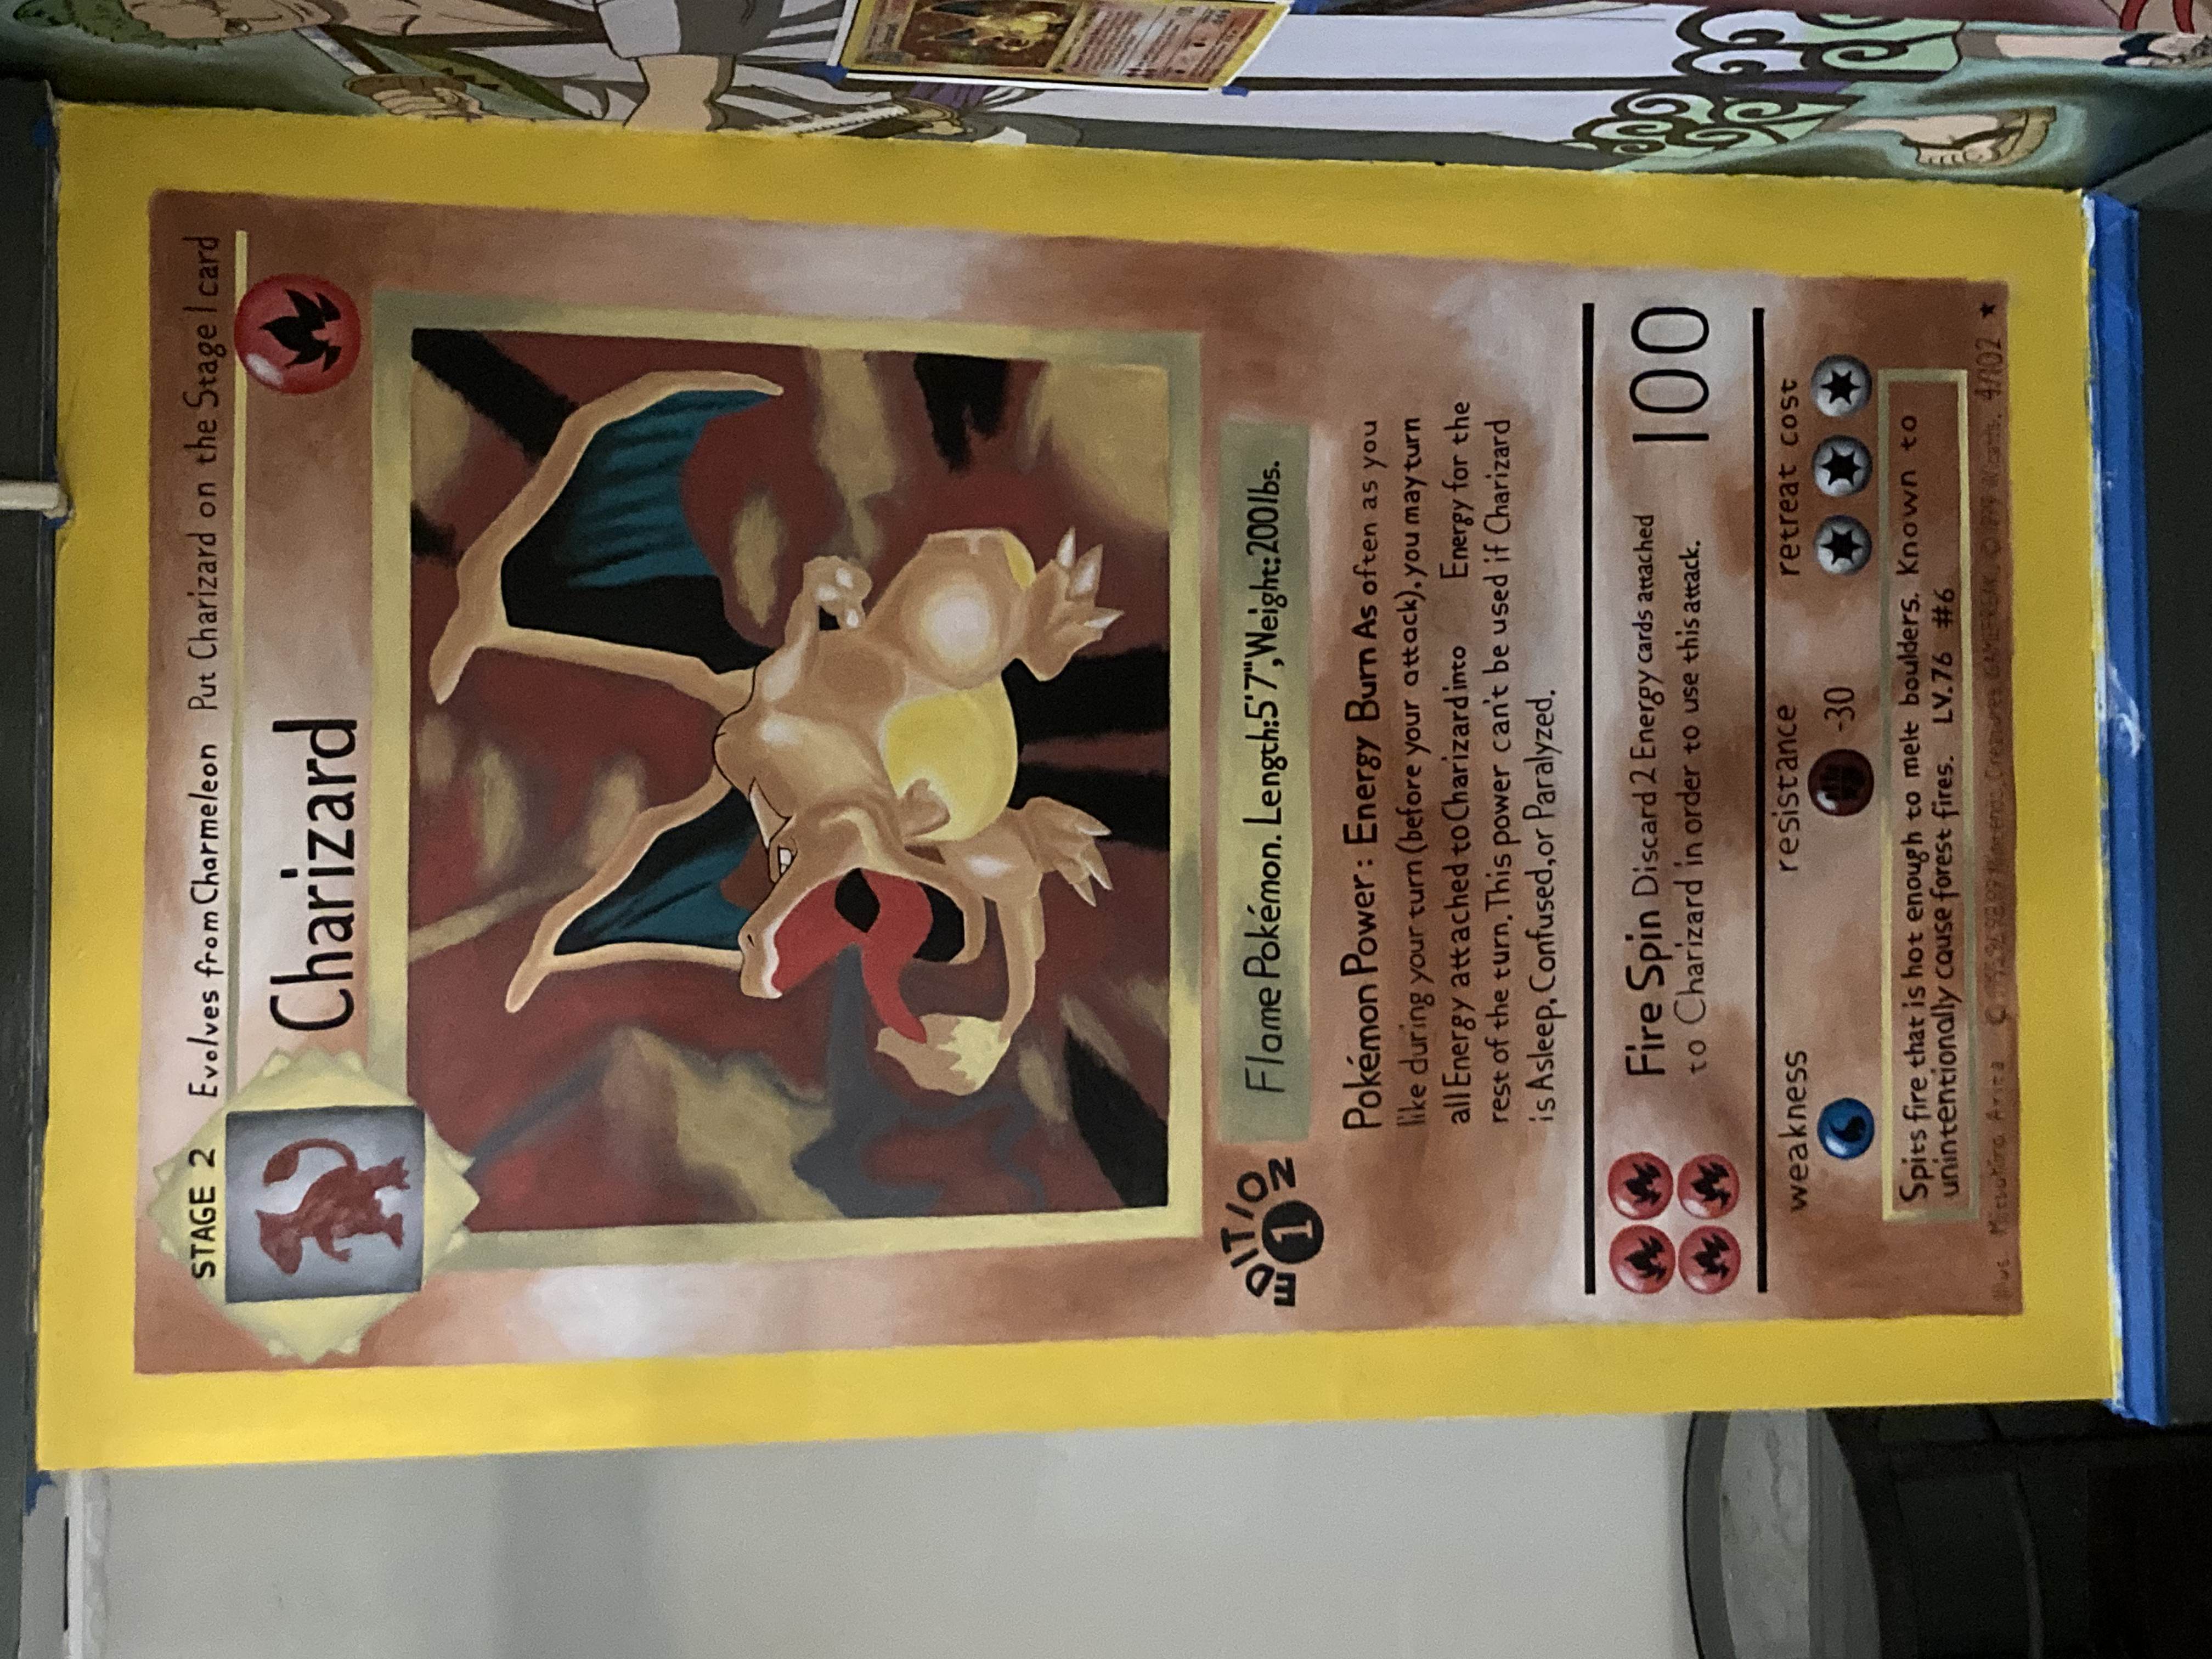
Mamba Collectibles Charizard Mural
Acrylic on Wall Mural
This is the 7th Mural at Mamba Collectibles and the 4th on the TCG wall. This time, we got to put one of the coolest Pokemon cards (and pokemon) down. This is a first edition Base Set (Shadowless) Charizard. A one-of-a-kind card that at PSA 10, is worth an entire house. Super cool opportunity to bring this into the portfolio, and also really cool to see all the kid's reactions as they go up to shop for their favorite pokemon.
This is the completed product; however, you can see its progress from day 0 by waiting patiently, or clicking the right arrow.
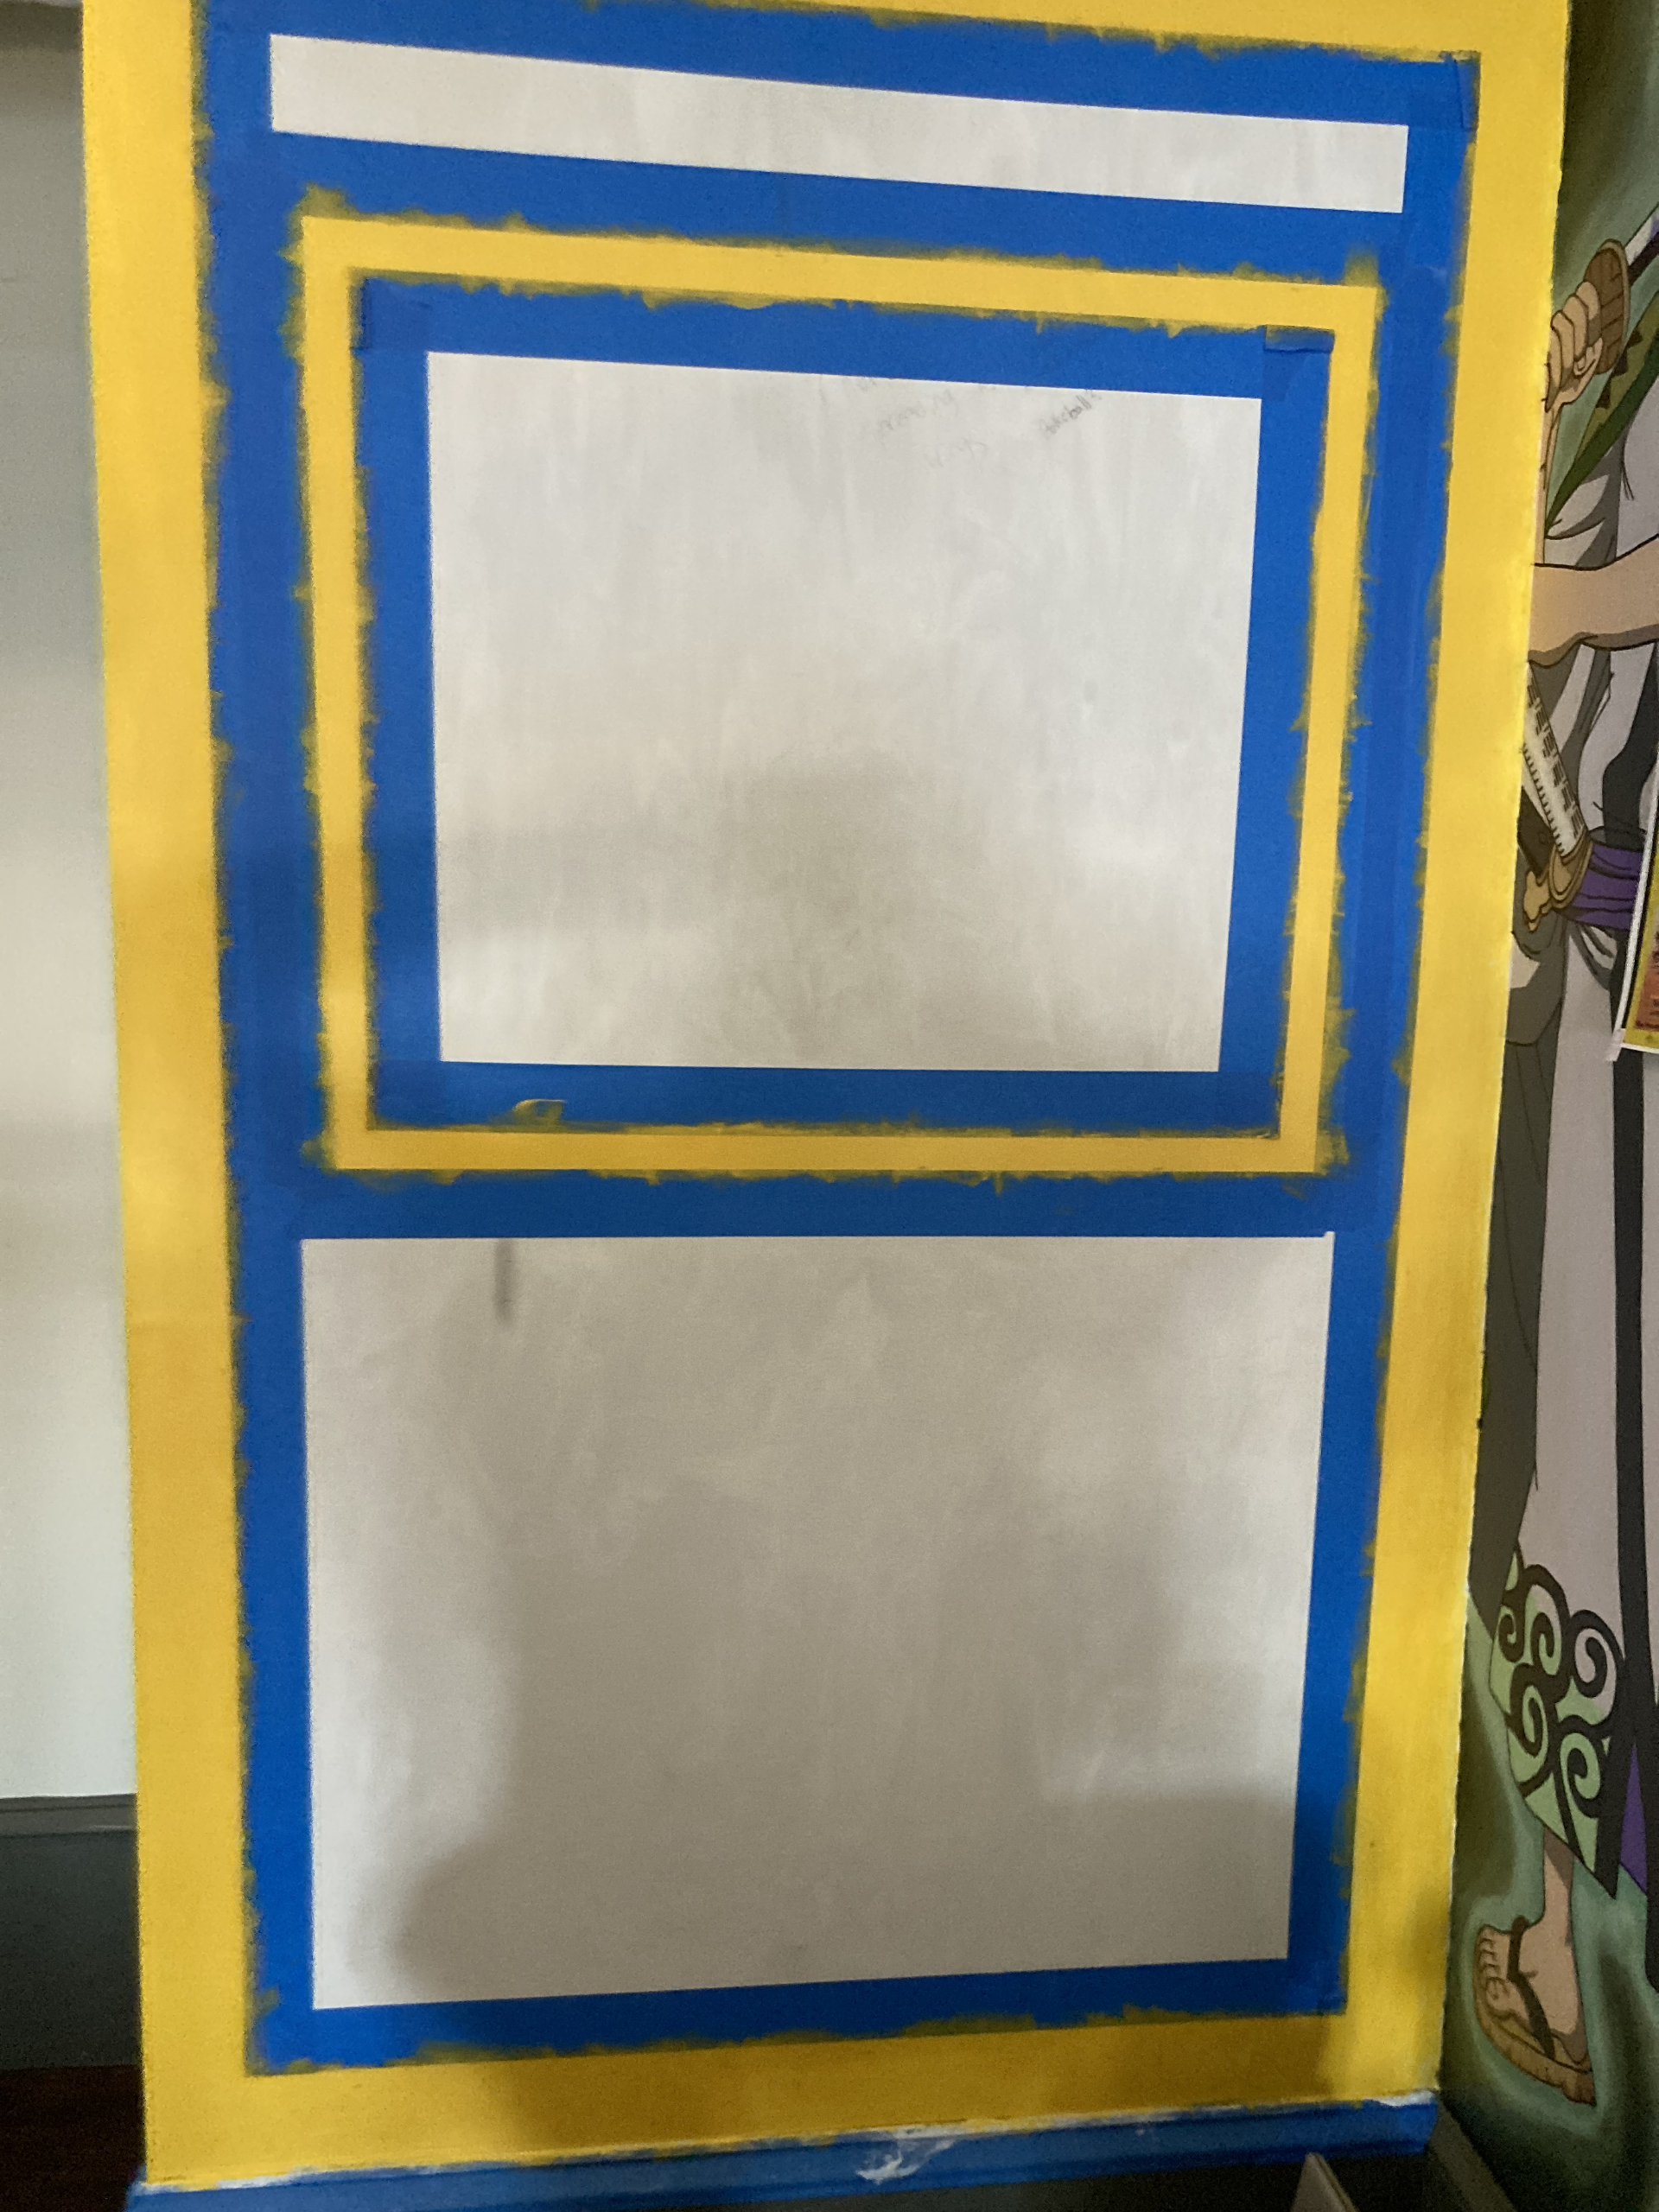
Session 0
Here is the basic shaping we did for the borders. Mark is more of an abstract artist and math is not his strongsuit, so this was a little bit rigorous for him. We used painters tape and a tape measure to scale the proportions from a printout.
Session 1
After getting the proportions of the edges down, it was time to get the proportions for the details right. We used a very rough layer and some sharpie to trace the lines after our calculations.
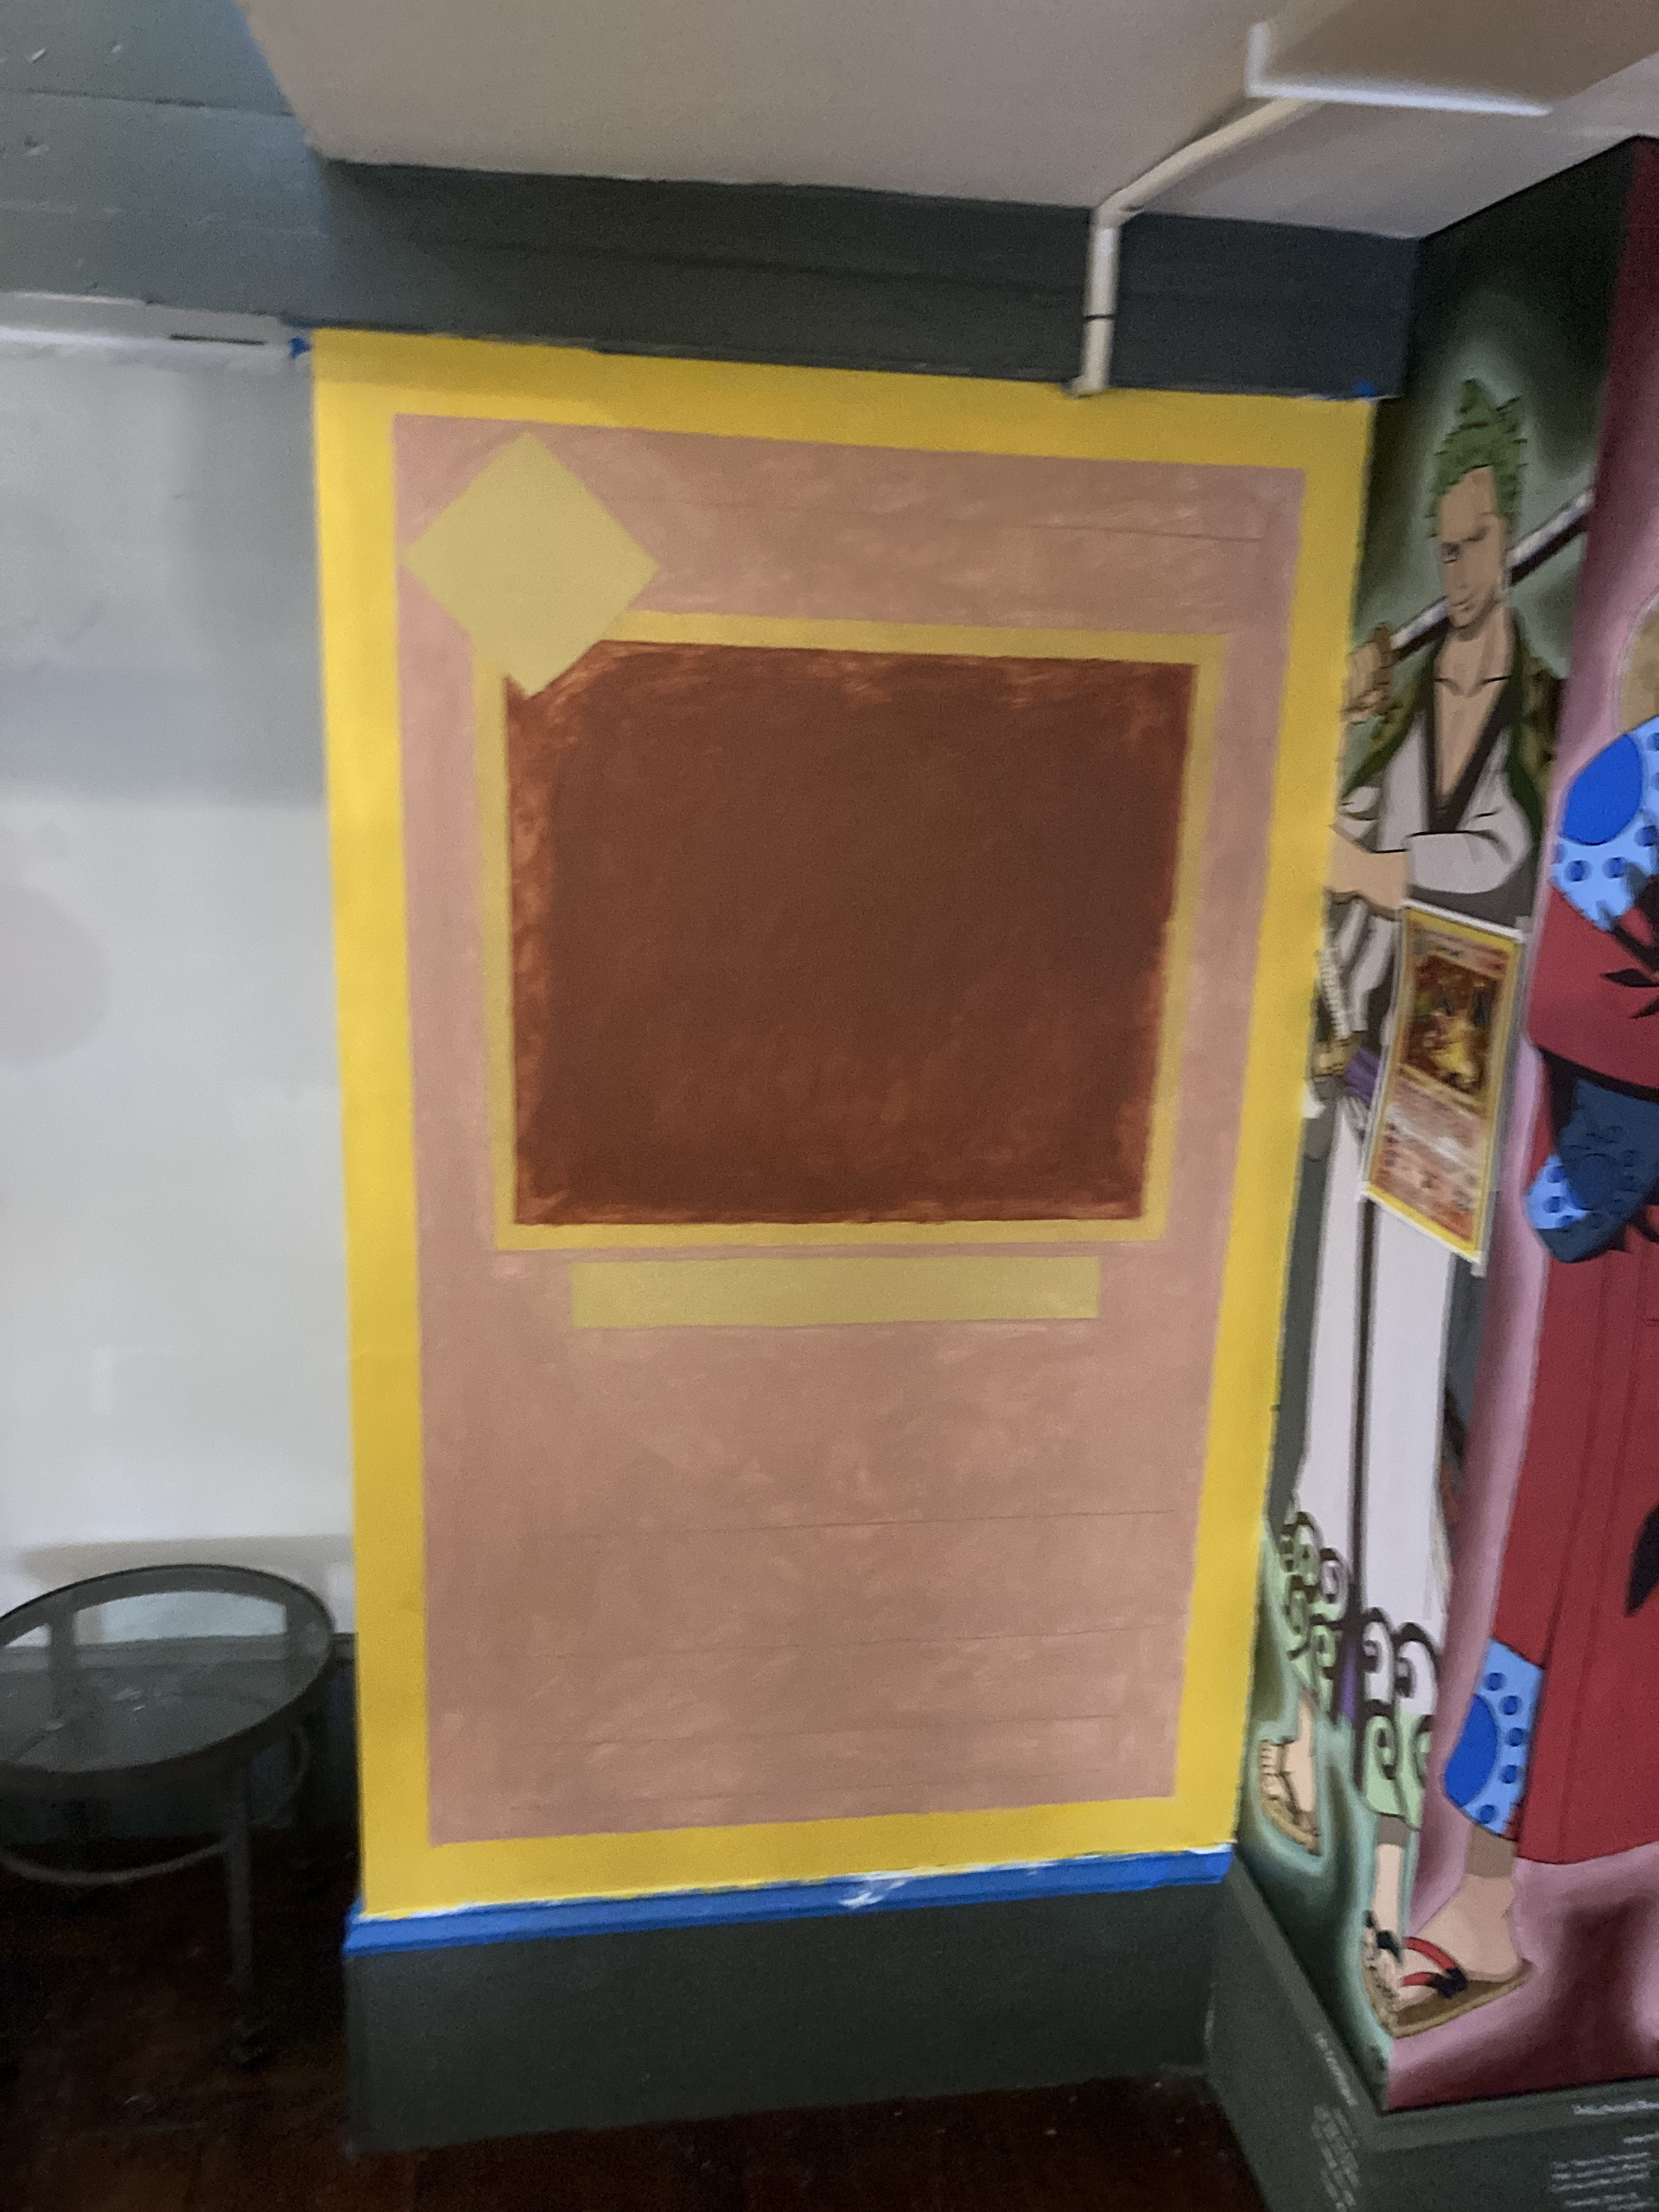
Session 2
BEHOLD! FIRST LAYER!
Woohoo, we have a basic faceless charizard! This was right around the time where we put down the Charizard to go work on the coffee shop murals.
Session 3
WE'VE RETURNED!
Woohoo! We're back! In this stage, we did some more of the shading on the symbols and the Charizard. Placement was key in this stage, and some flaws were beginning to rise to the surface.
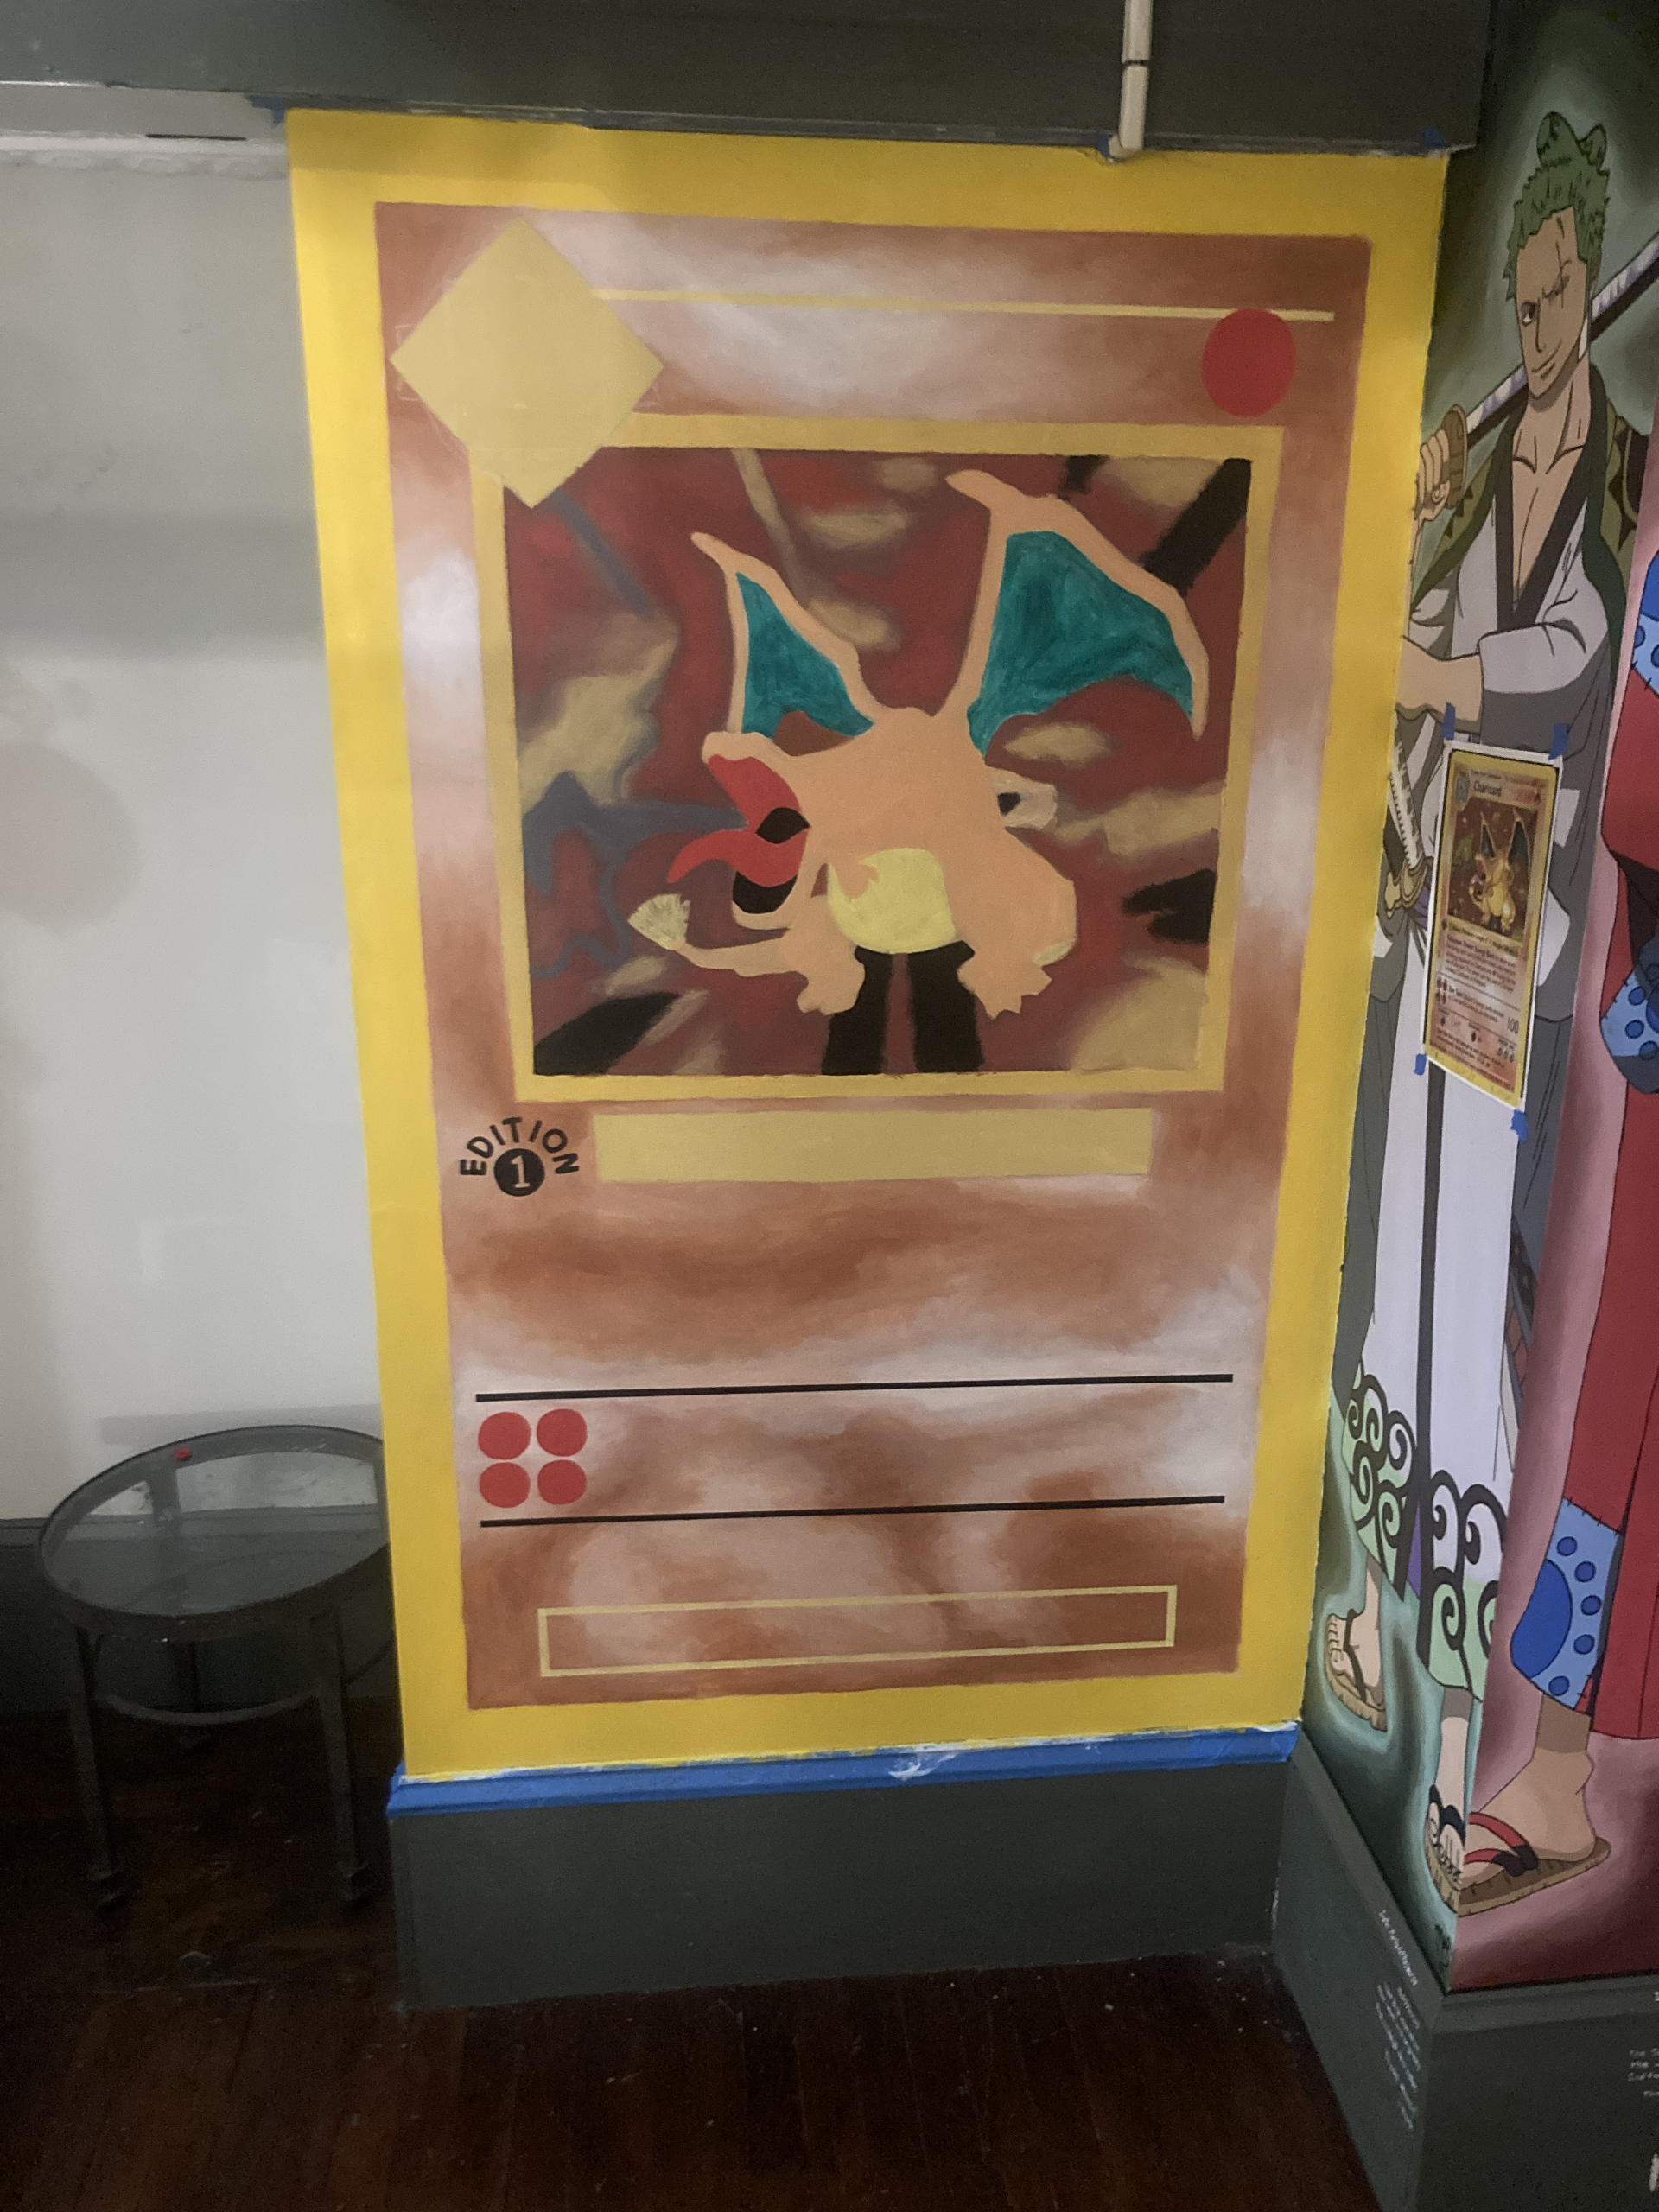
Session 4
WORDS!!!!!!
We thought that the placement was difficult, and then came the words.
At this point, we had a majority of the shapes and the words down, and decided to accept and let go of the associated flaws. Sometimes you have to call it good enough and hope for the best. All that was left was some fine details, the Charmeleon at the top, and the foil stars in the background.
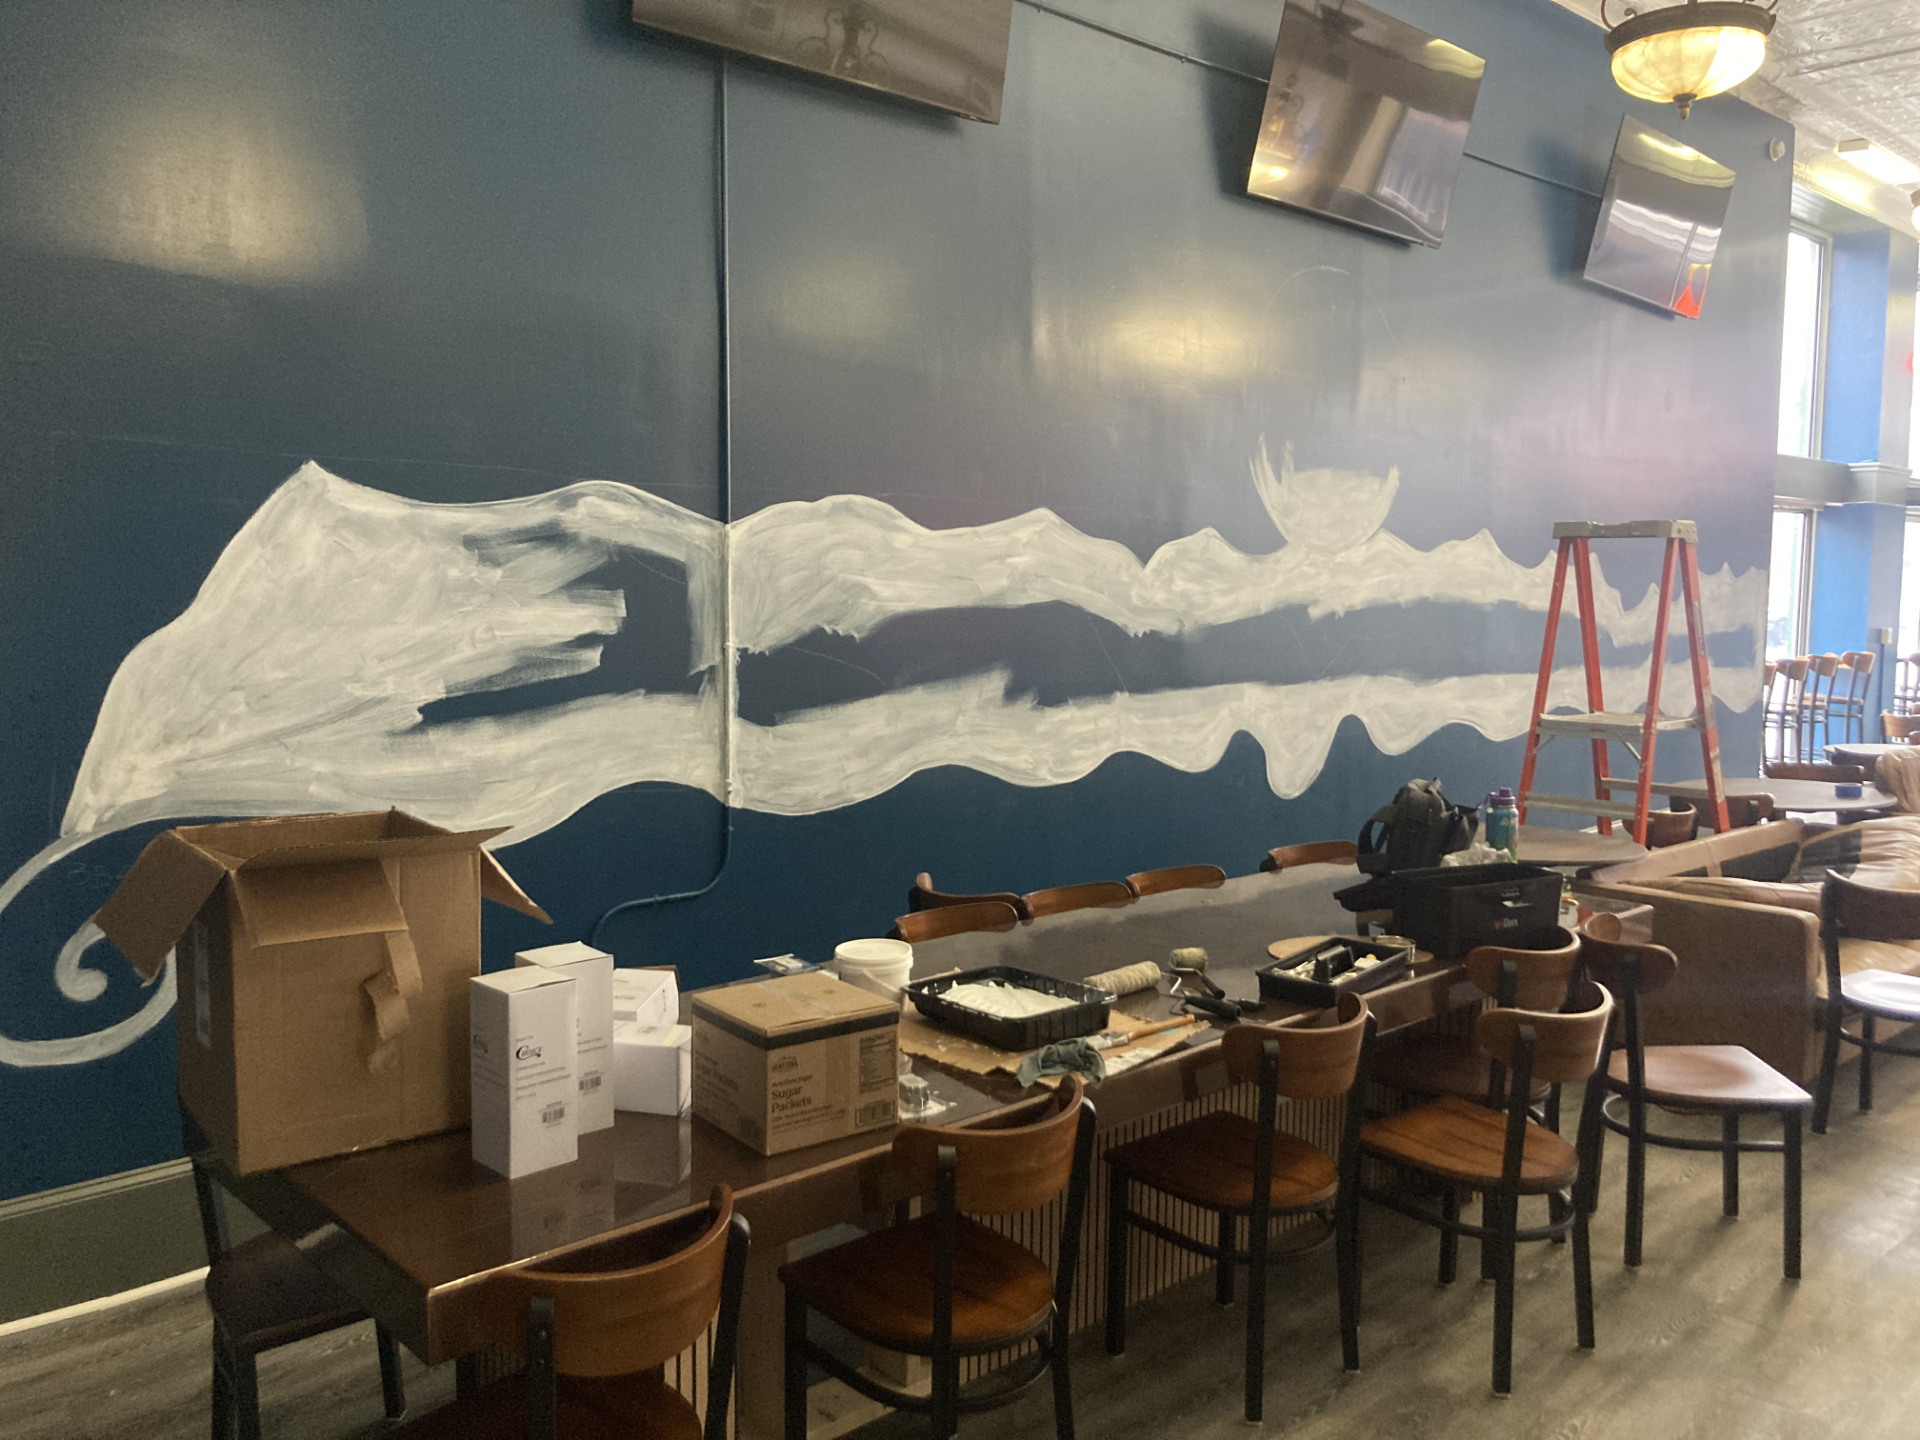
This is the 6th Mural at the shop and the largest that Mark has ever done!
This is a whopping 35x3ft with an additional 4x4 logo. Much love to Mamba Collectibles for letting us do this one.
This is the completed product; however, you can see its progress from day 0 by waiting patiently, or clicking the right arrow.
Session 0
Here's a picture of the canvas. One of the toughest parts of knocking this one out was being able to fit the entire wall in the photo. As you'll see, we struggled constantly with our progress pictures; especially with Mark's Dino-Phone.
Session 1
Mark was super excited to work on this. No plan, no sketch, just Mountains.... We went in and put the primer down mapped to the edges and got off to a great start.
Session 2
BEHOLD! FIRST LAYER!
We knew that green to blue would be a fantastic pairing for the background color, but we didn't quite grasp how we should make the blend. This wasn't completely figured out until we put the fog down and it all came together.
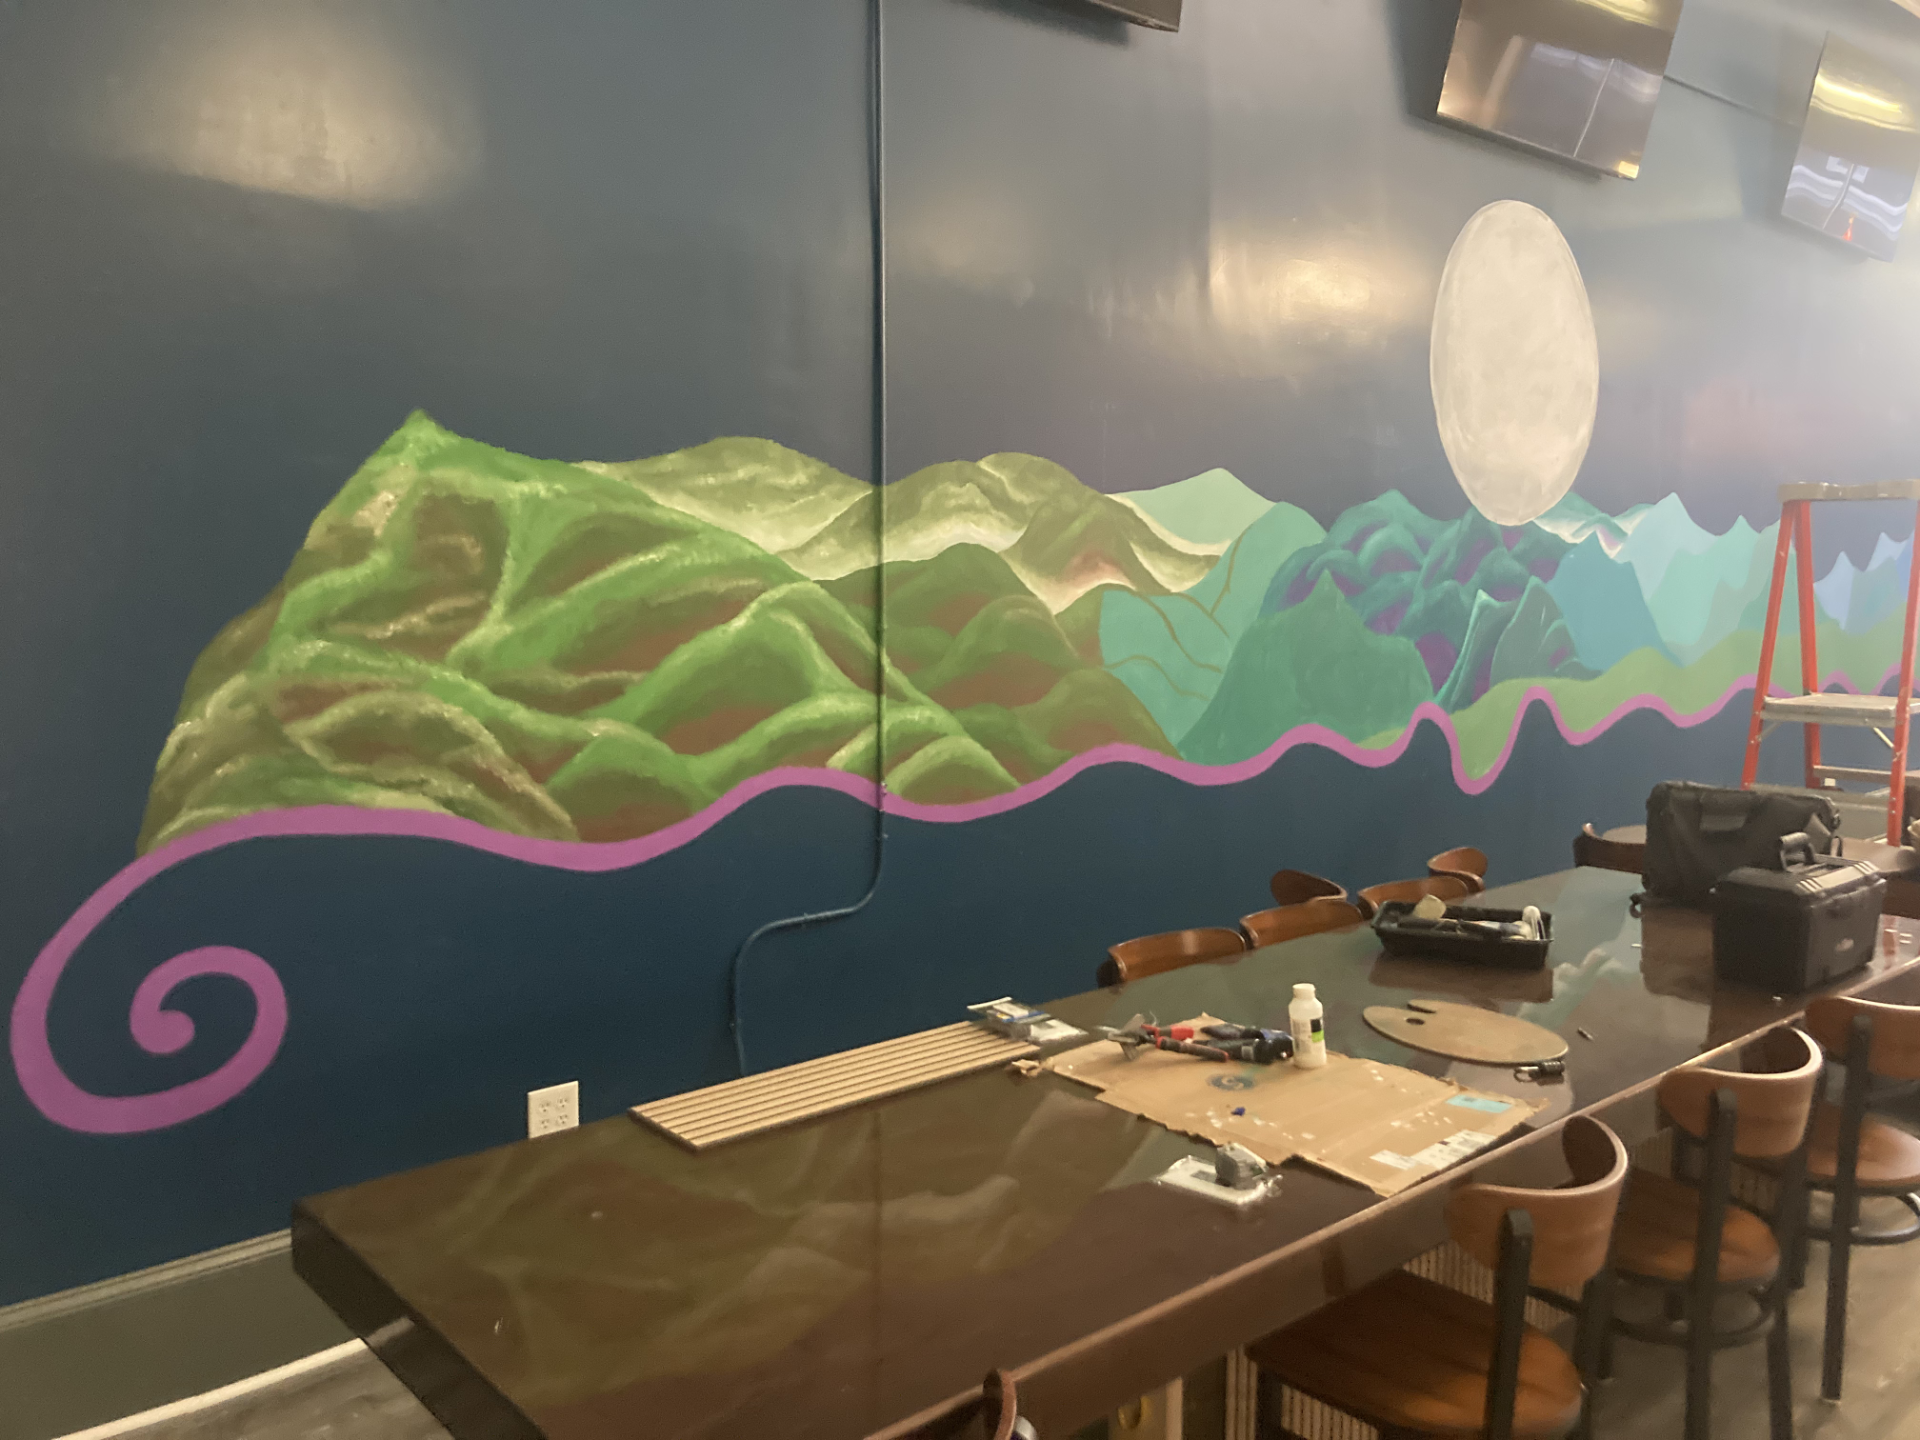
Session 3
LET THERE BE DETAILS!
Here is where we started getting deeper into the mountainscapes. Blending the darks and lights would enable the details in the foreground to pop out and smoothly blend.
We didn't want to get too indepth with detail with this, so we decided to keep it relatively simple.
Session 4
MORE DETAIL!!!!
After we knocked out the one side of detail, we started working on the detail blends for the other 3 colors.
Session 5
TREES!
After finishing the length of mountainscapes, we began working on the treeline.
This never turned out correctly, but the original layer ended up looking the most like trees.
Session 6
MORE TREES!!!!
Let there be more trees! At this stage, we were polishing up the mountainscapes and adding the rest of the trees to the foreground.
Session 7
NUGGETS!!!!
Got numerous pieces of feedback of what the trees looked like.
Some said trees, others said alien butts, few said nuggest - yeah those kinda nuggets. At this point, we knew that trees weren't the outcome.
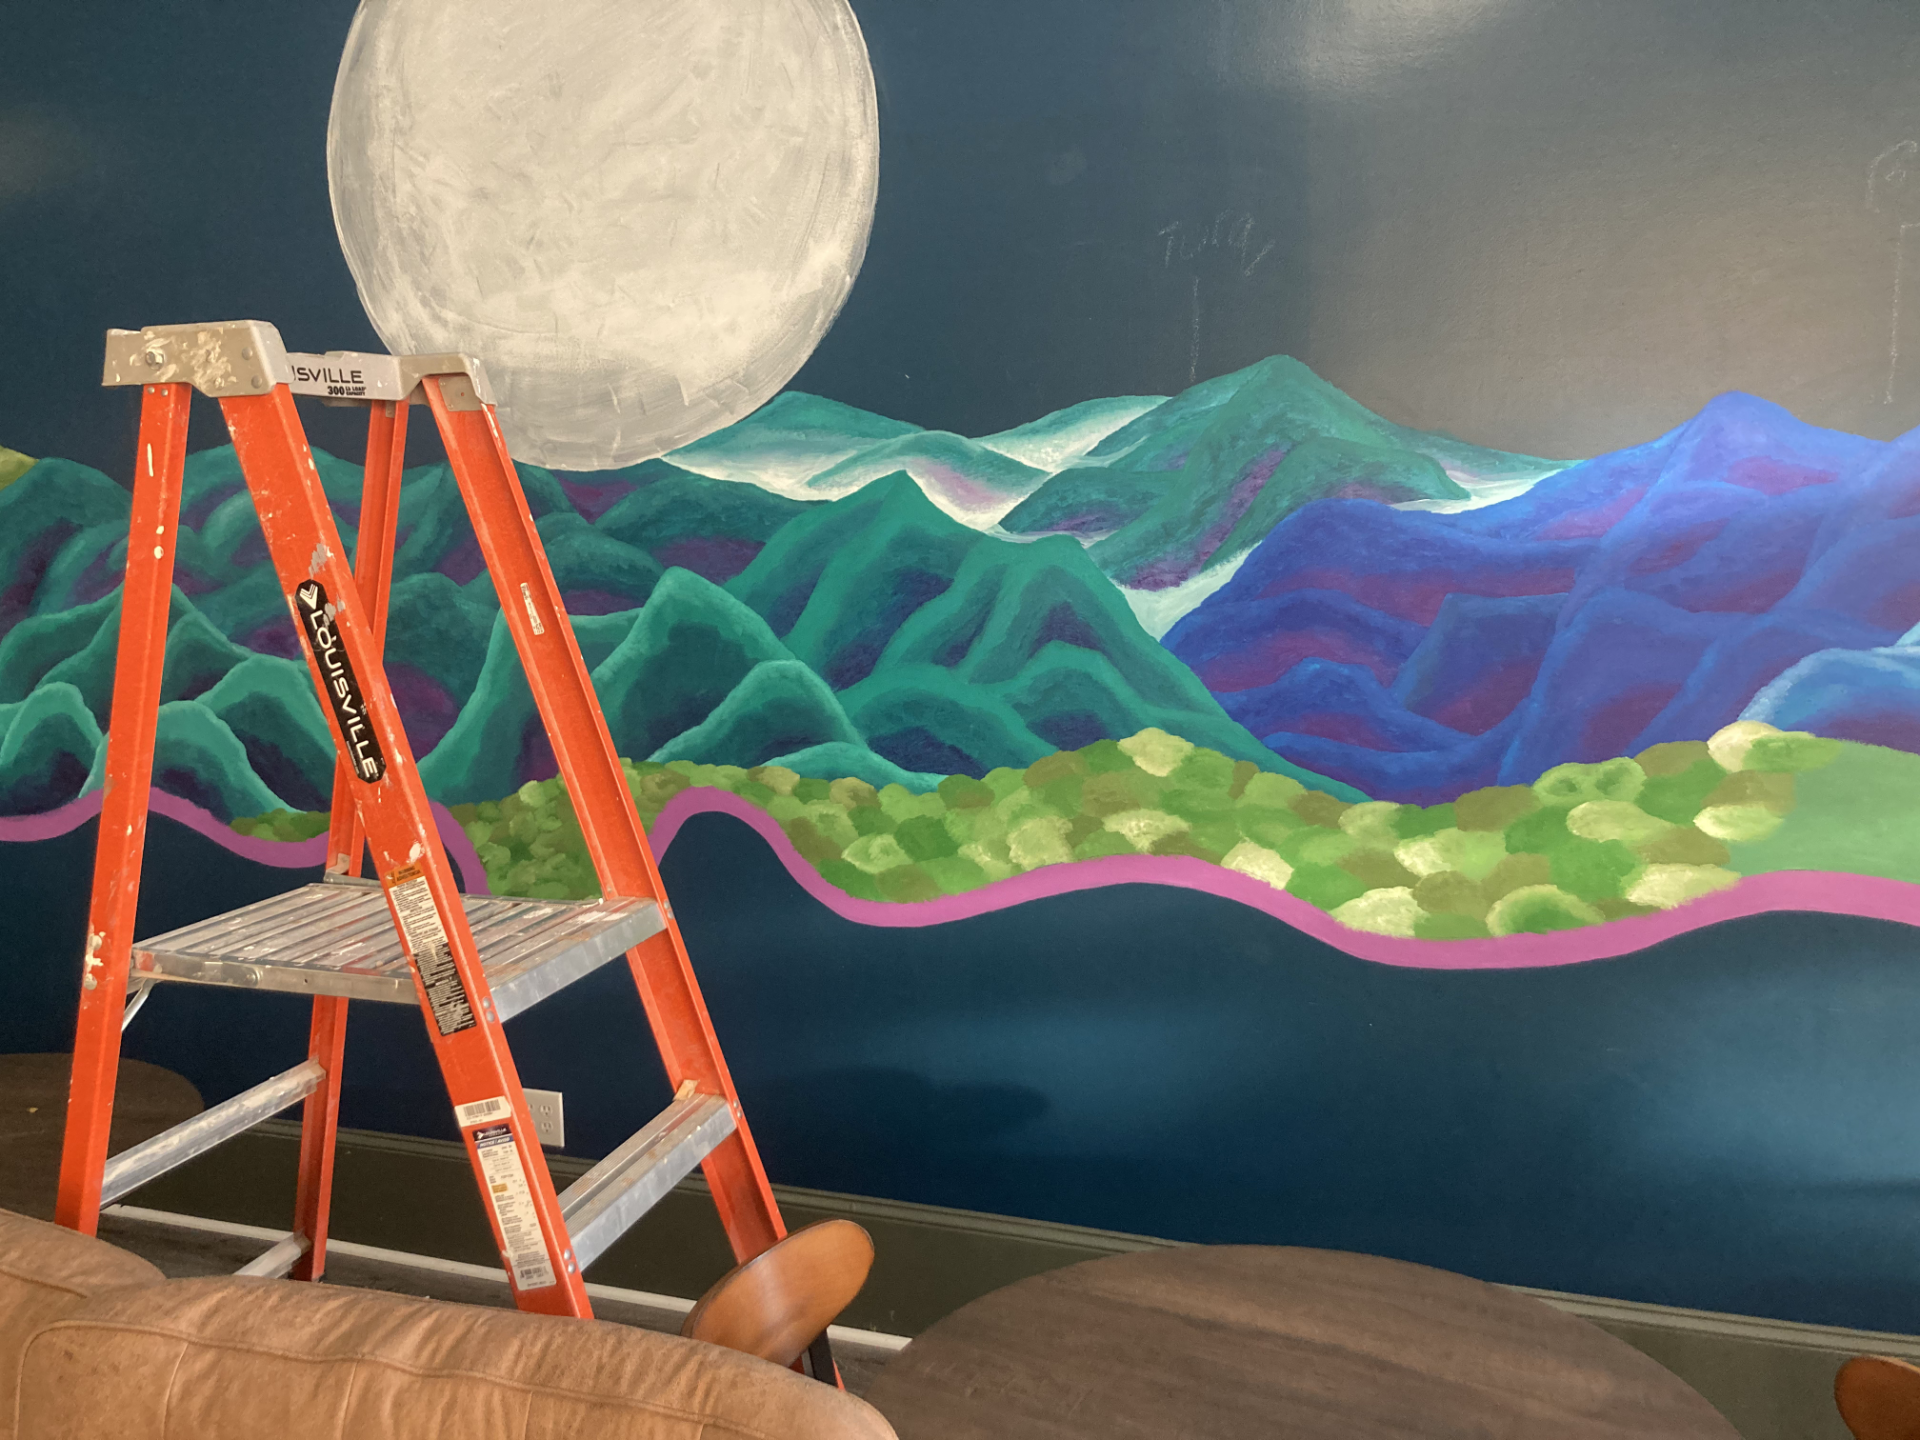
Session 8
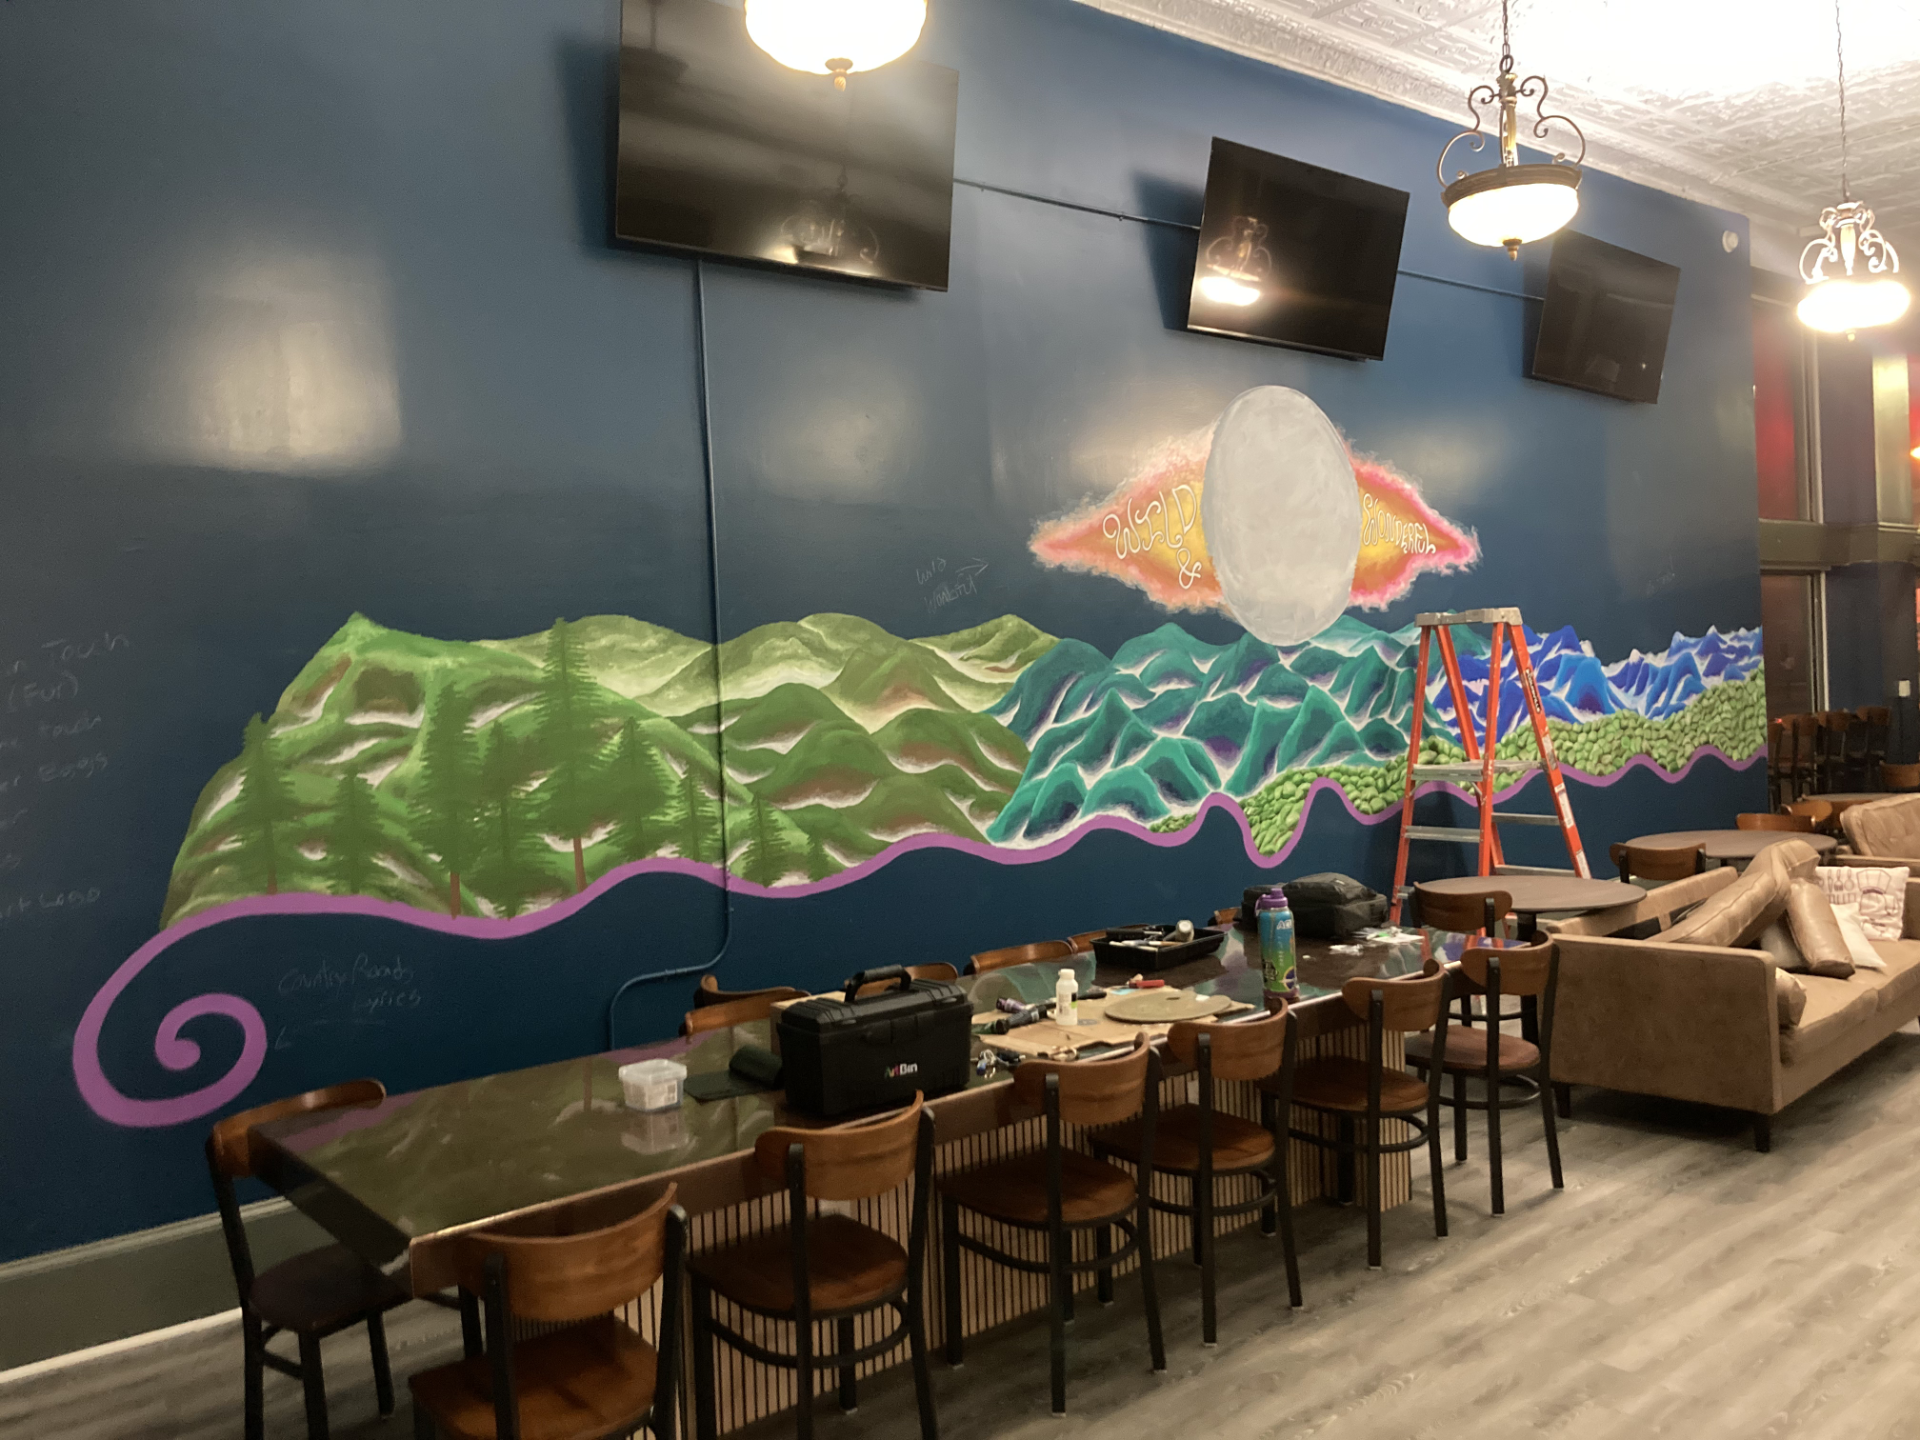
LET THERE BE WARM!
When you have all these cool colors, you have to throw some warm in the mix.
It took a couple of tries but we finally got a warm blend to shadow around the logo.
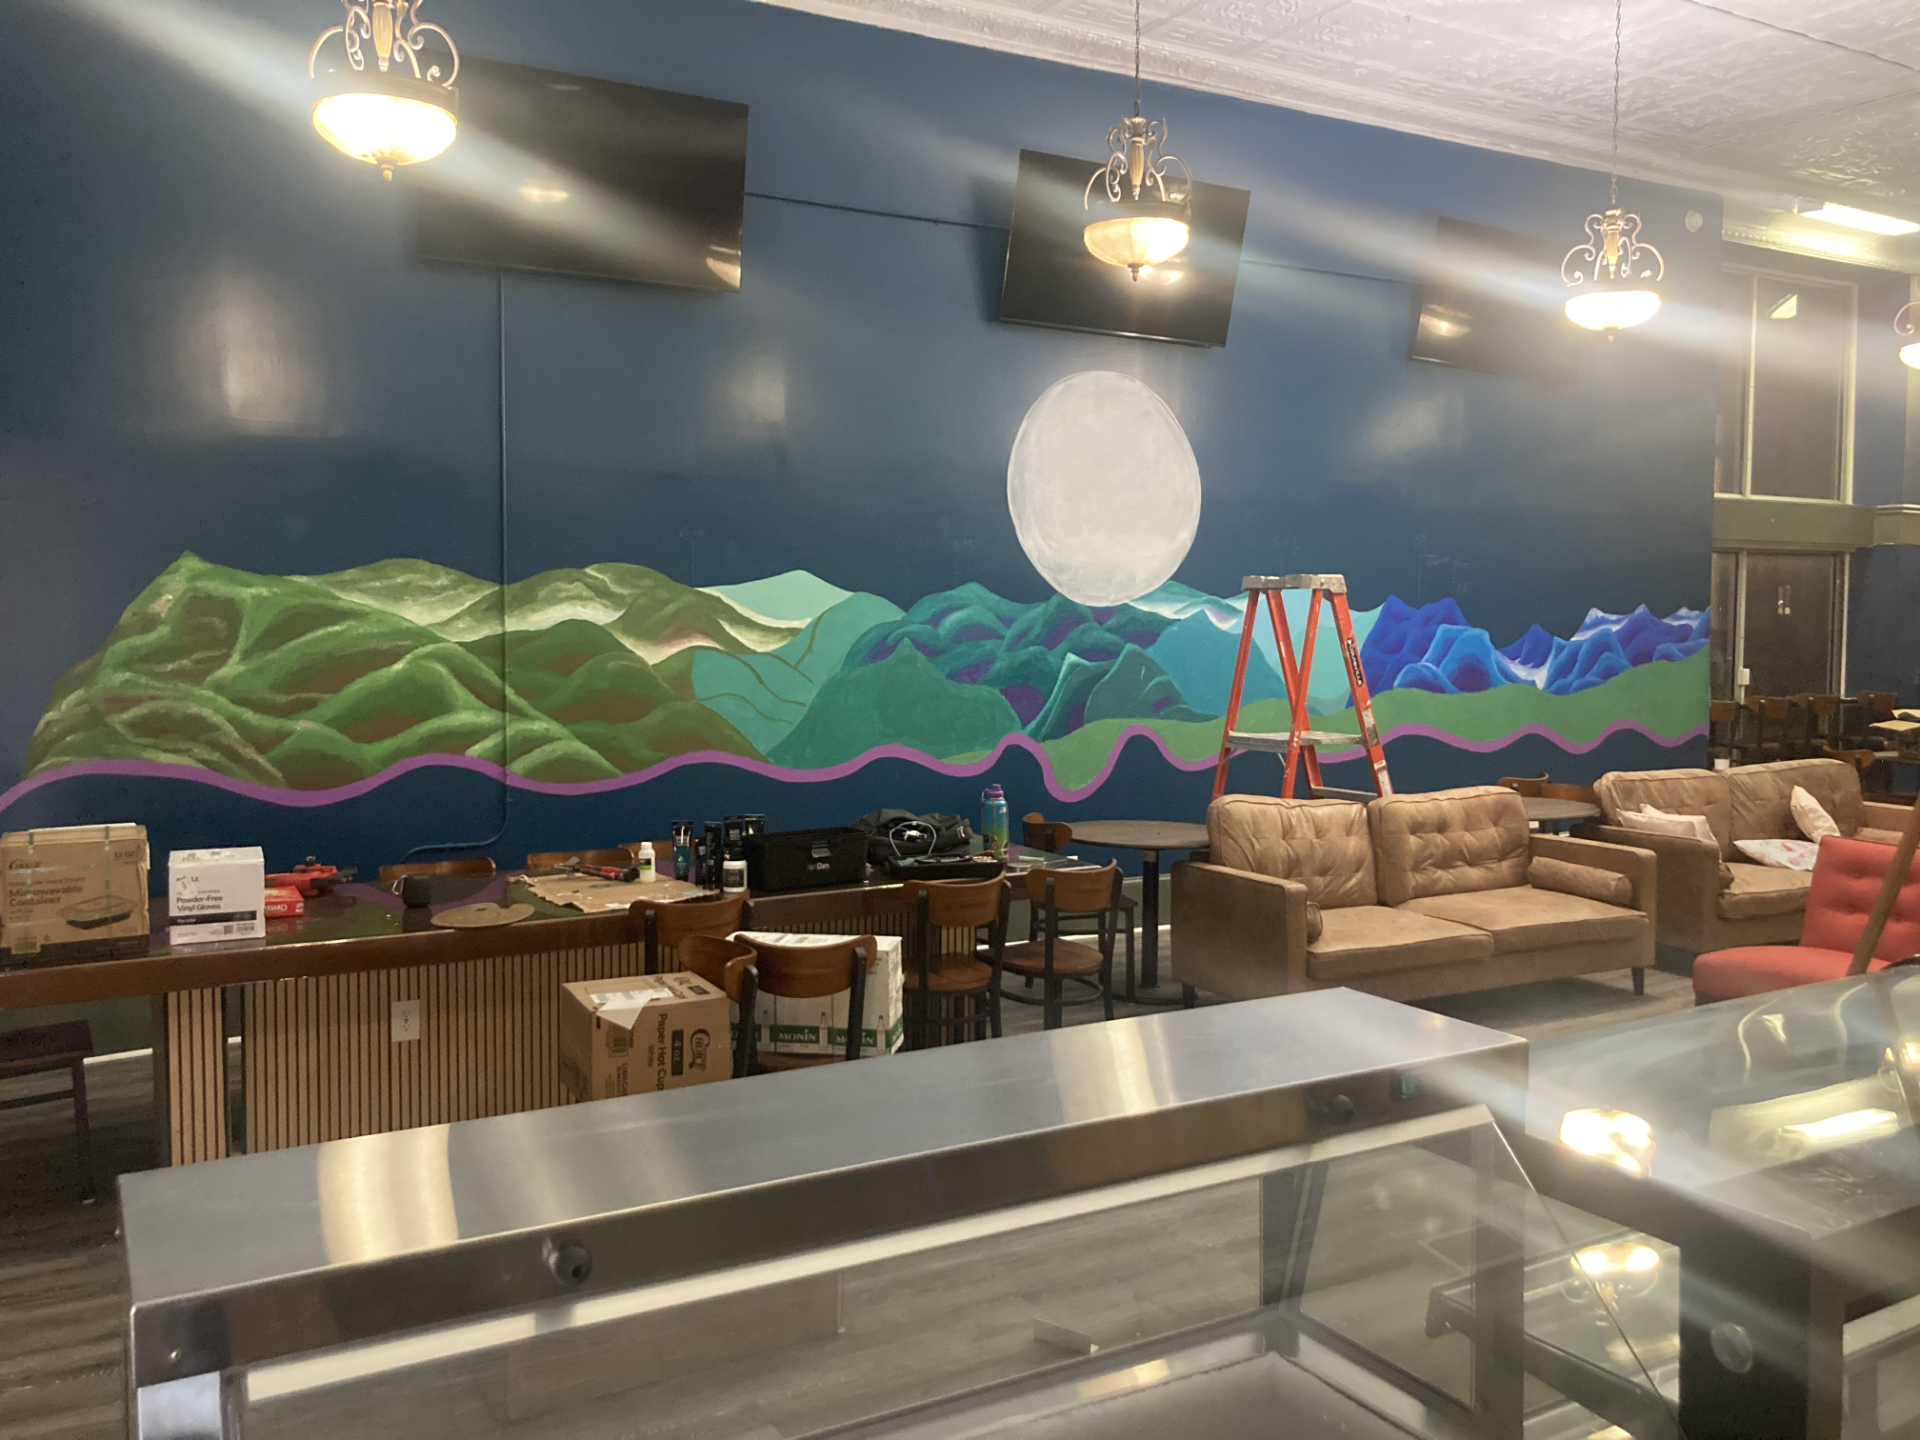
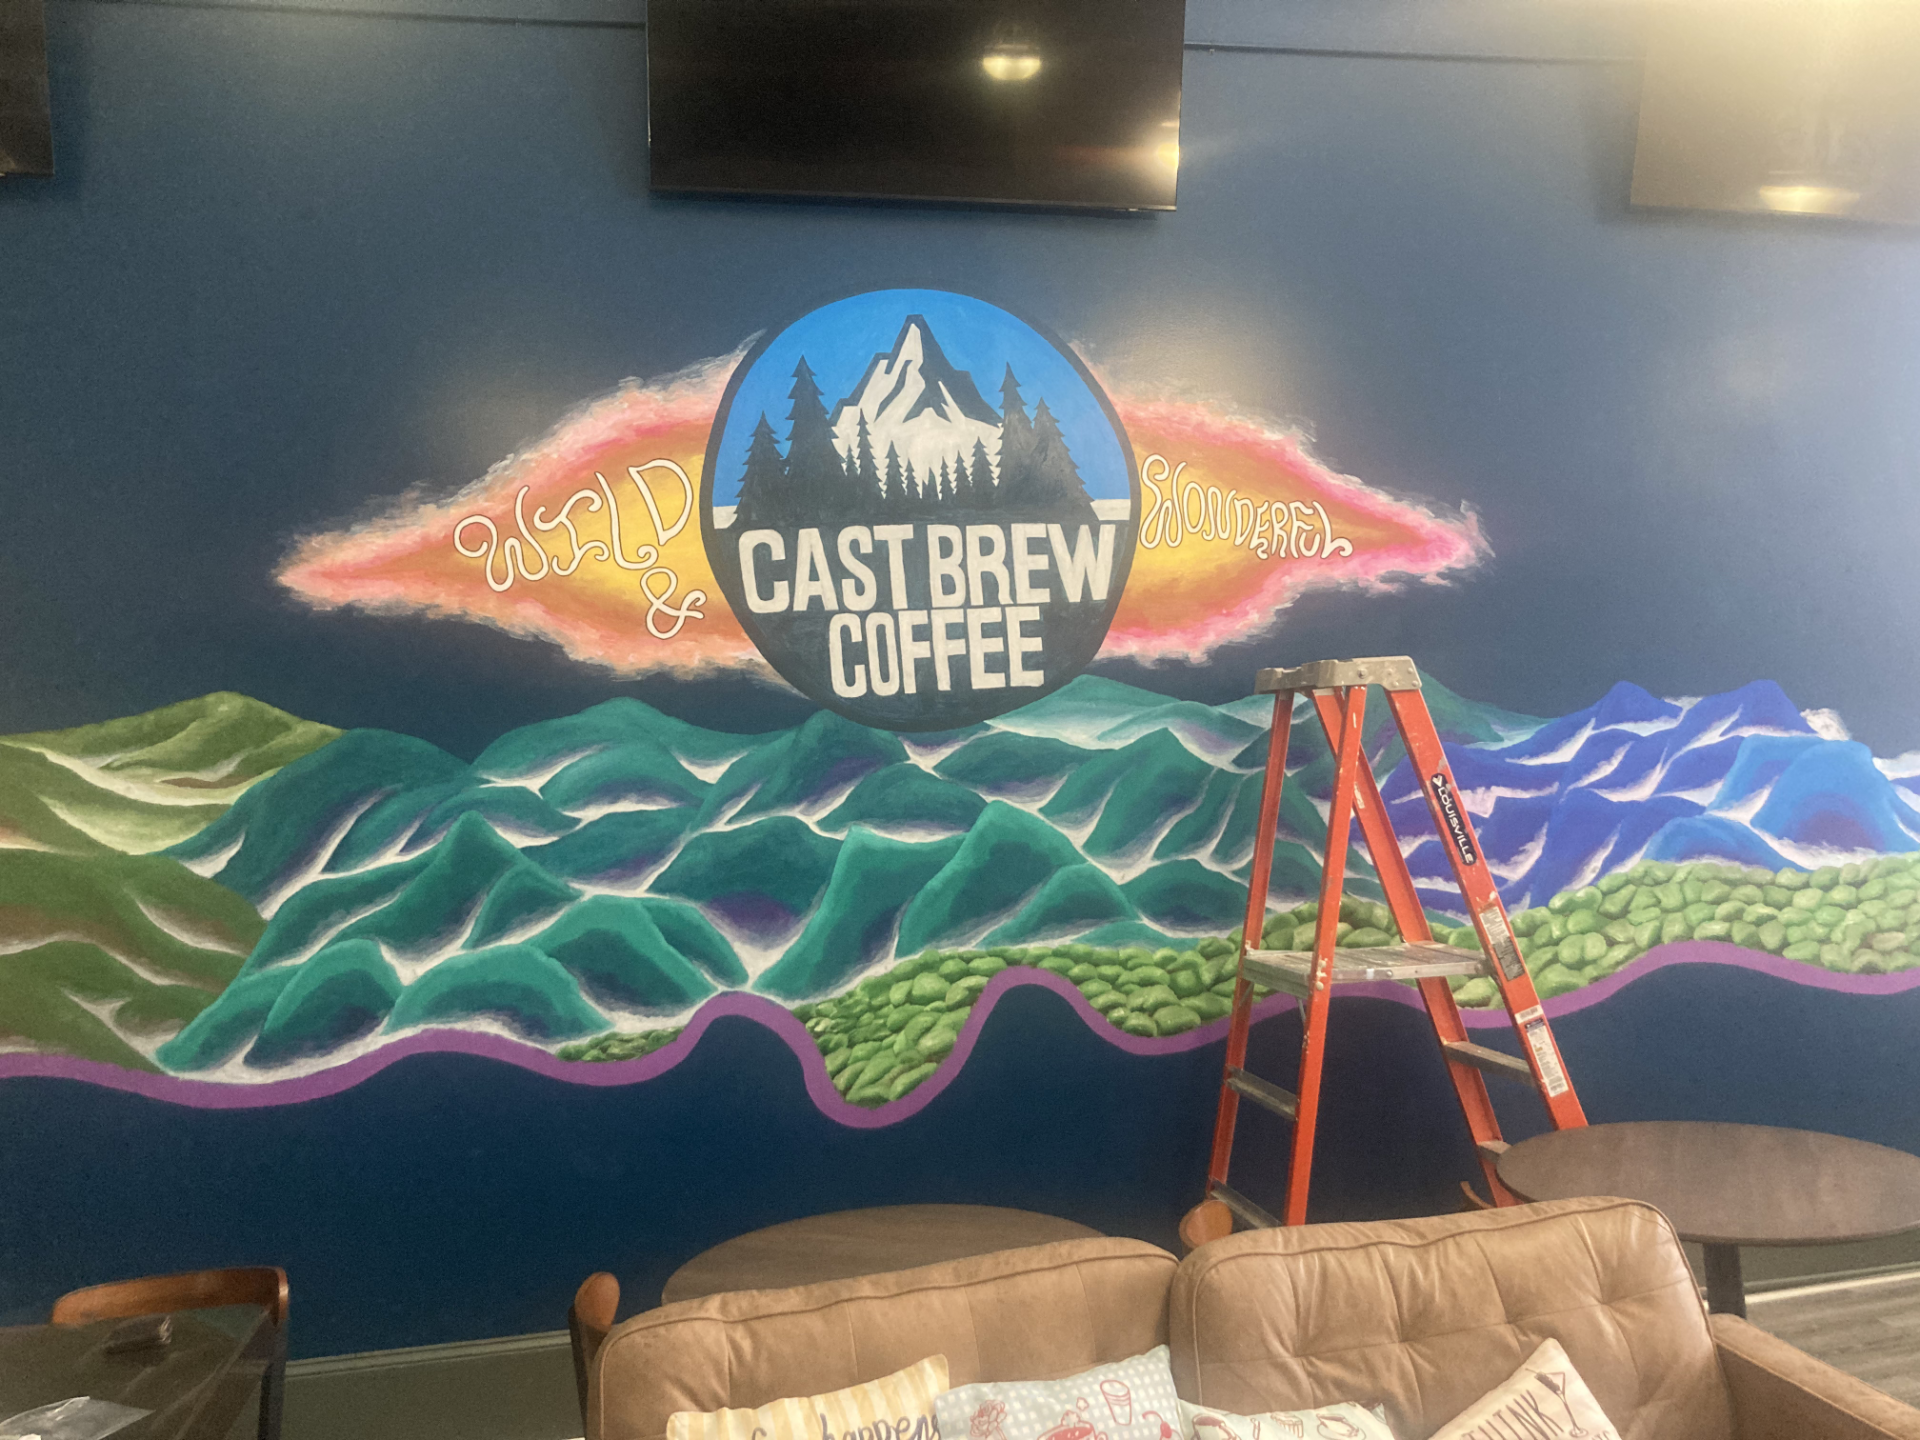
Session 9
BEHOLD, LOGO!
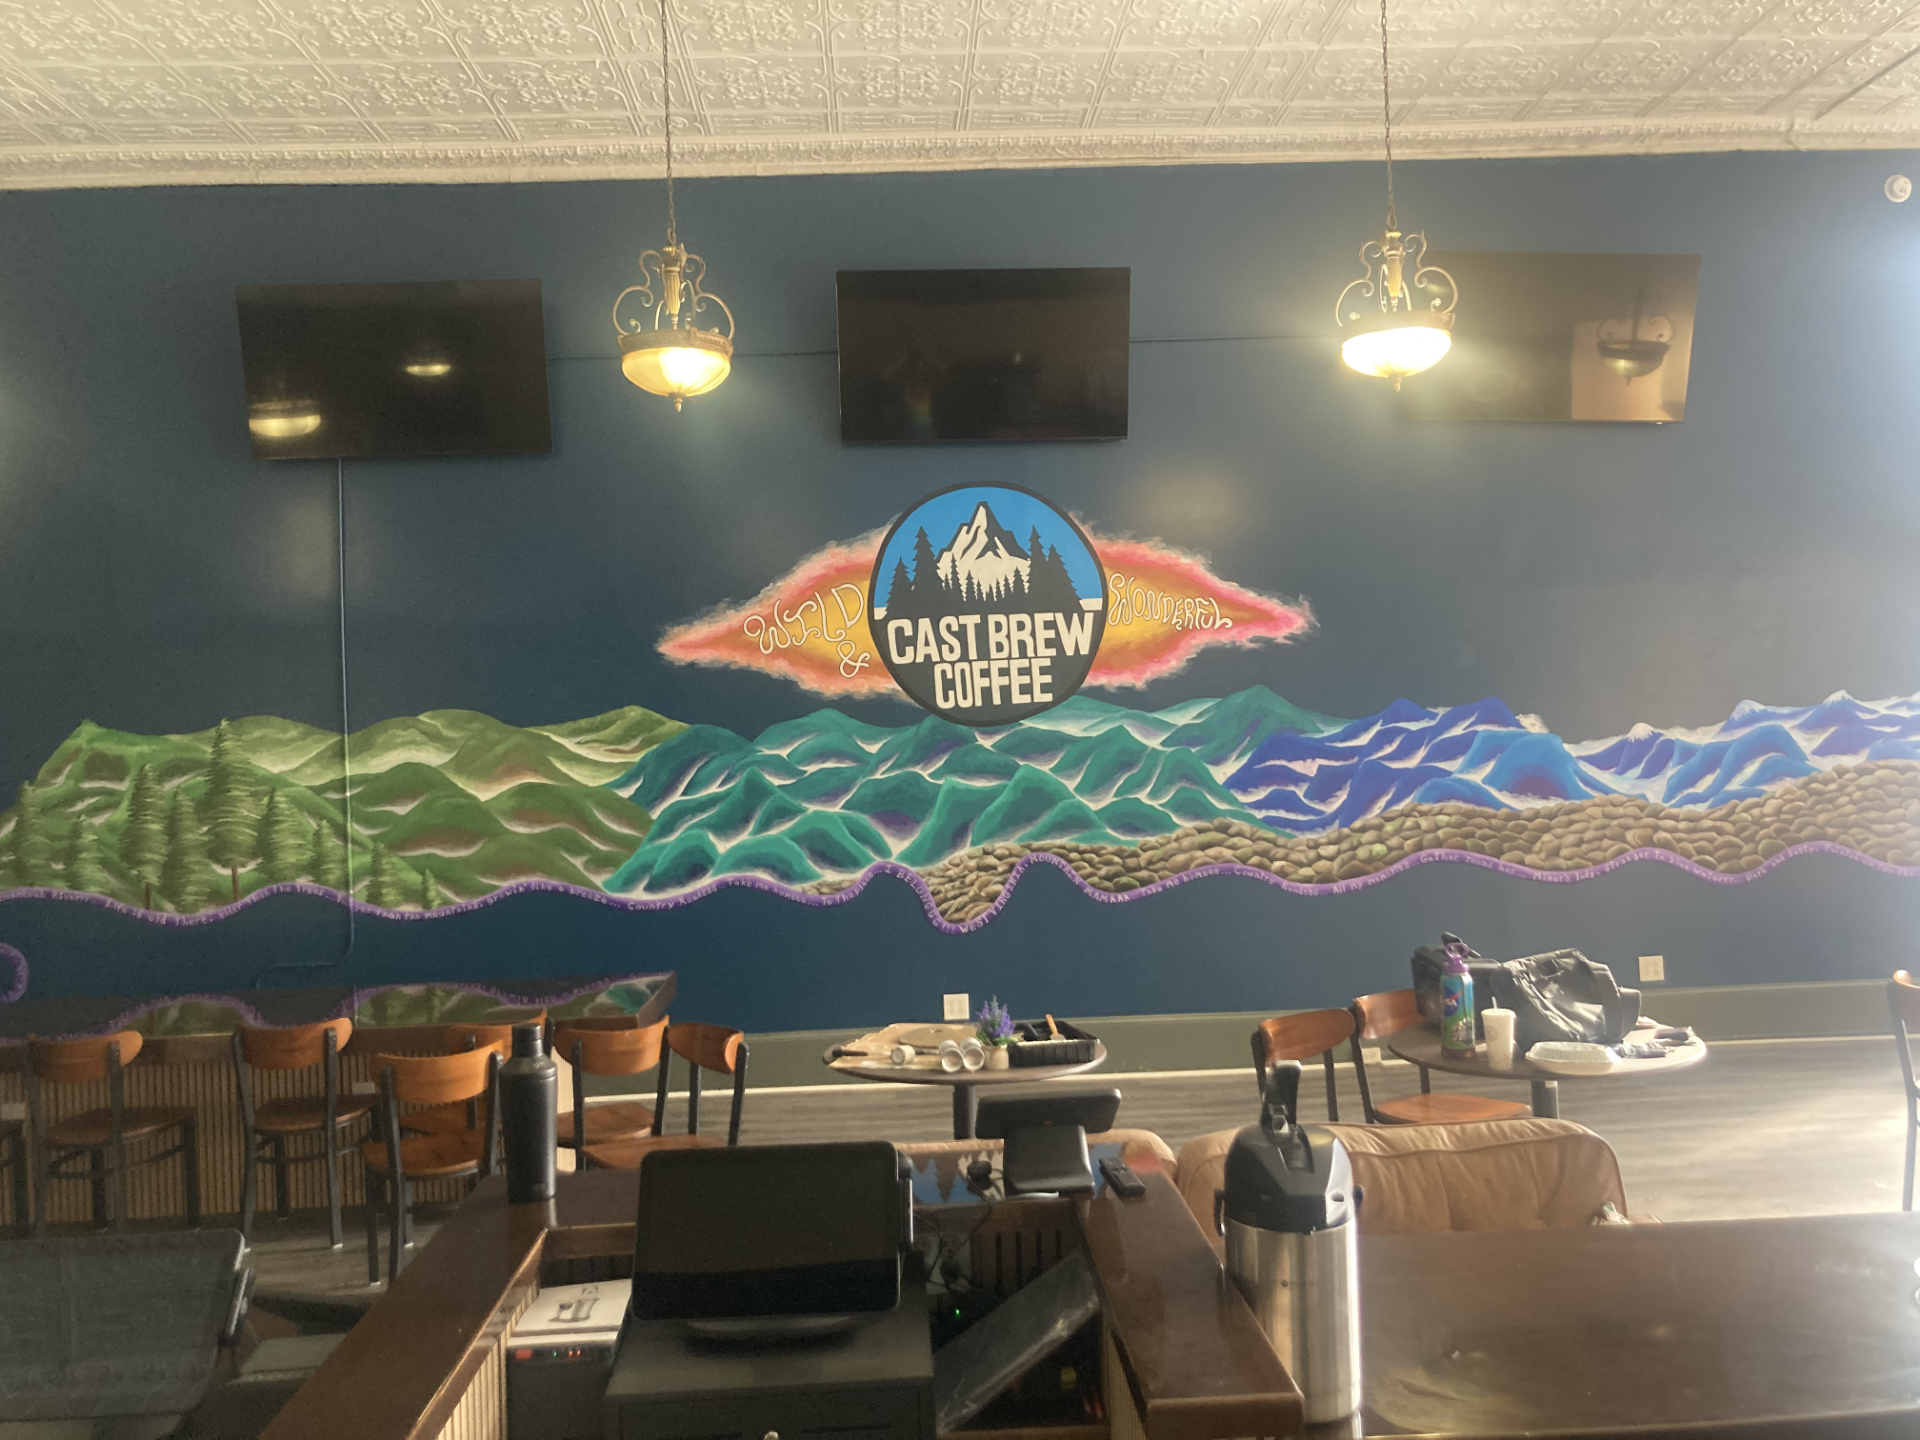
Yay! We got the logo in the mural; no more dark side of the moon vibes.
Session 10
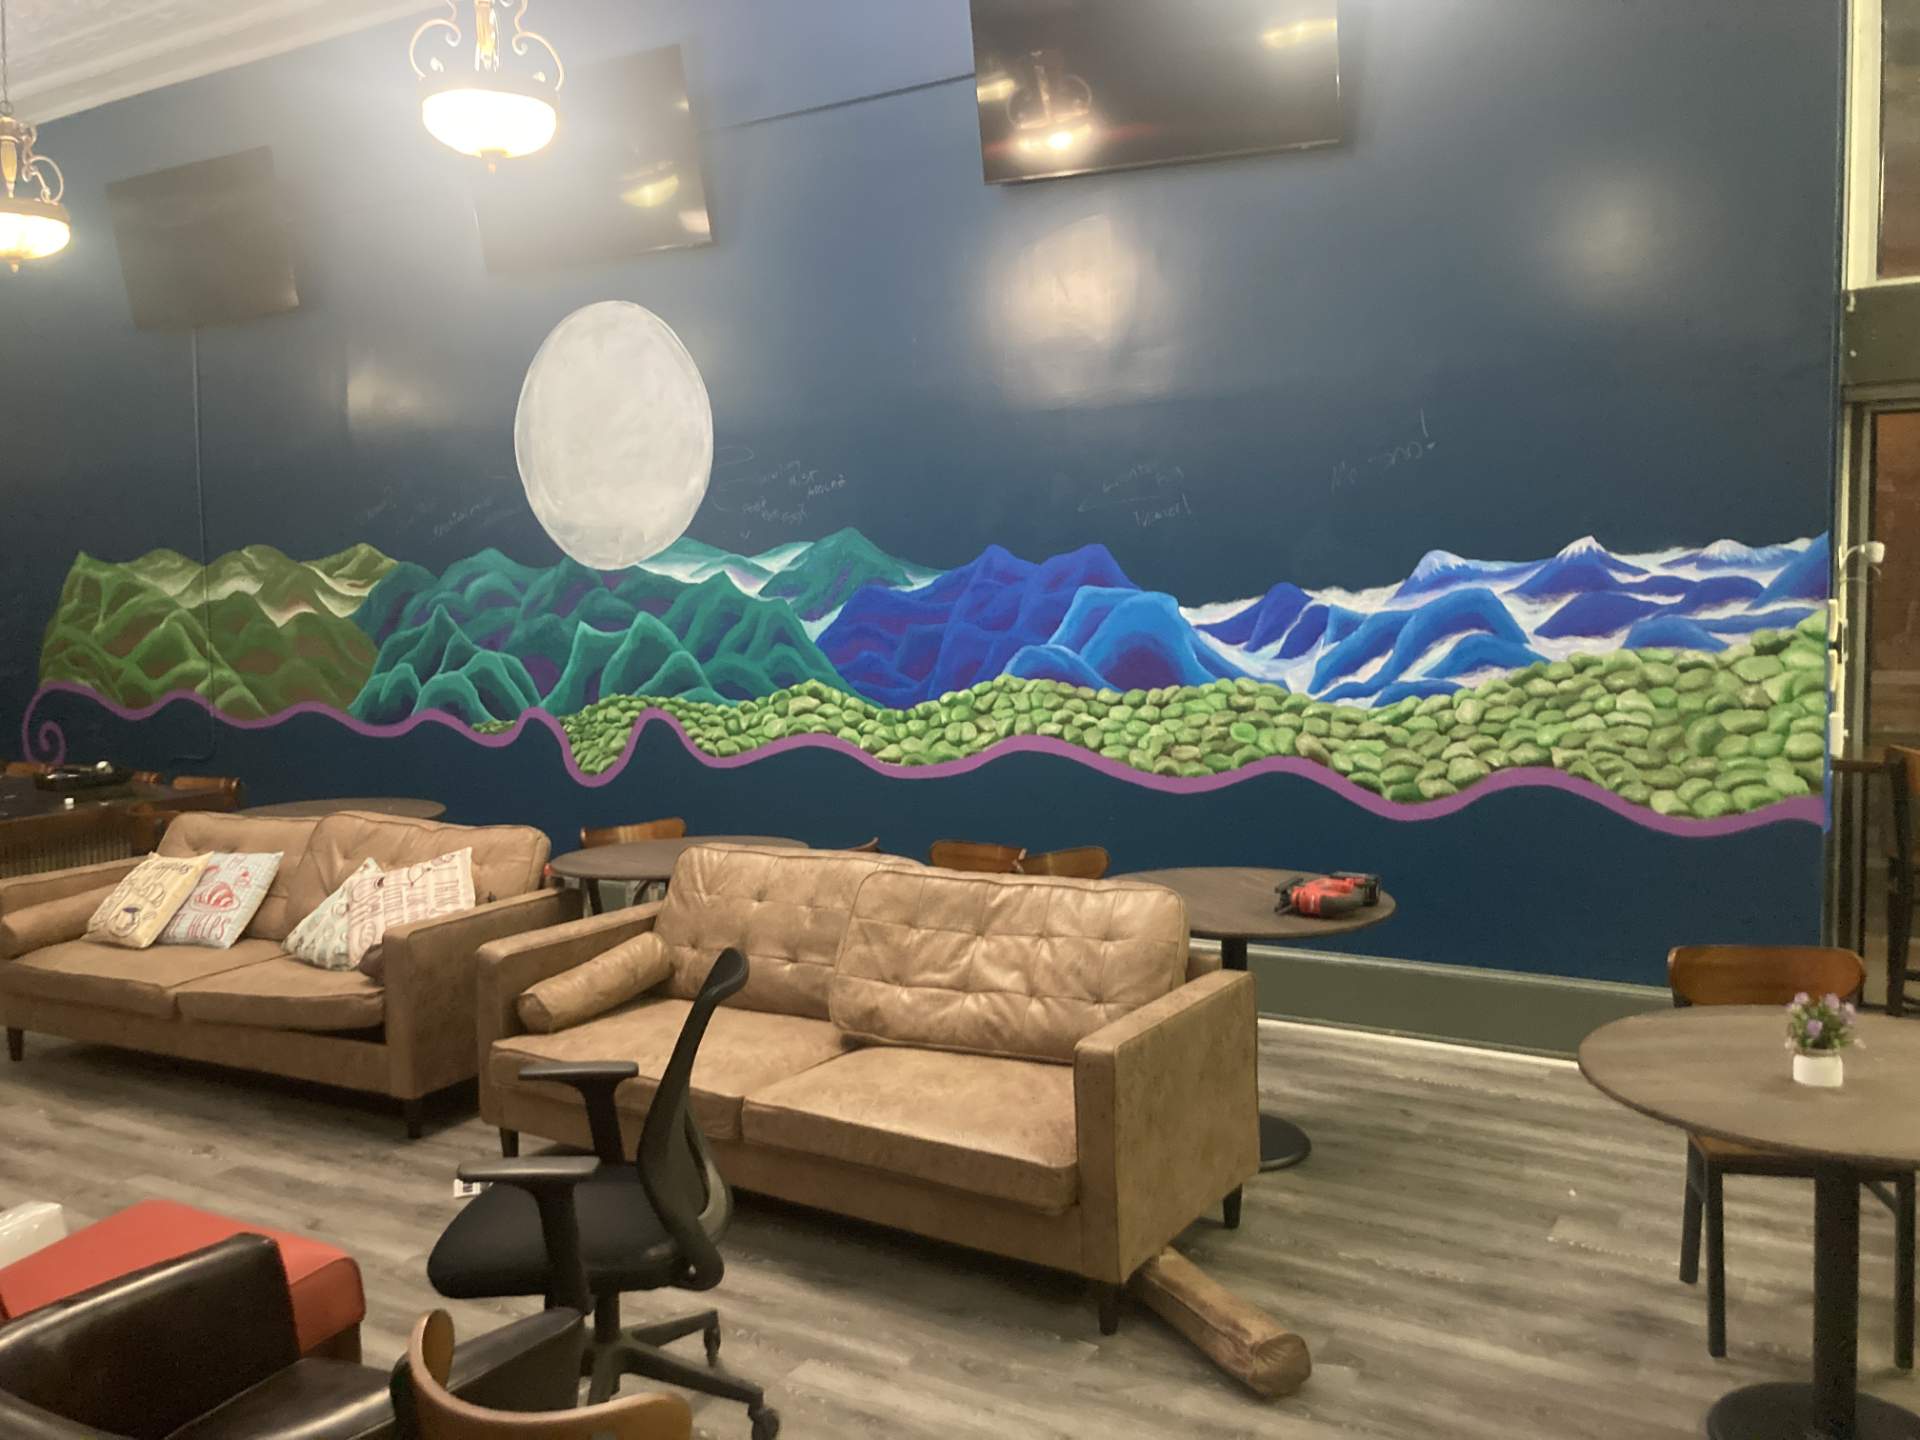
BEHOLD, TREES AND ROCKS!
Welp, our foreground of trees on the right did not go as planned. But! The trees on the left went swimmingly.
We ended up turning the initial treeline into stones, which worked out pretty well because they had a nice mossy blend to em. All that was left was to add some WV Cryptids hidden in the fog and a few polishing details.
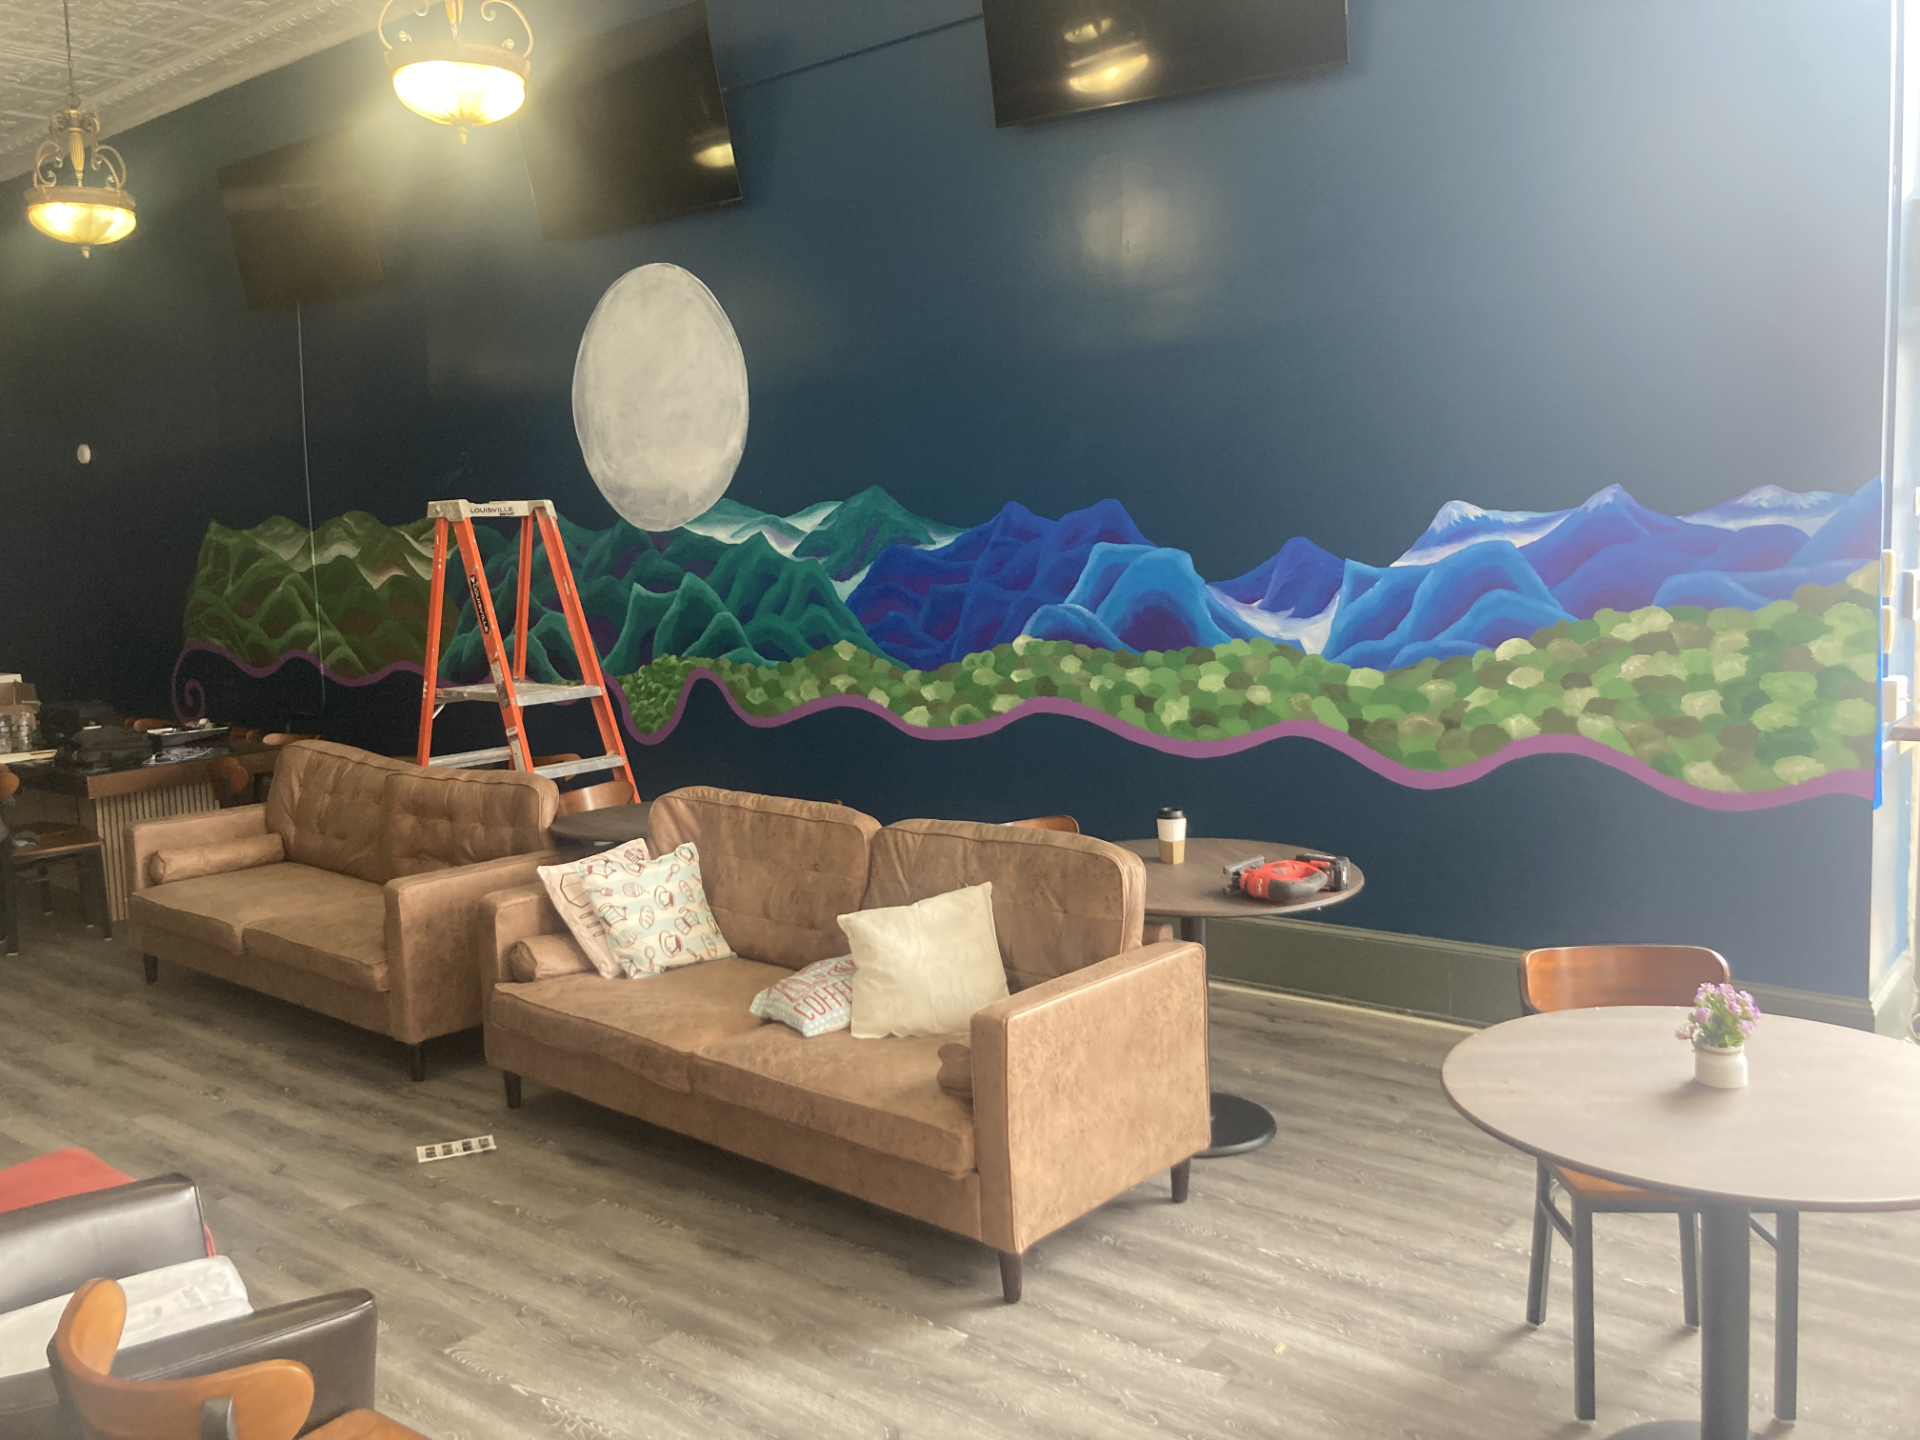
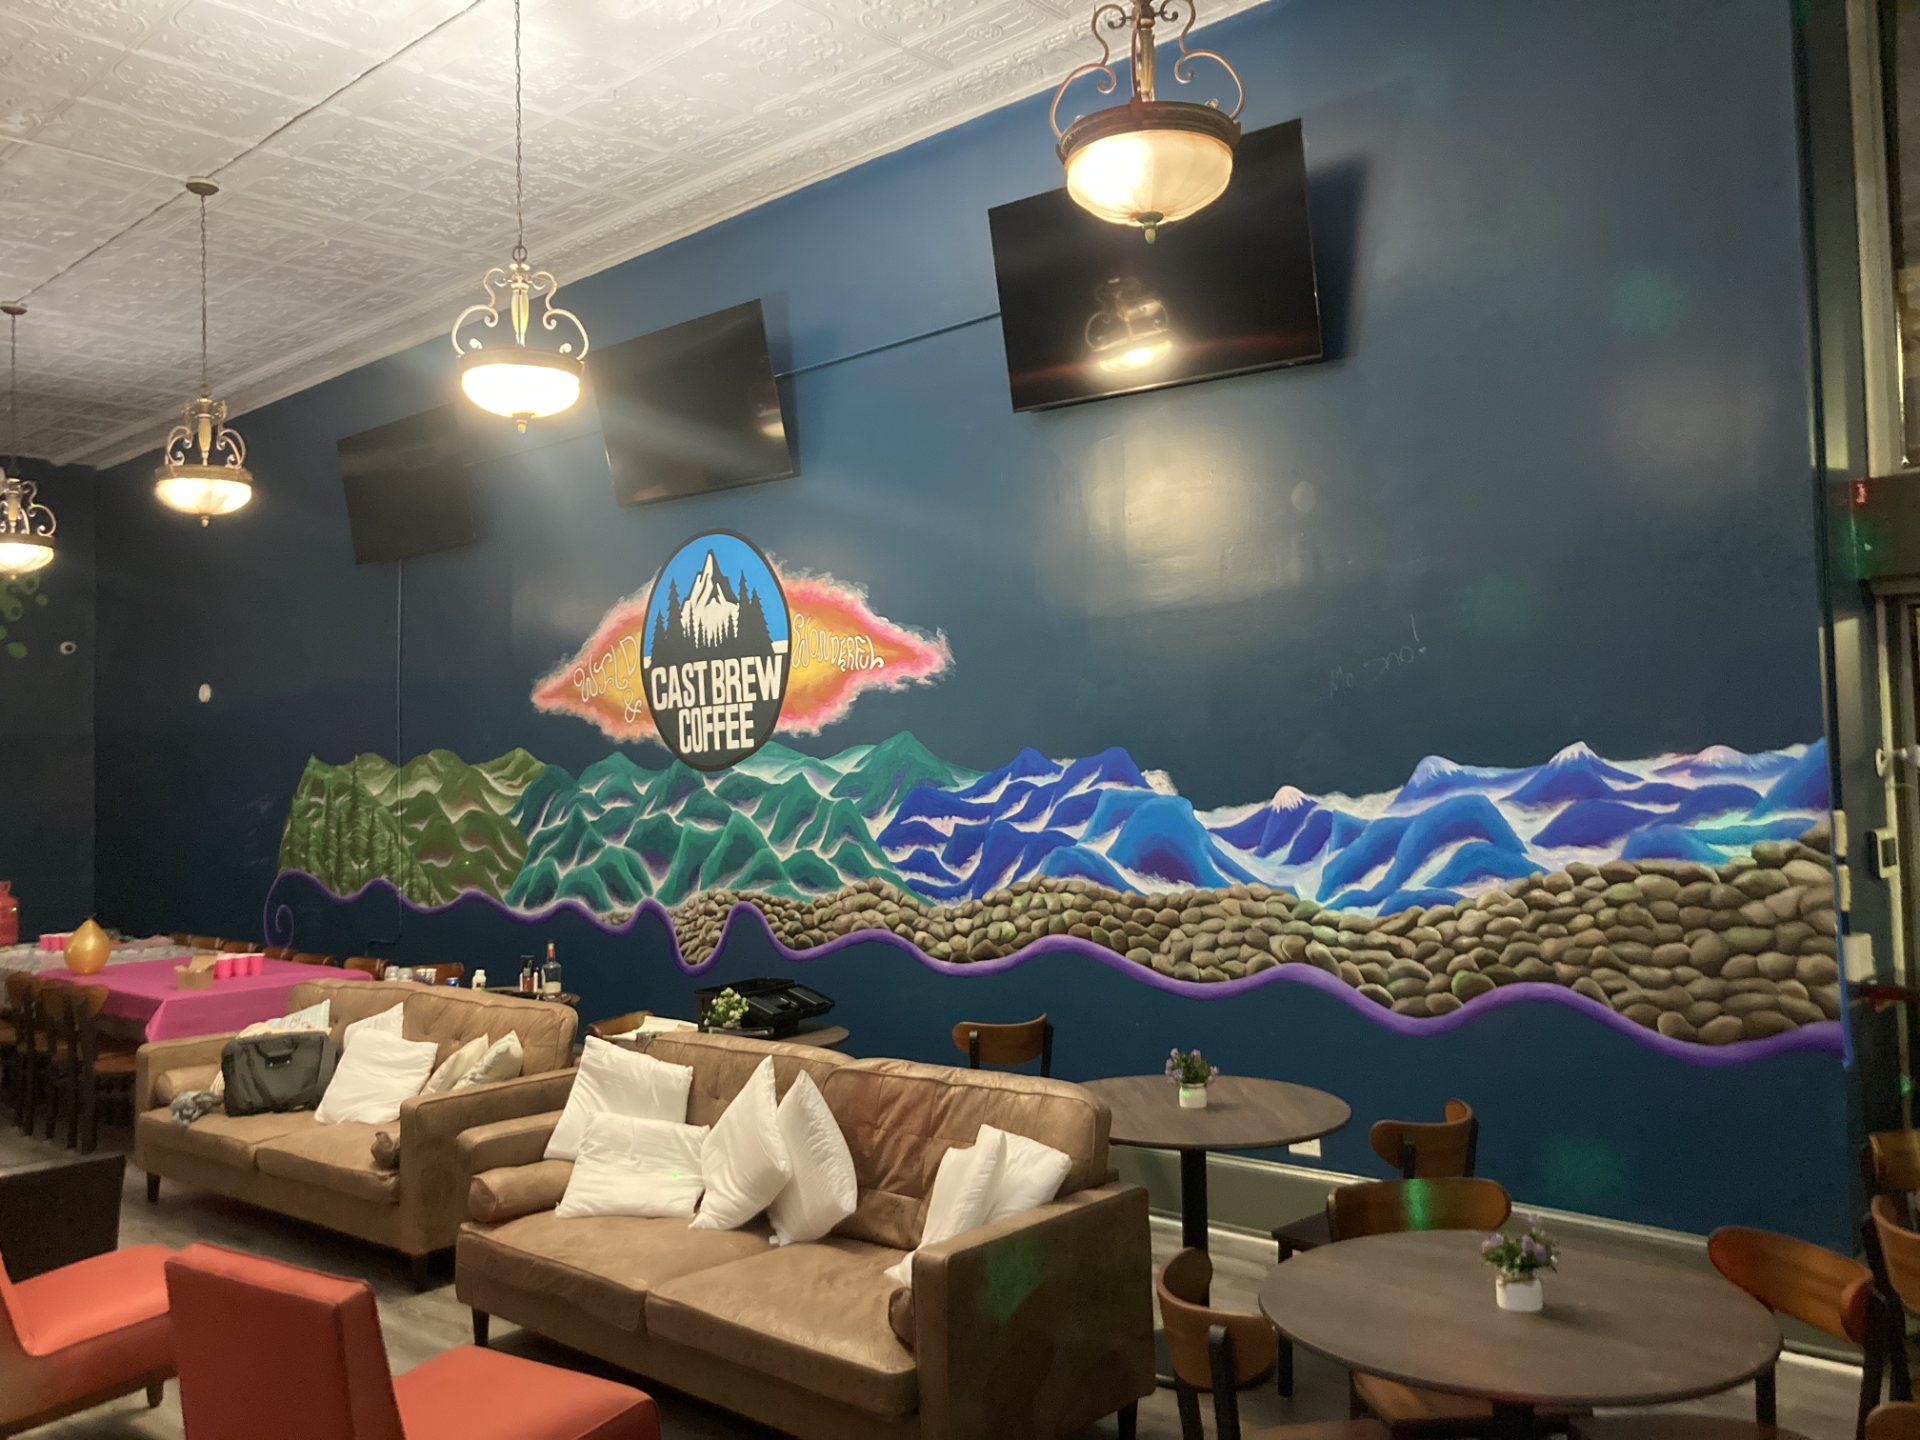
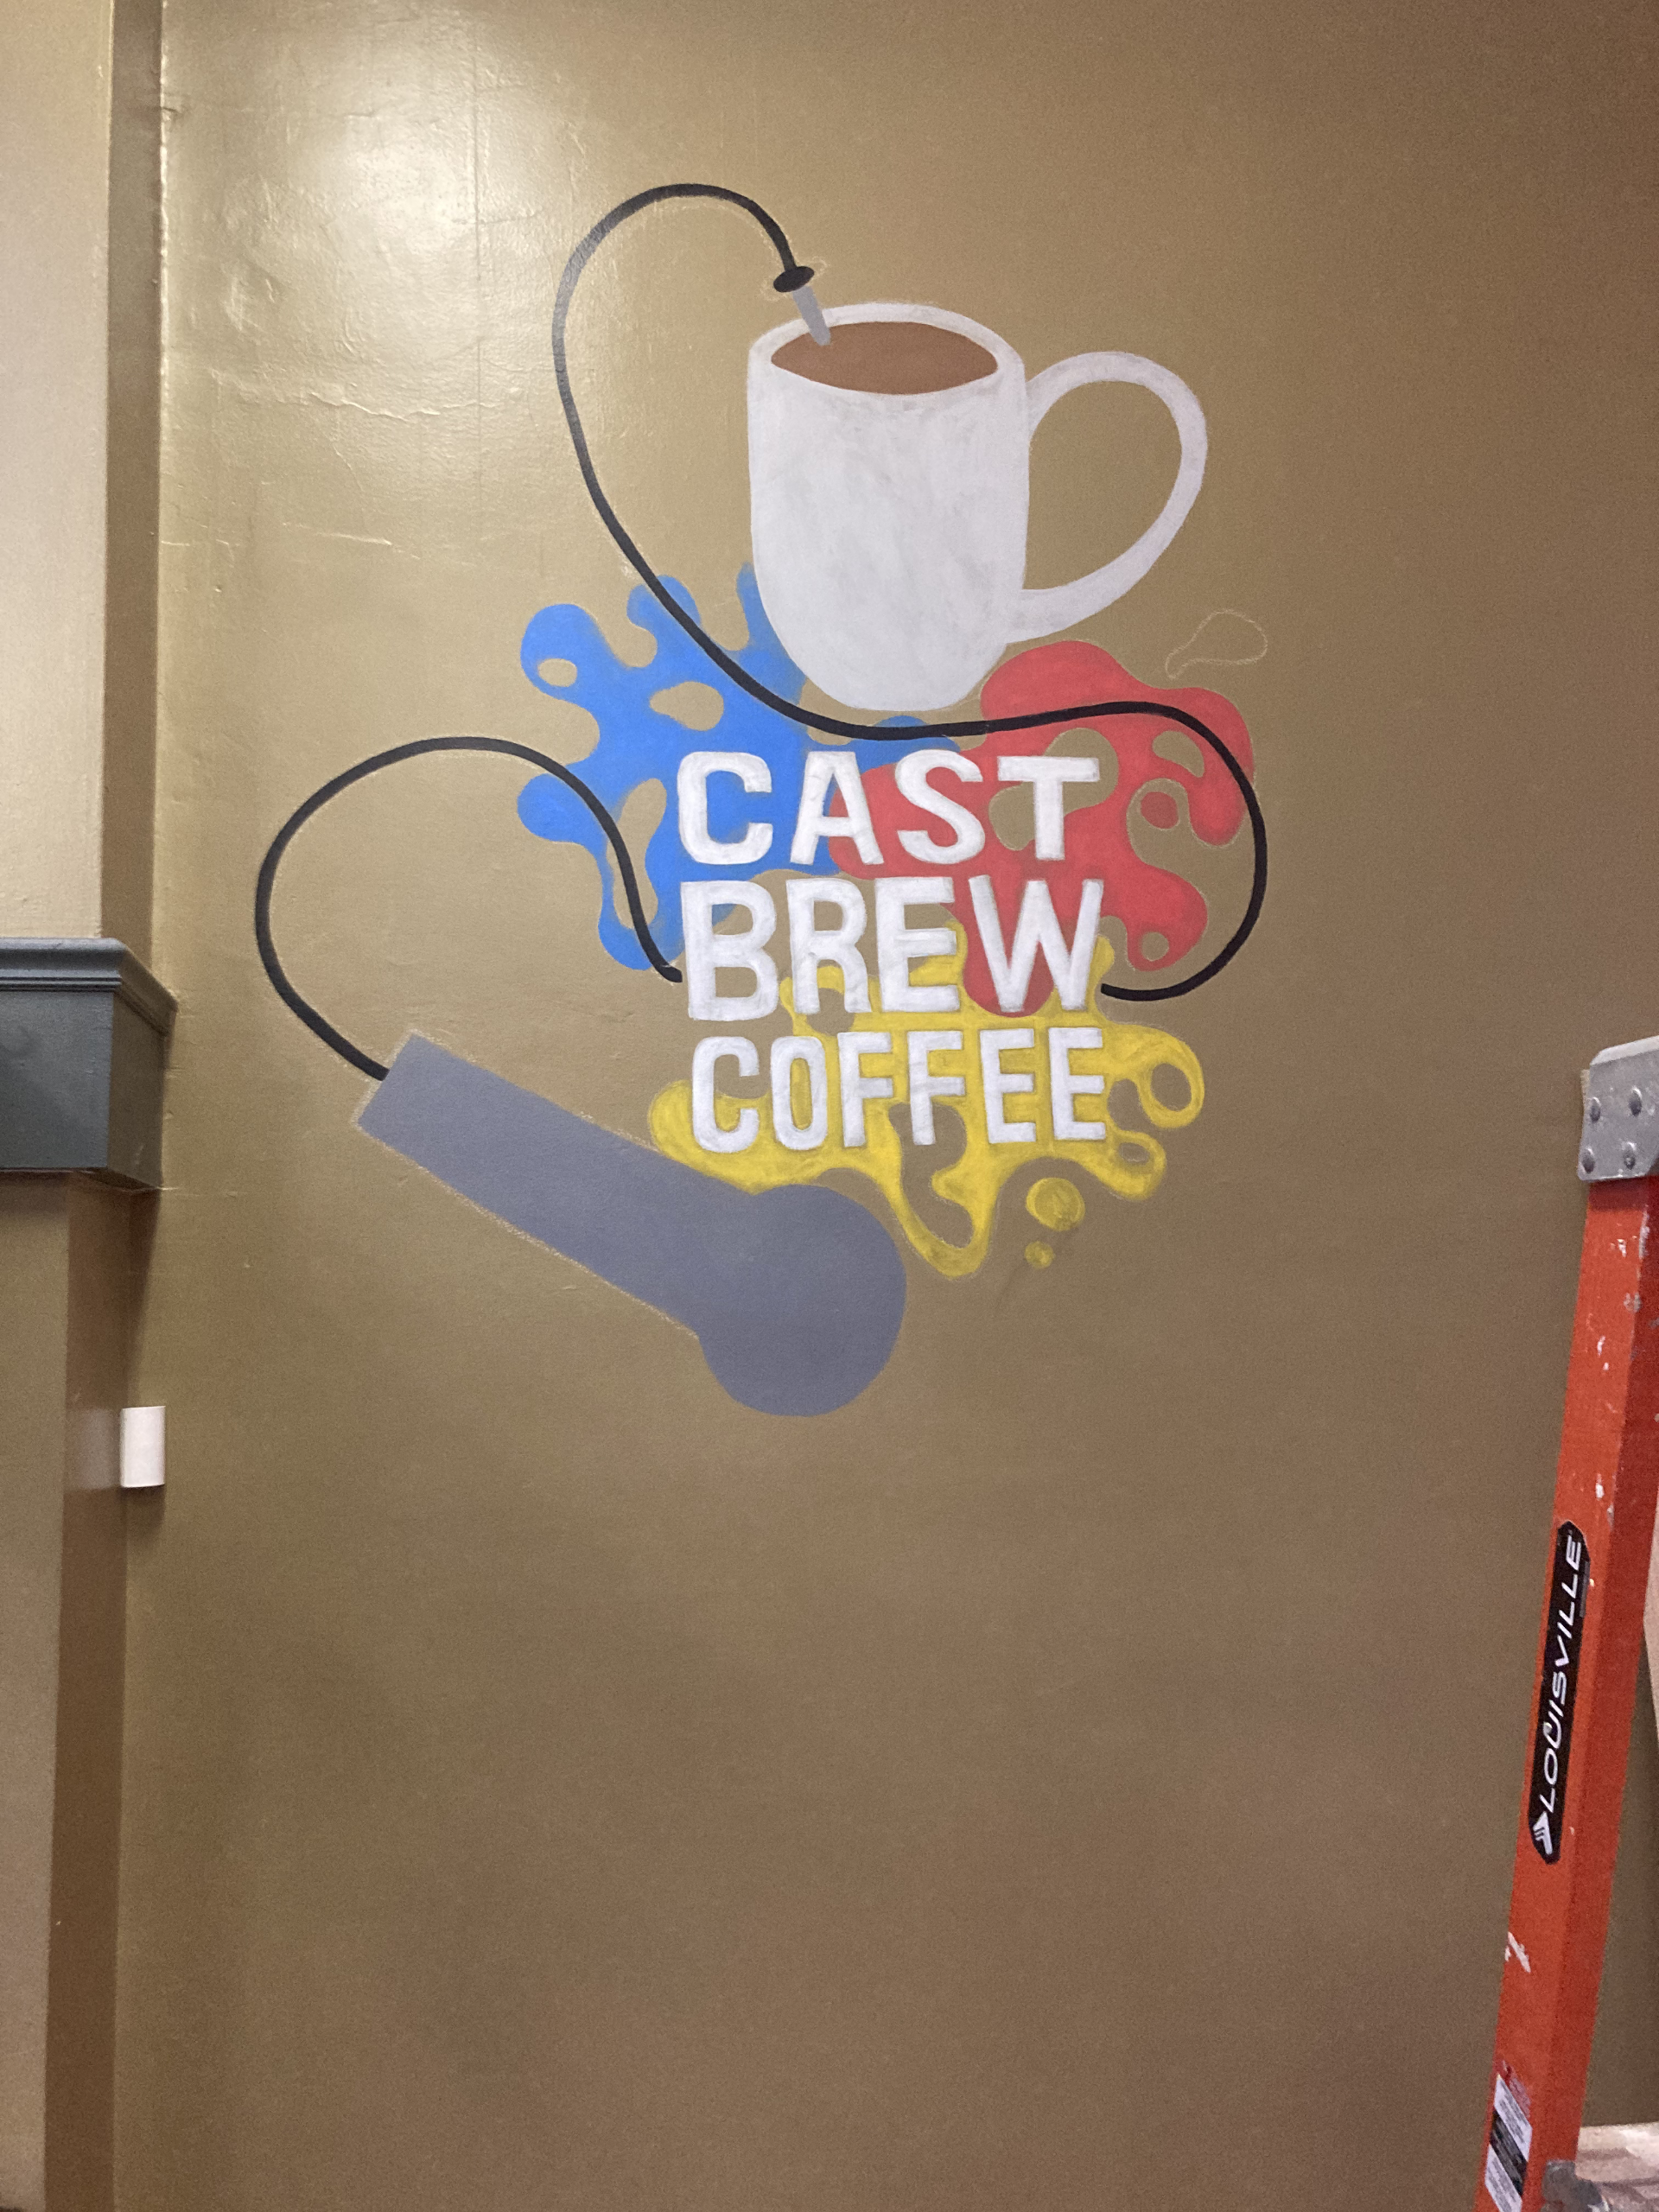
This is the 5th Mural on the wall at Mamba Collectibles. We would like to take this time to emphasize that we do not share any of our clients' personal beliefs or affiliations, and at this time, we did not know who the client was. MarksArtResource holds a strong commitment to freedom of speech and freedom to mind your own damn business and will not take any commission depicting political or religious figures. That being said, we are pleased to have been able to knock this one out for Cast Brew Coffee's first storefront location.
Fun fact, this is where Mark began overcoming his fear of heights.
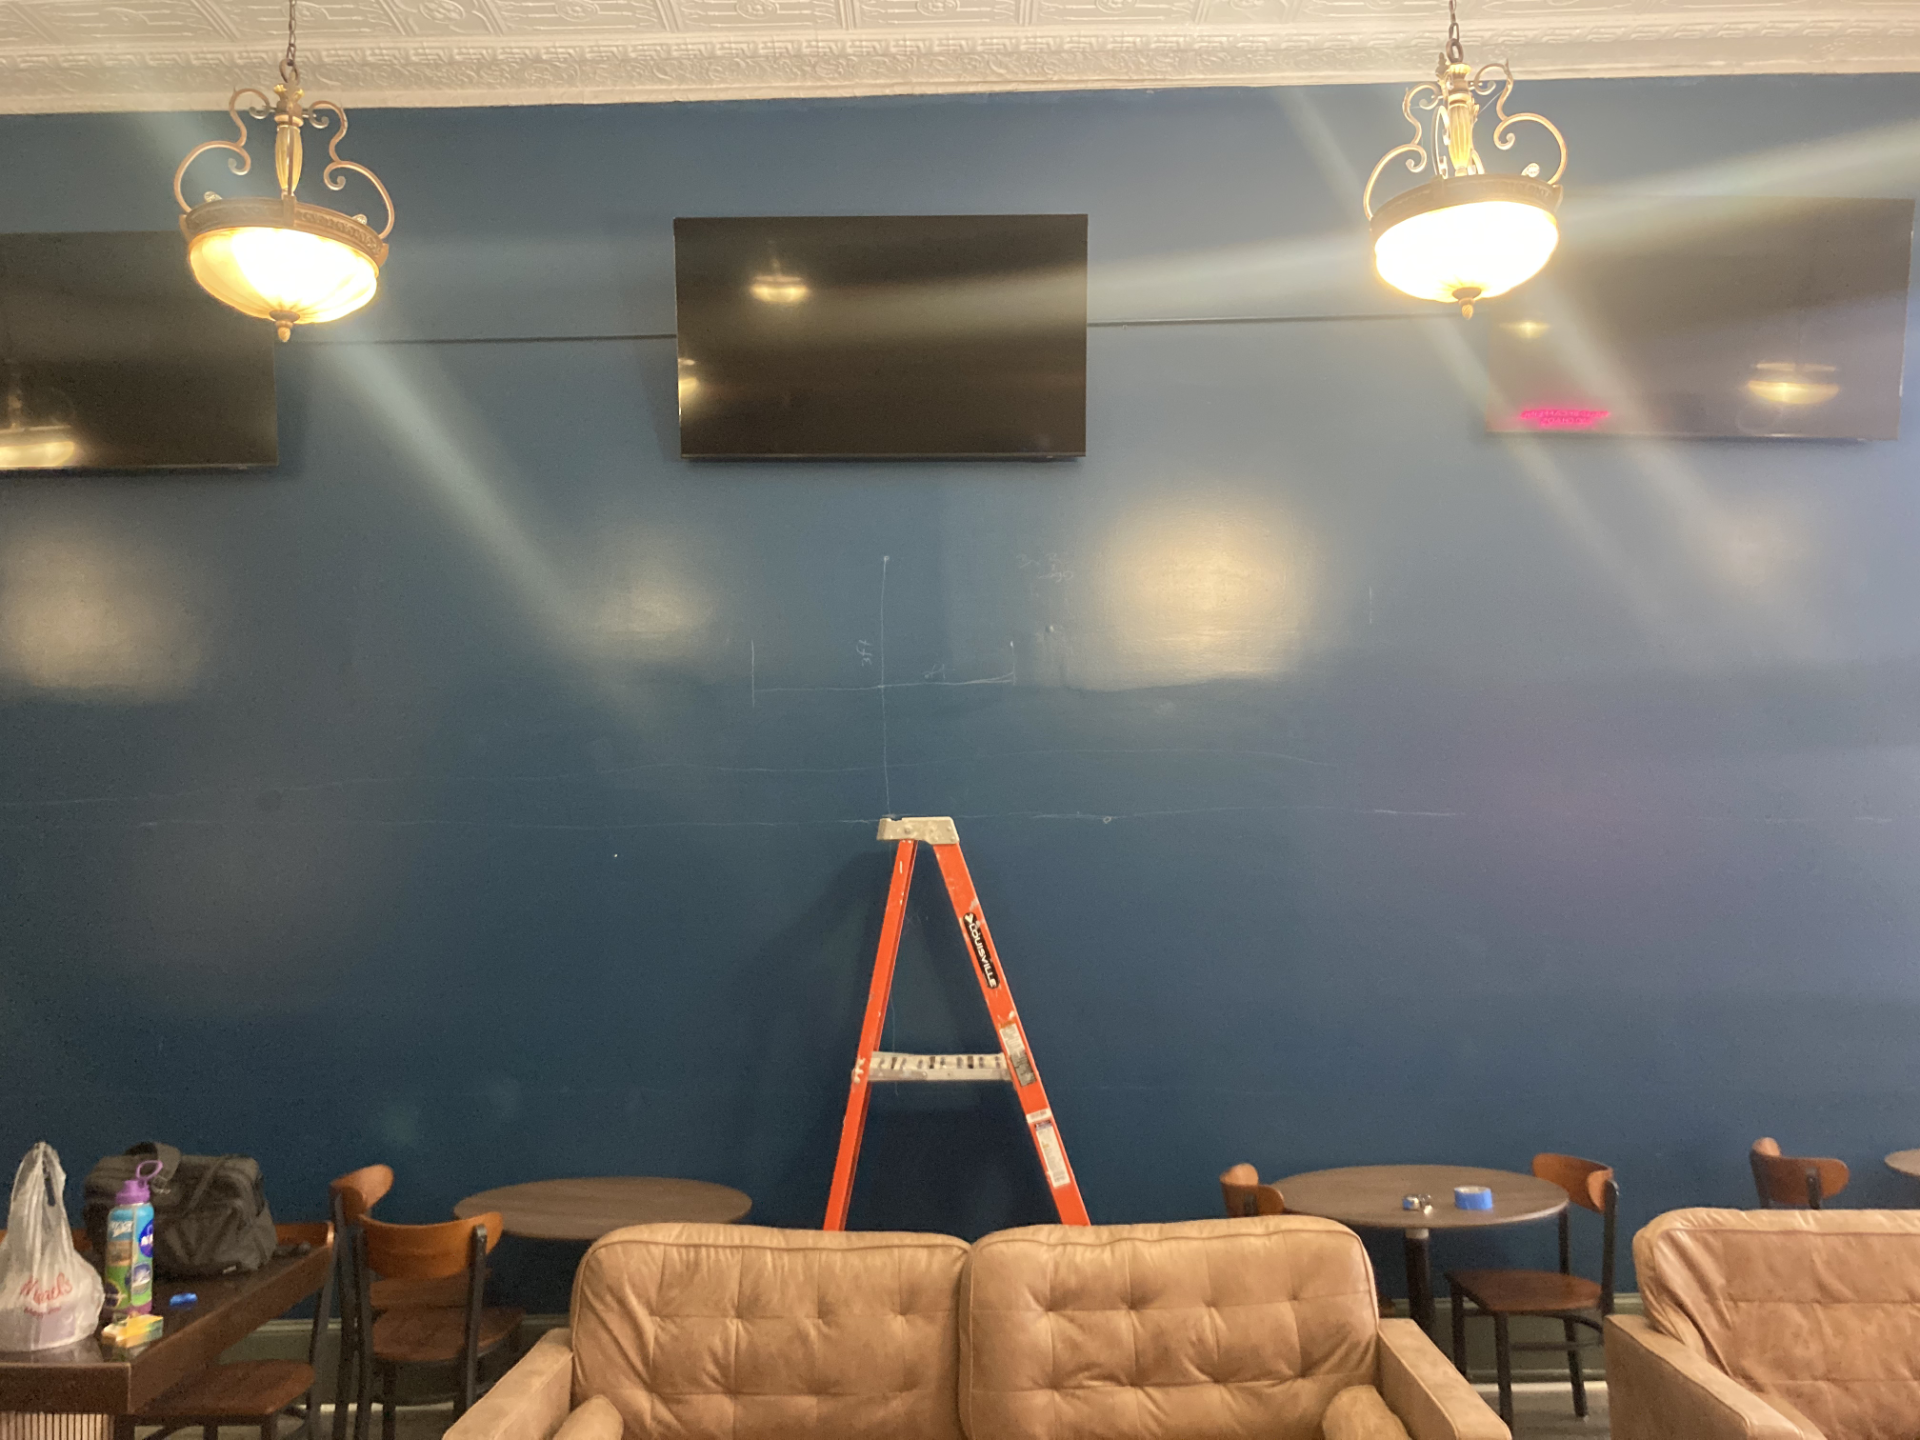
This is the completed product; however, you can see its progress from day 0 by waiting patiently, or clicking the right arrow.
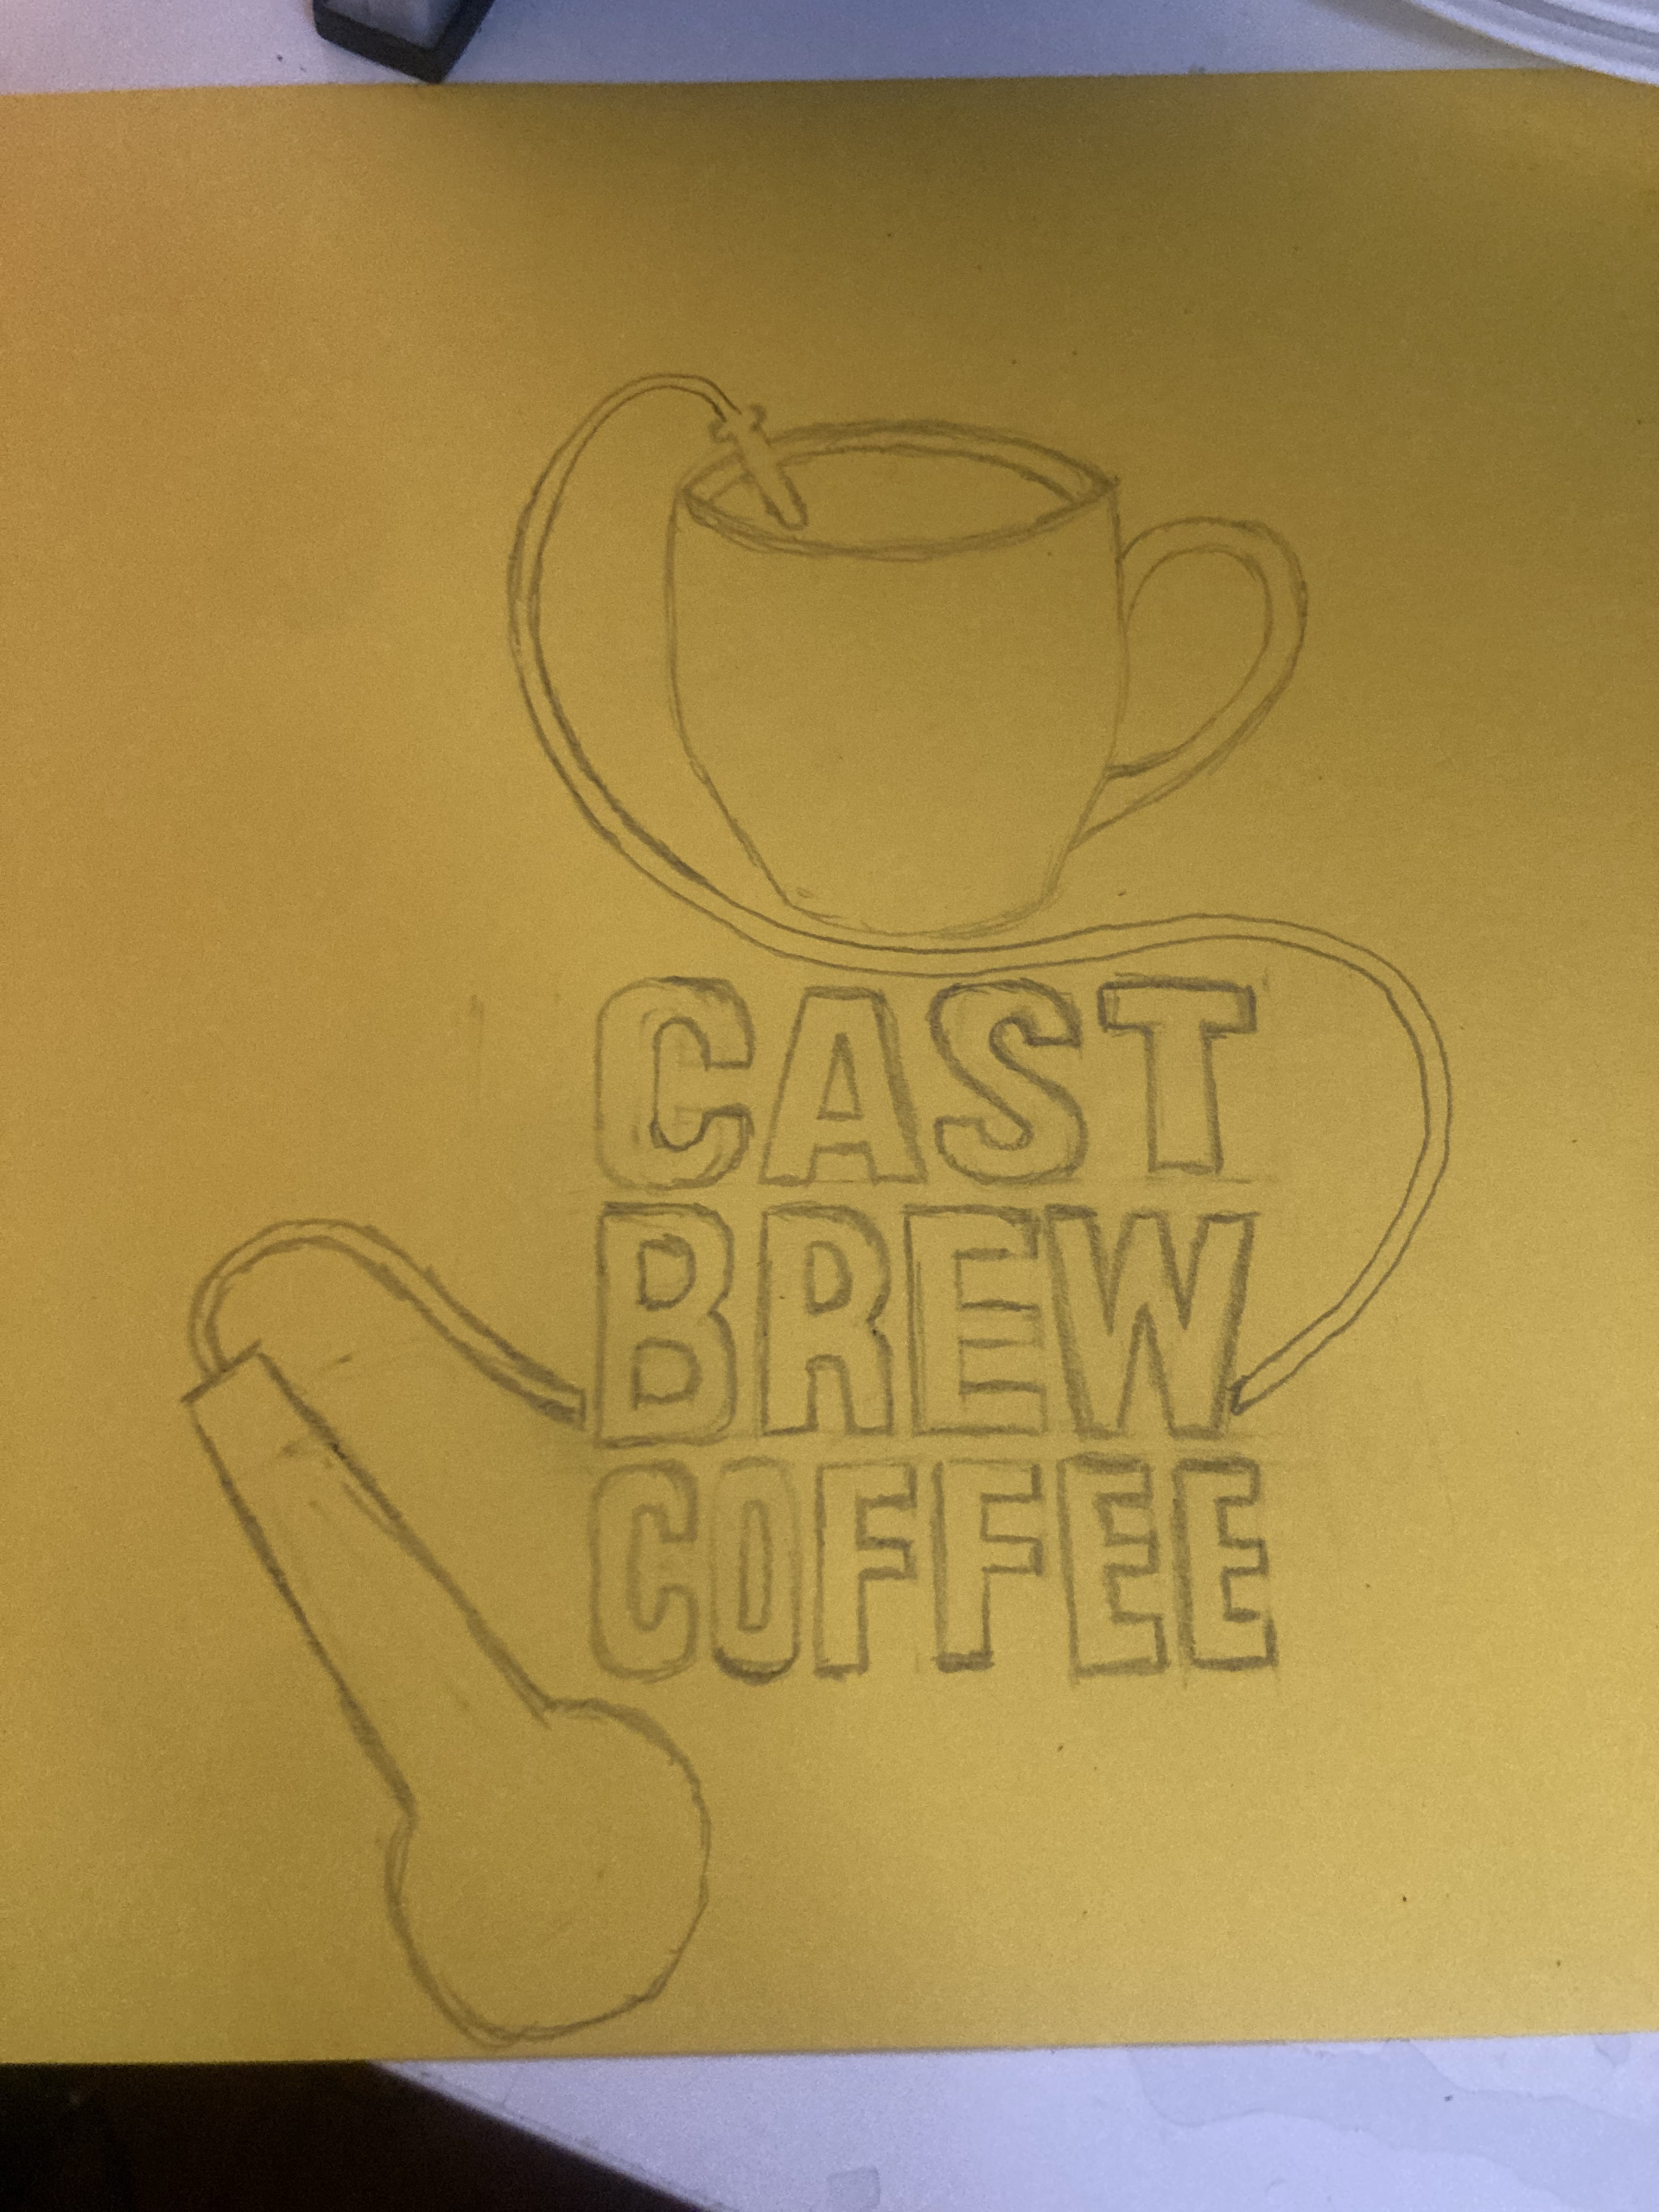
Session 0
Another masterpiece of a sketch! We work with our clients to make sure we have the right vision in mind, but leave plenty of room for creative input.
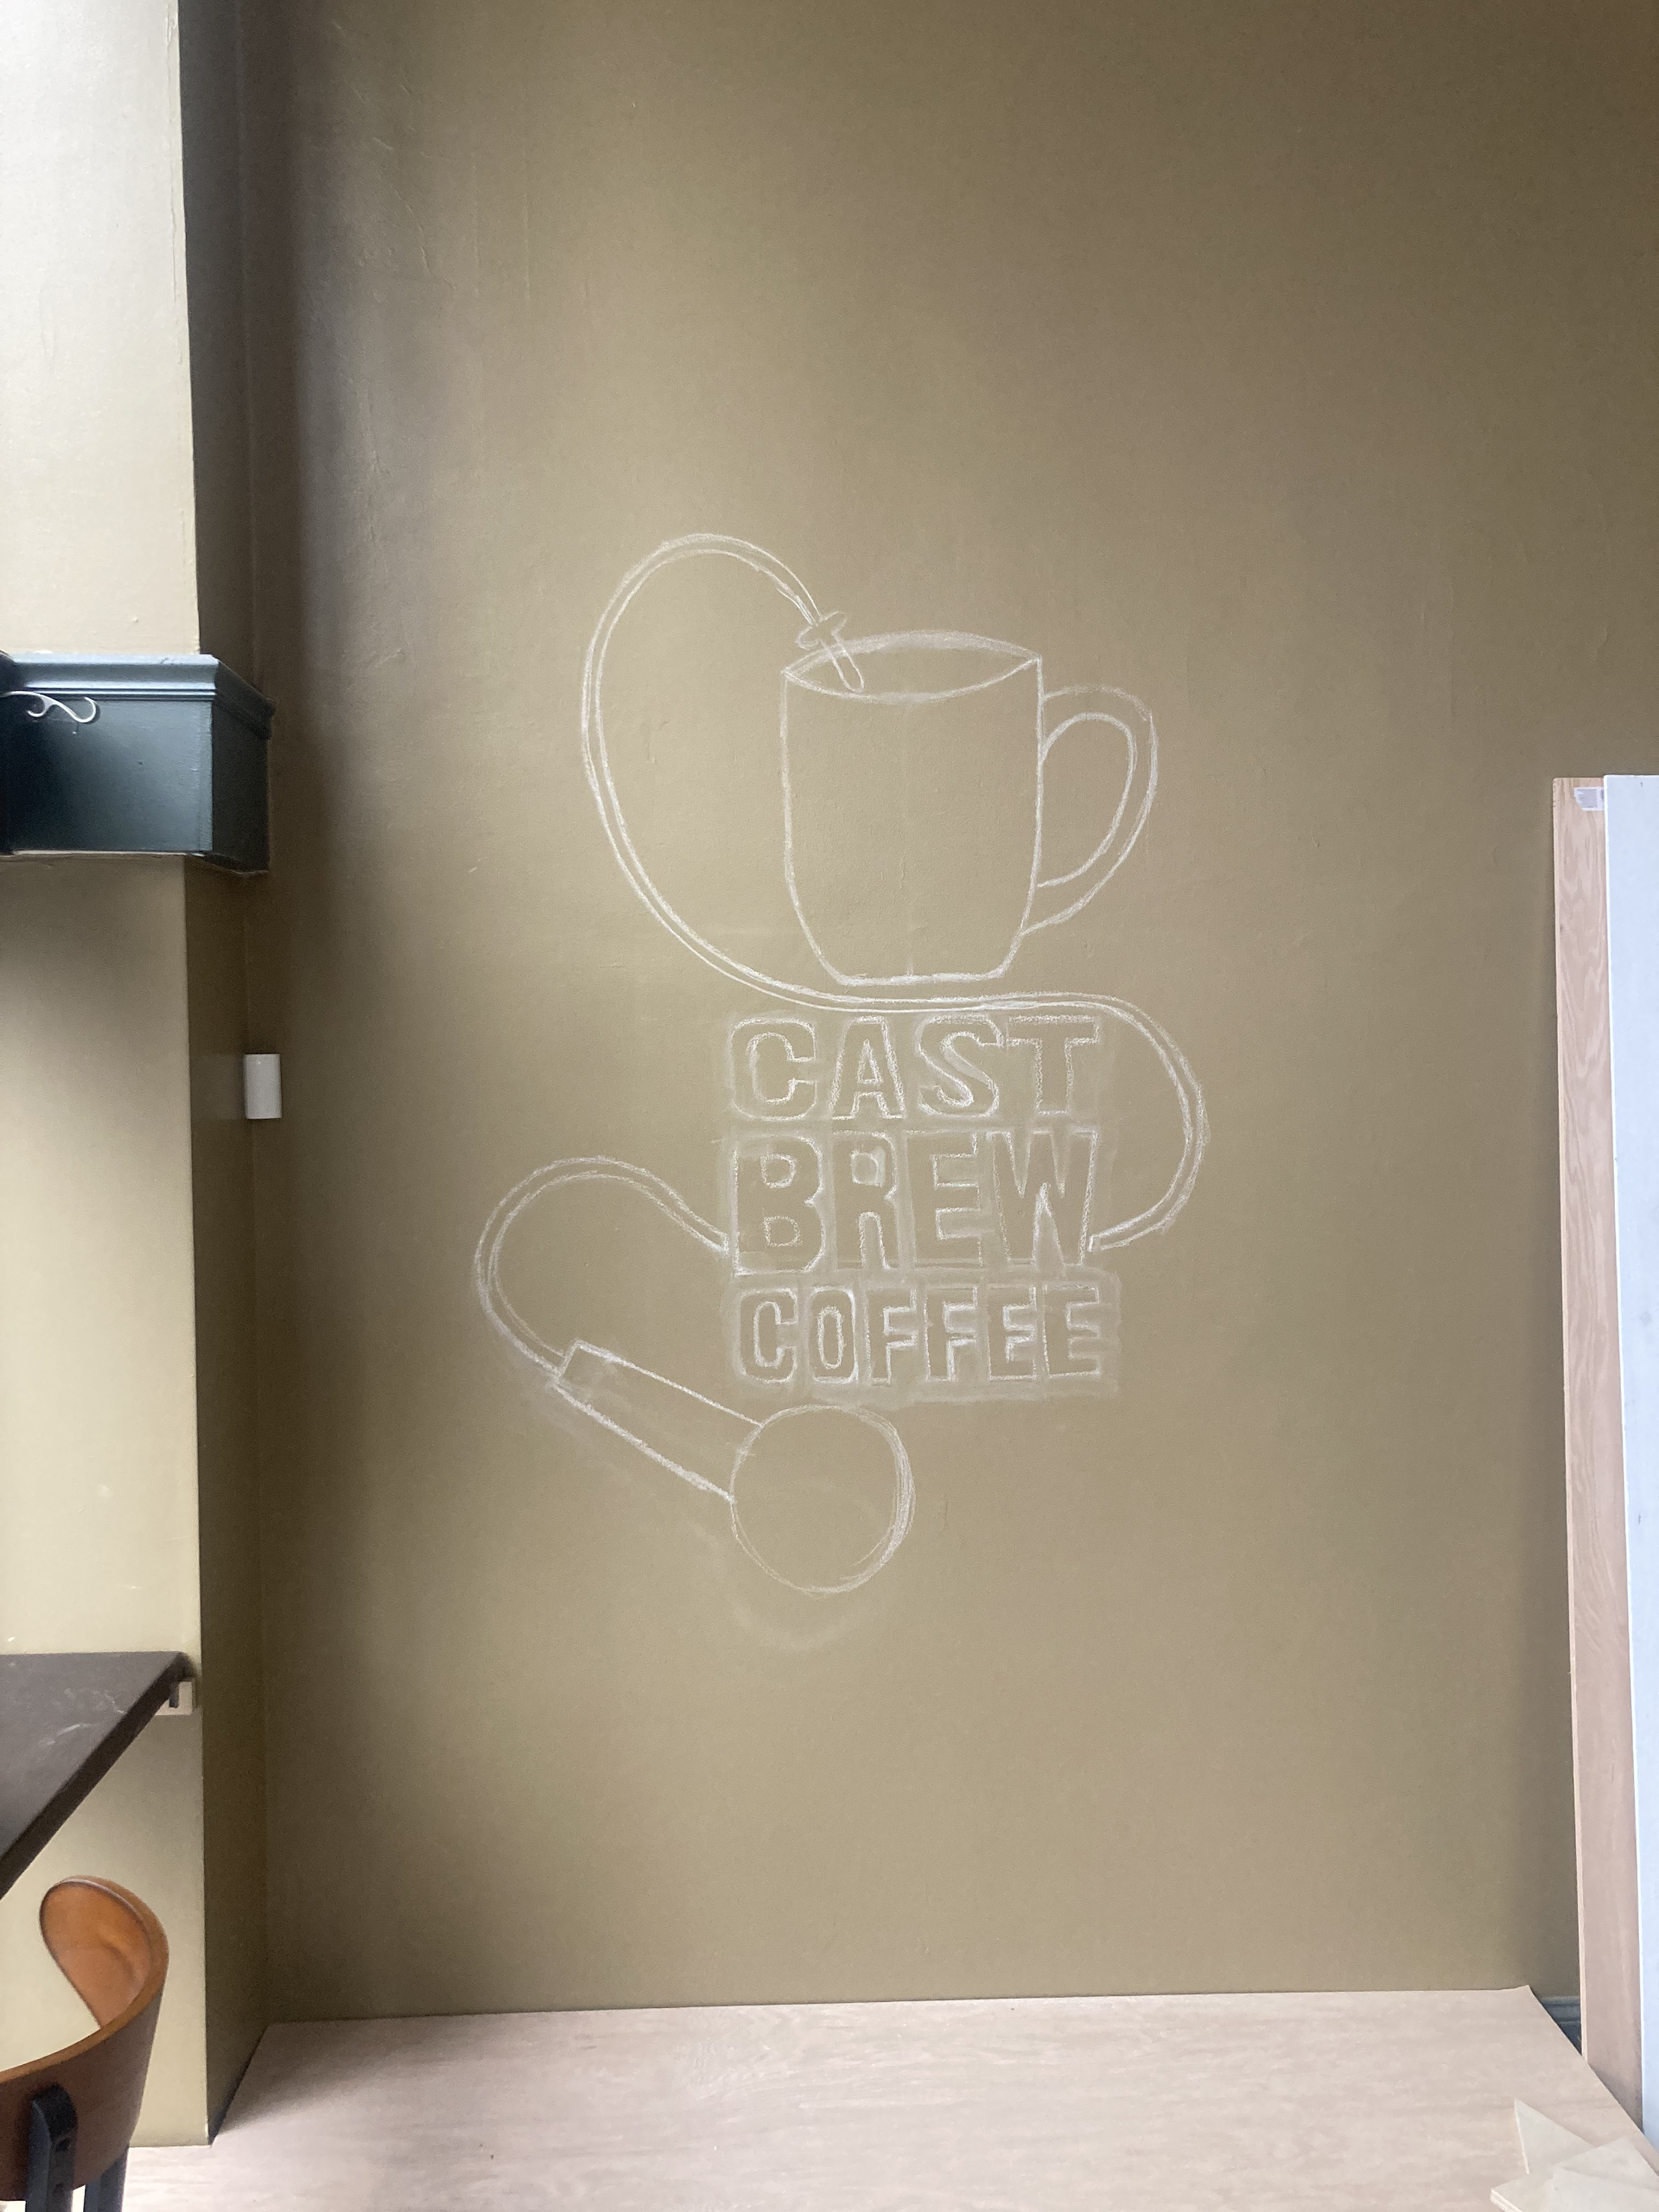
Session 1
Here is the initial chalk sketch. At this point we didn't anticipate there being a piano in the way, so we ended up moving it up about 4 feet.
Session 2
BEHOLD! FIRST LAYER!
Paint and color! We had not anticipated adding the splashes around the logo, but it just seemed so right to put the three primary colors.
Session 3
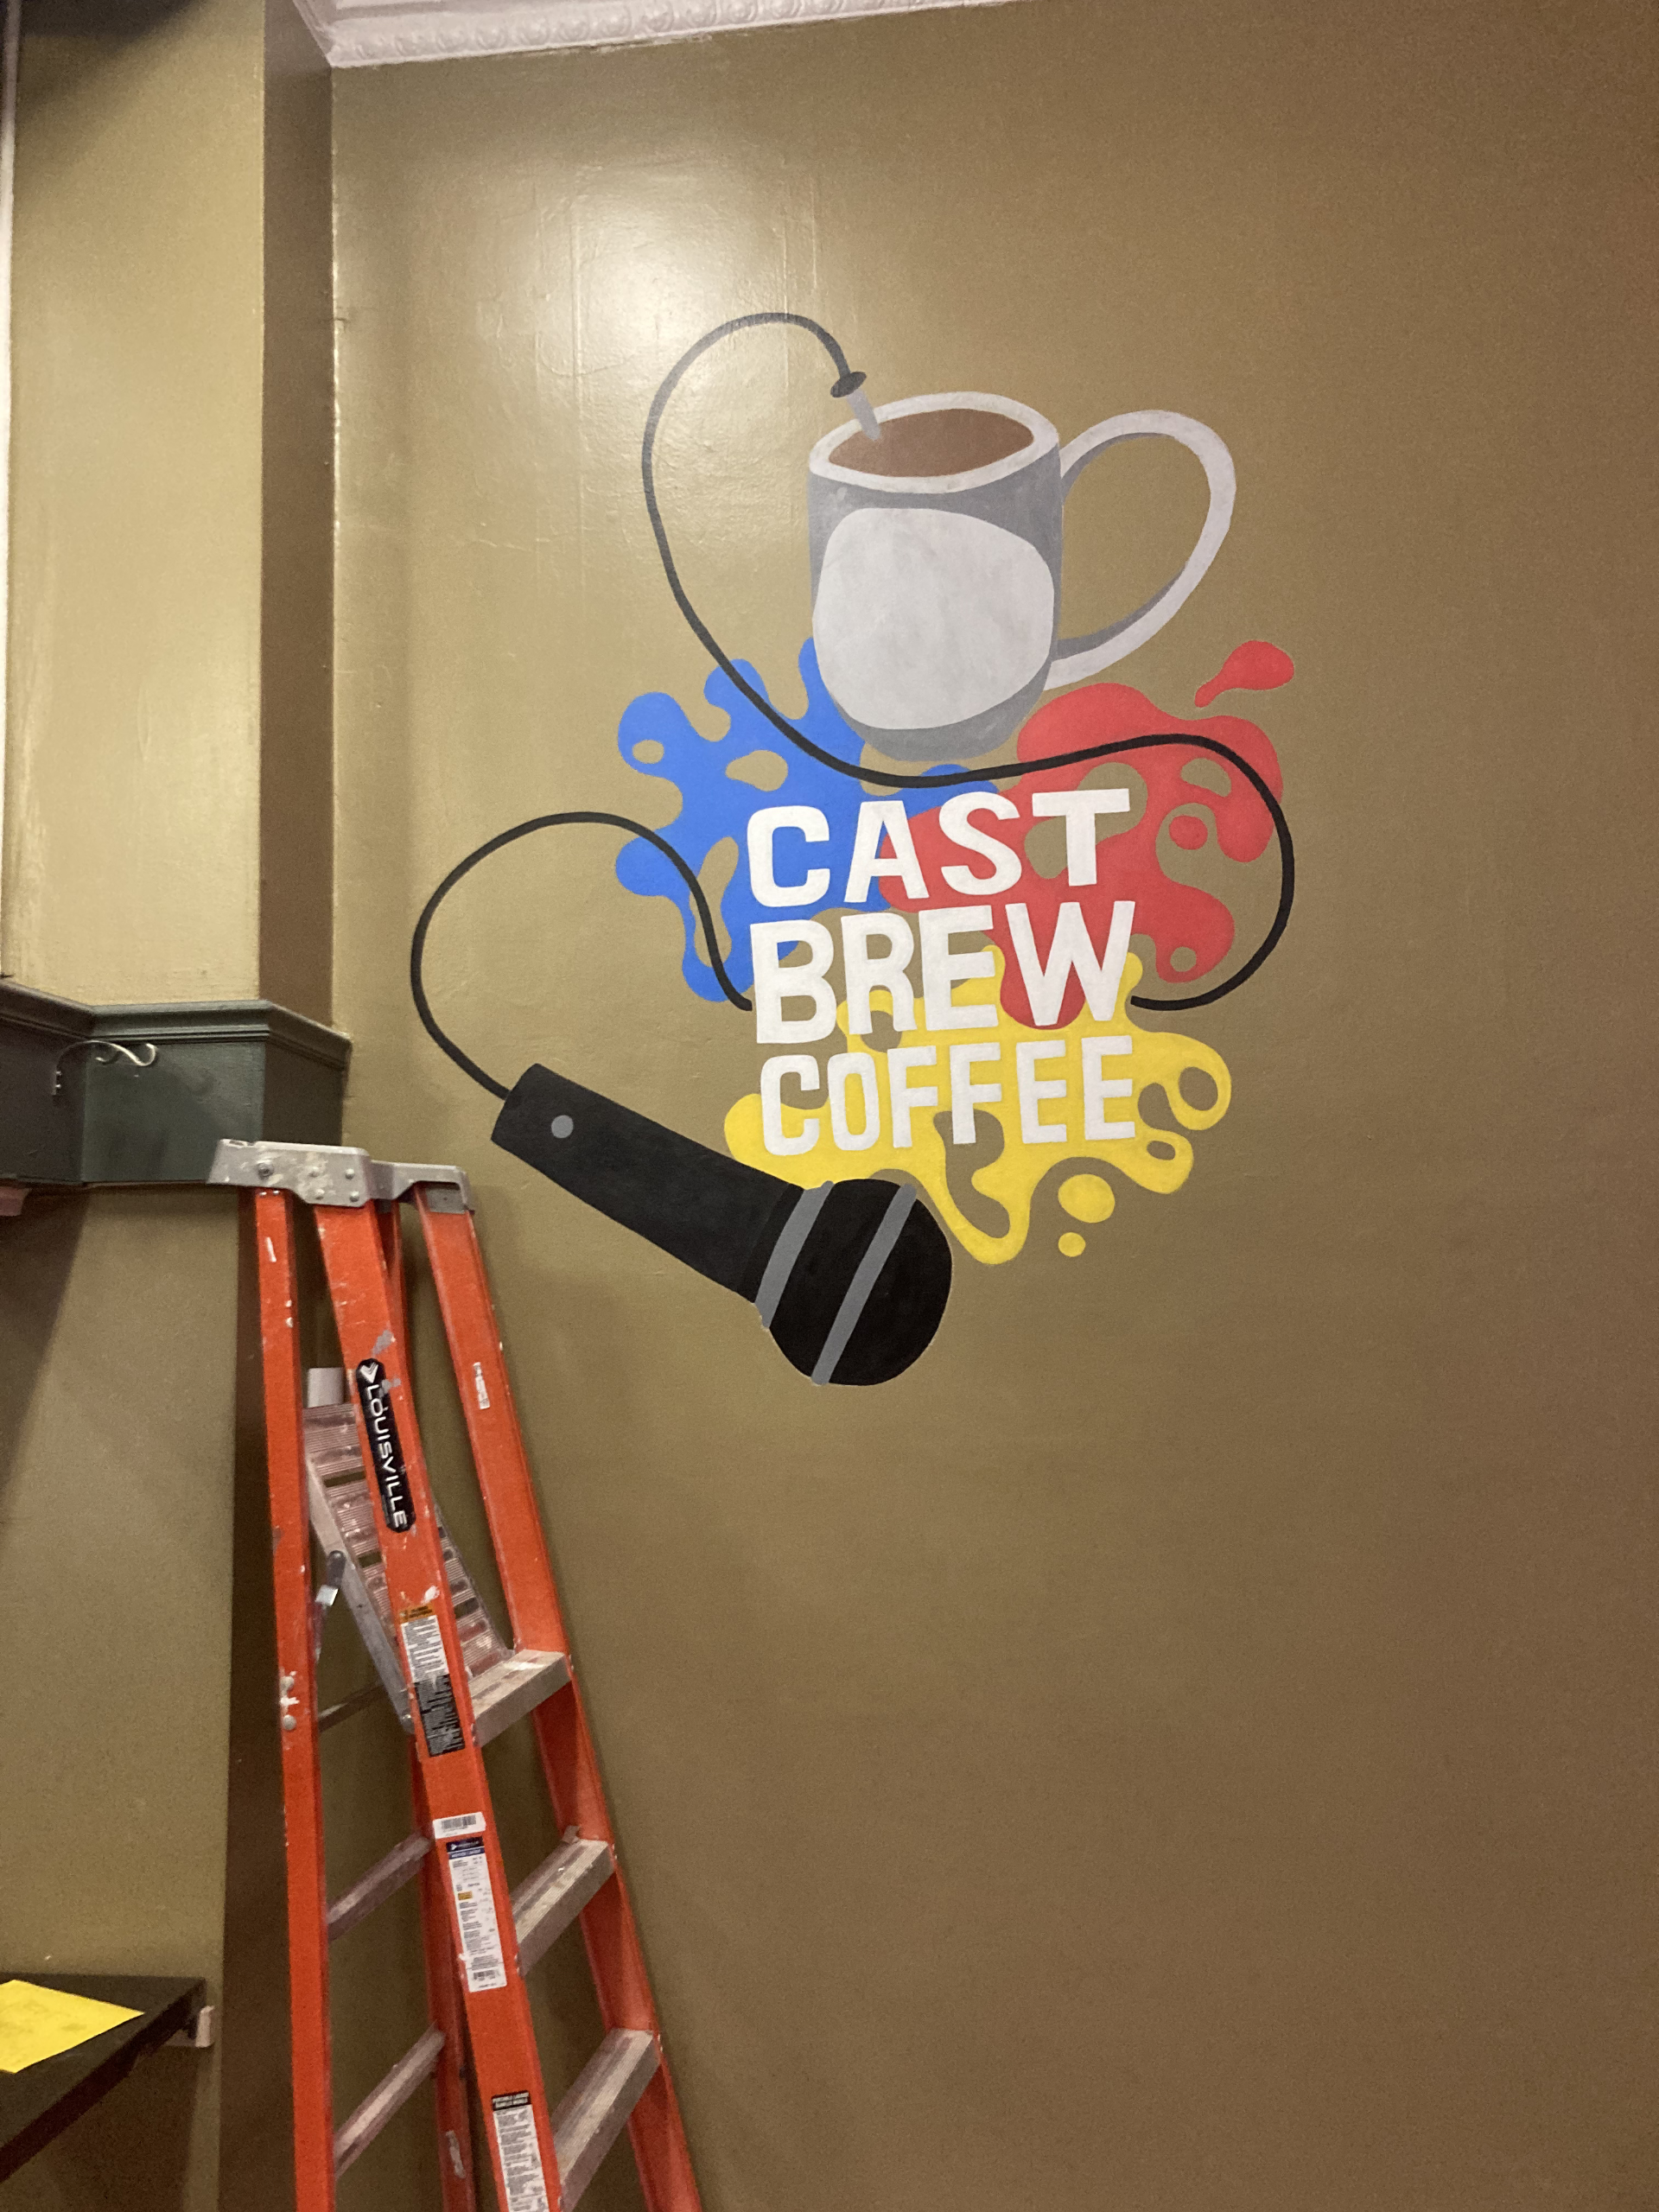
BEHOLD! MORE COLOR AND SHADING!
There were a couple of sessions inbetween this, but it ultimately led to adding the basic layers for a light shading and solidification of the texture on the Microphone.
Session 4
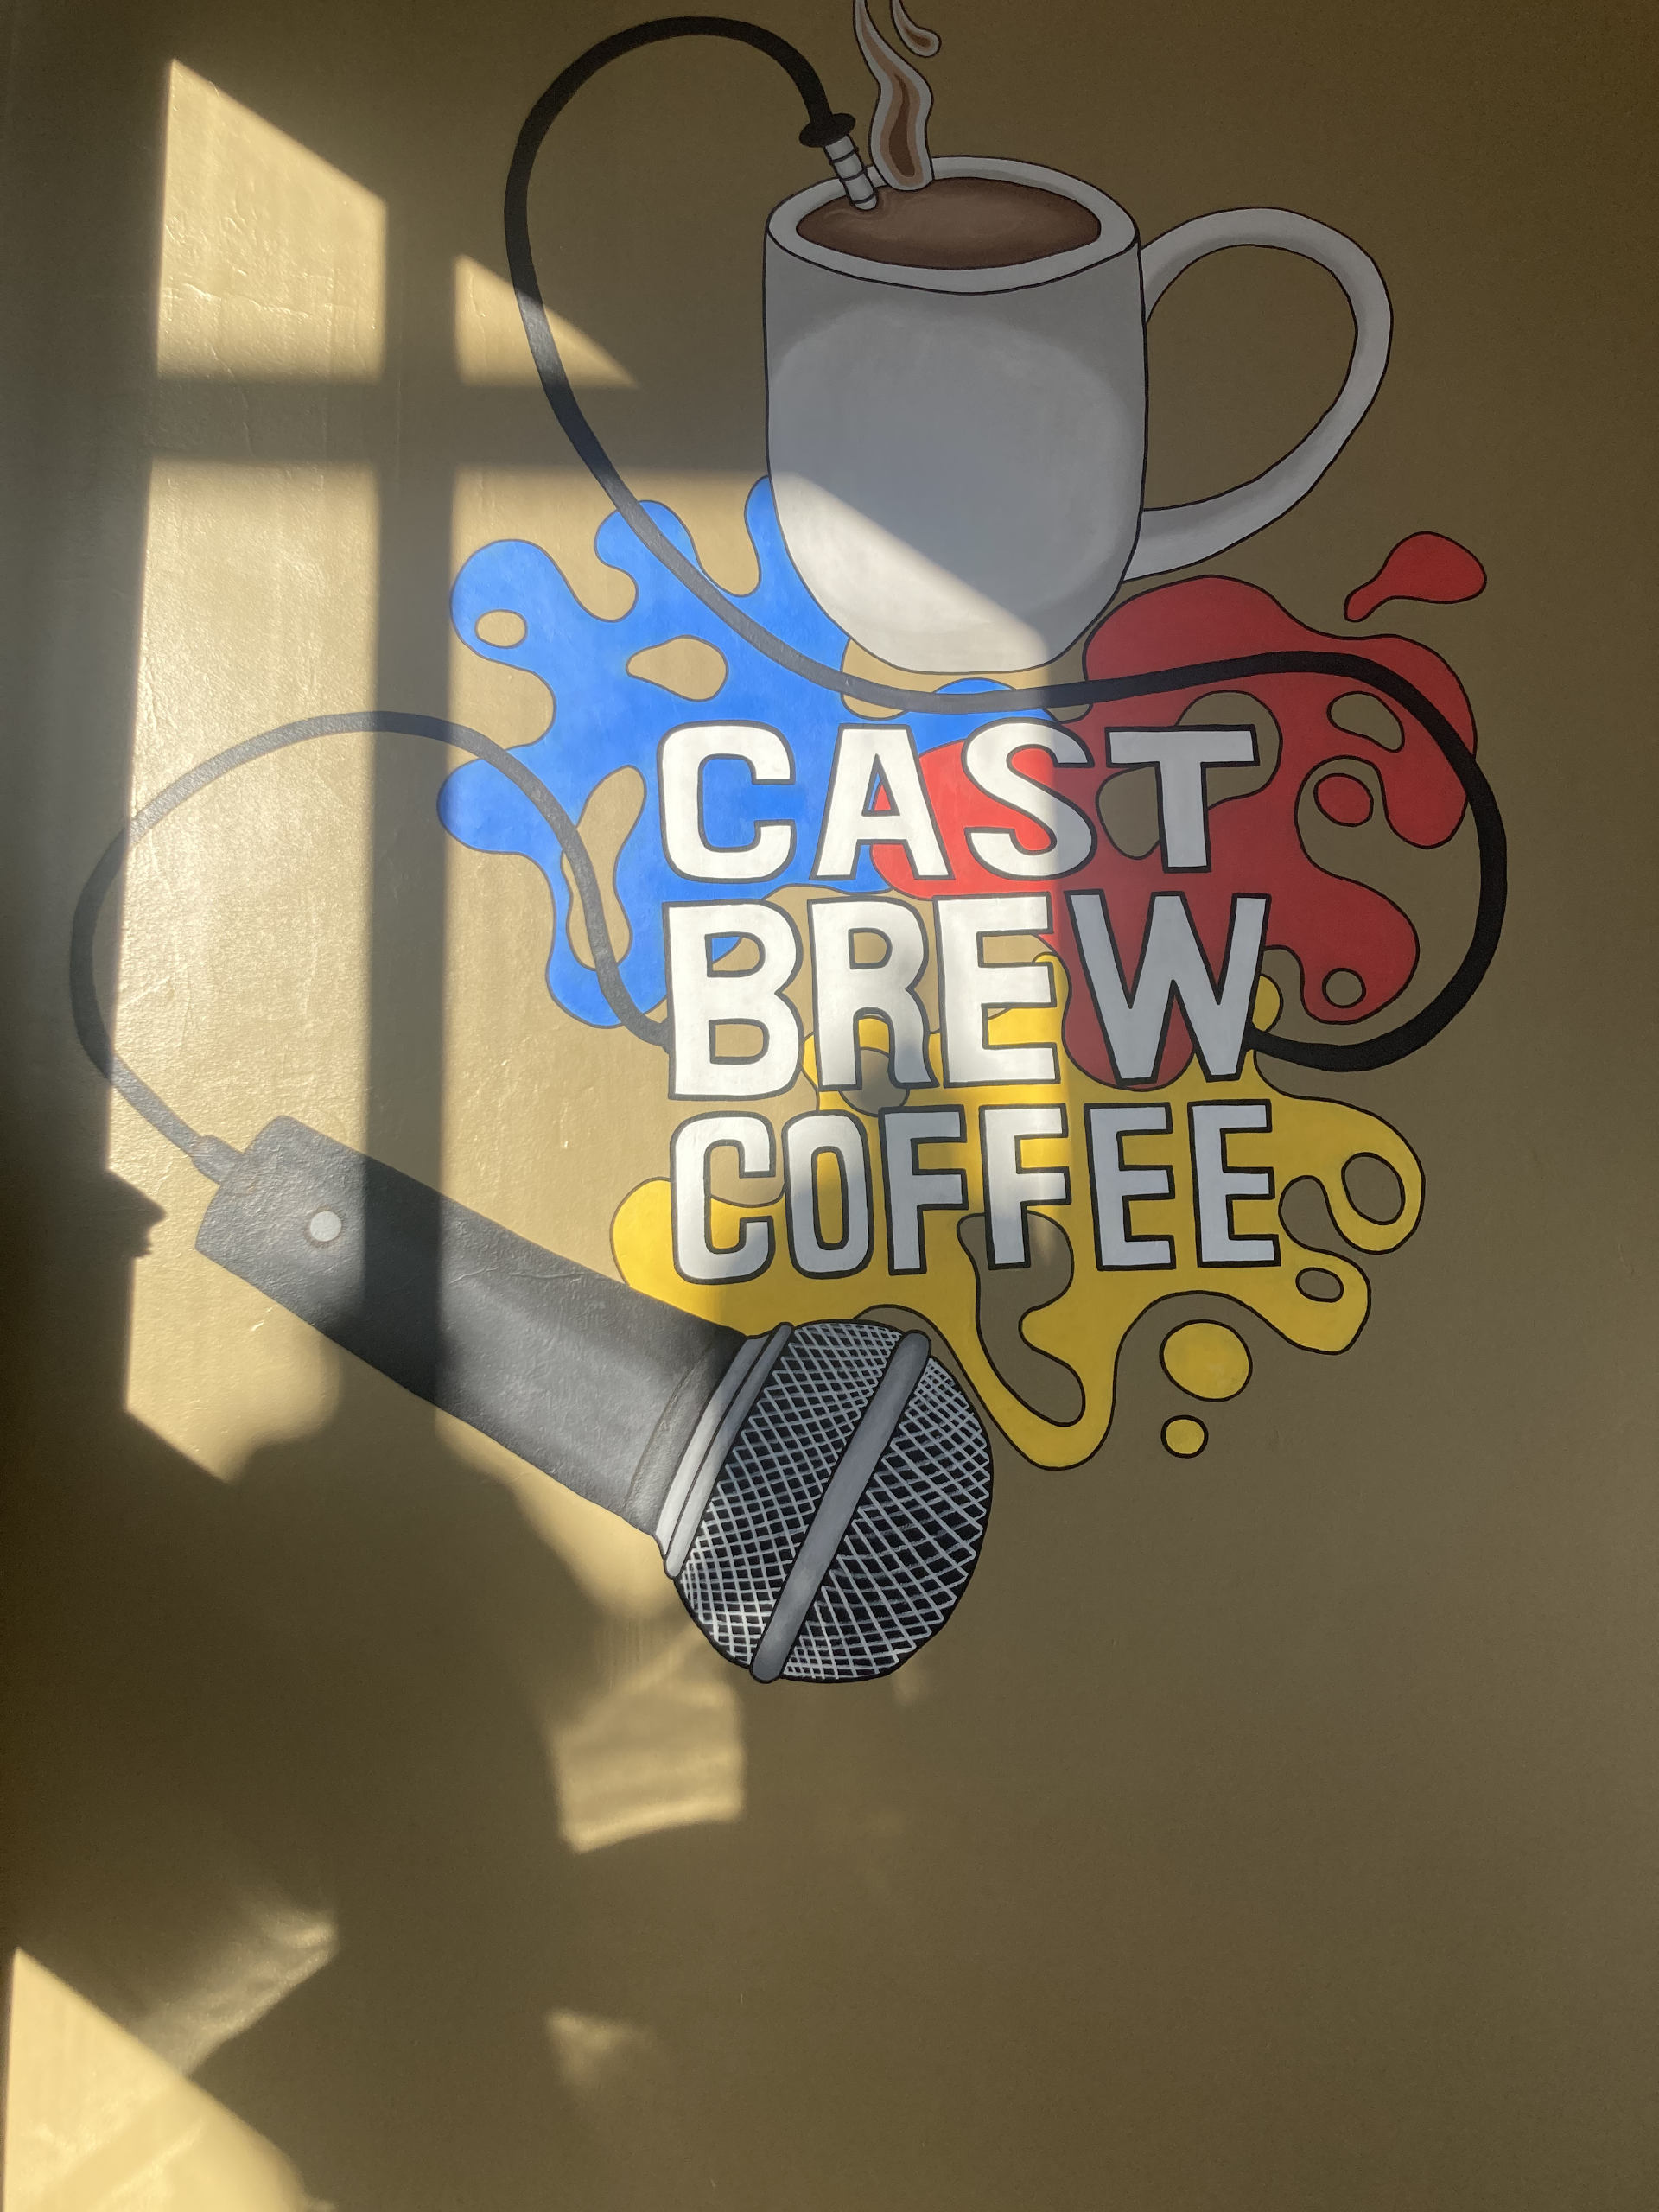
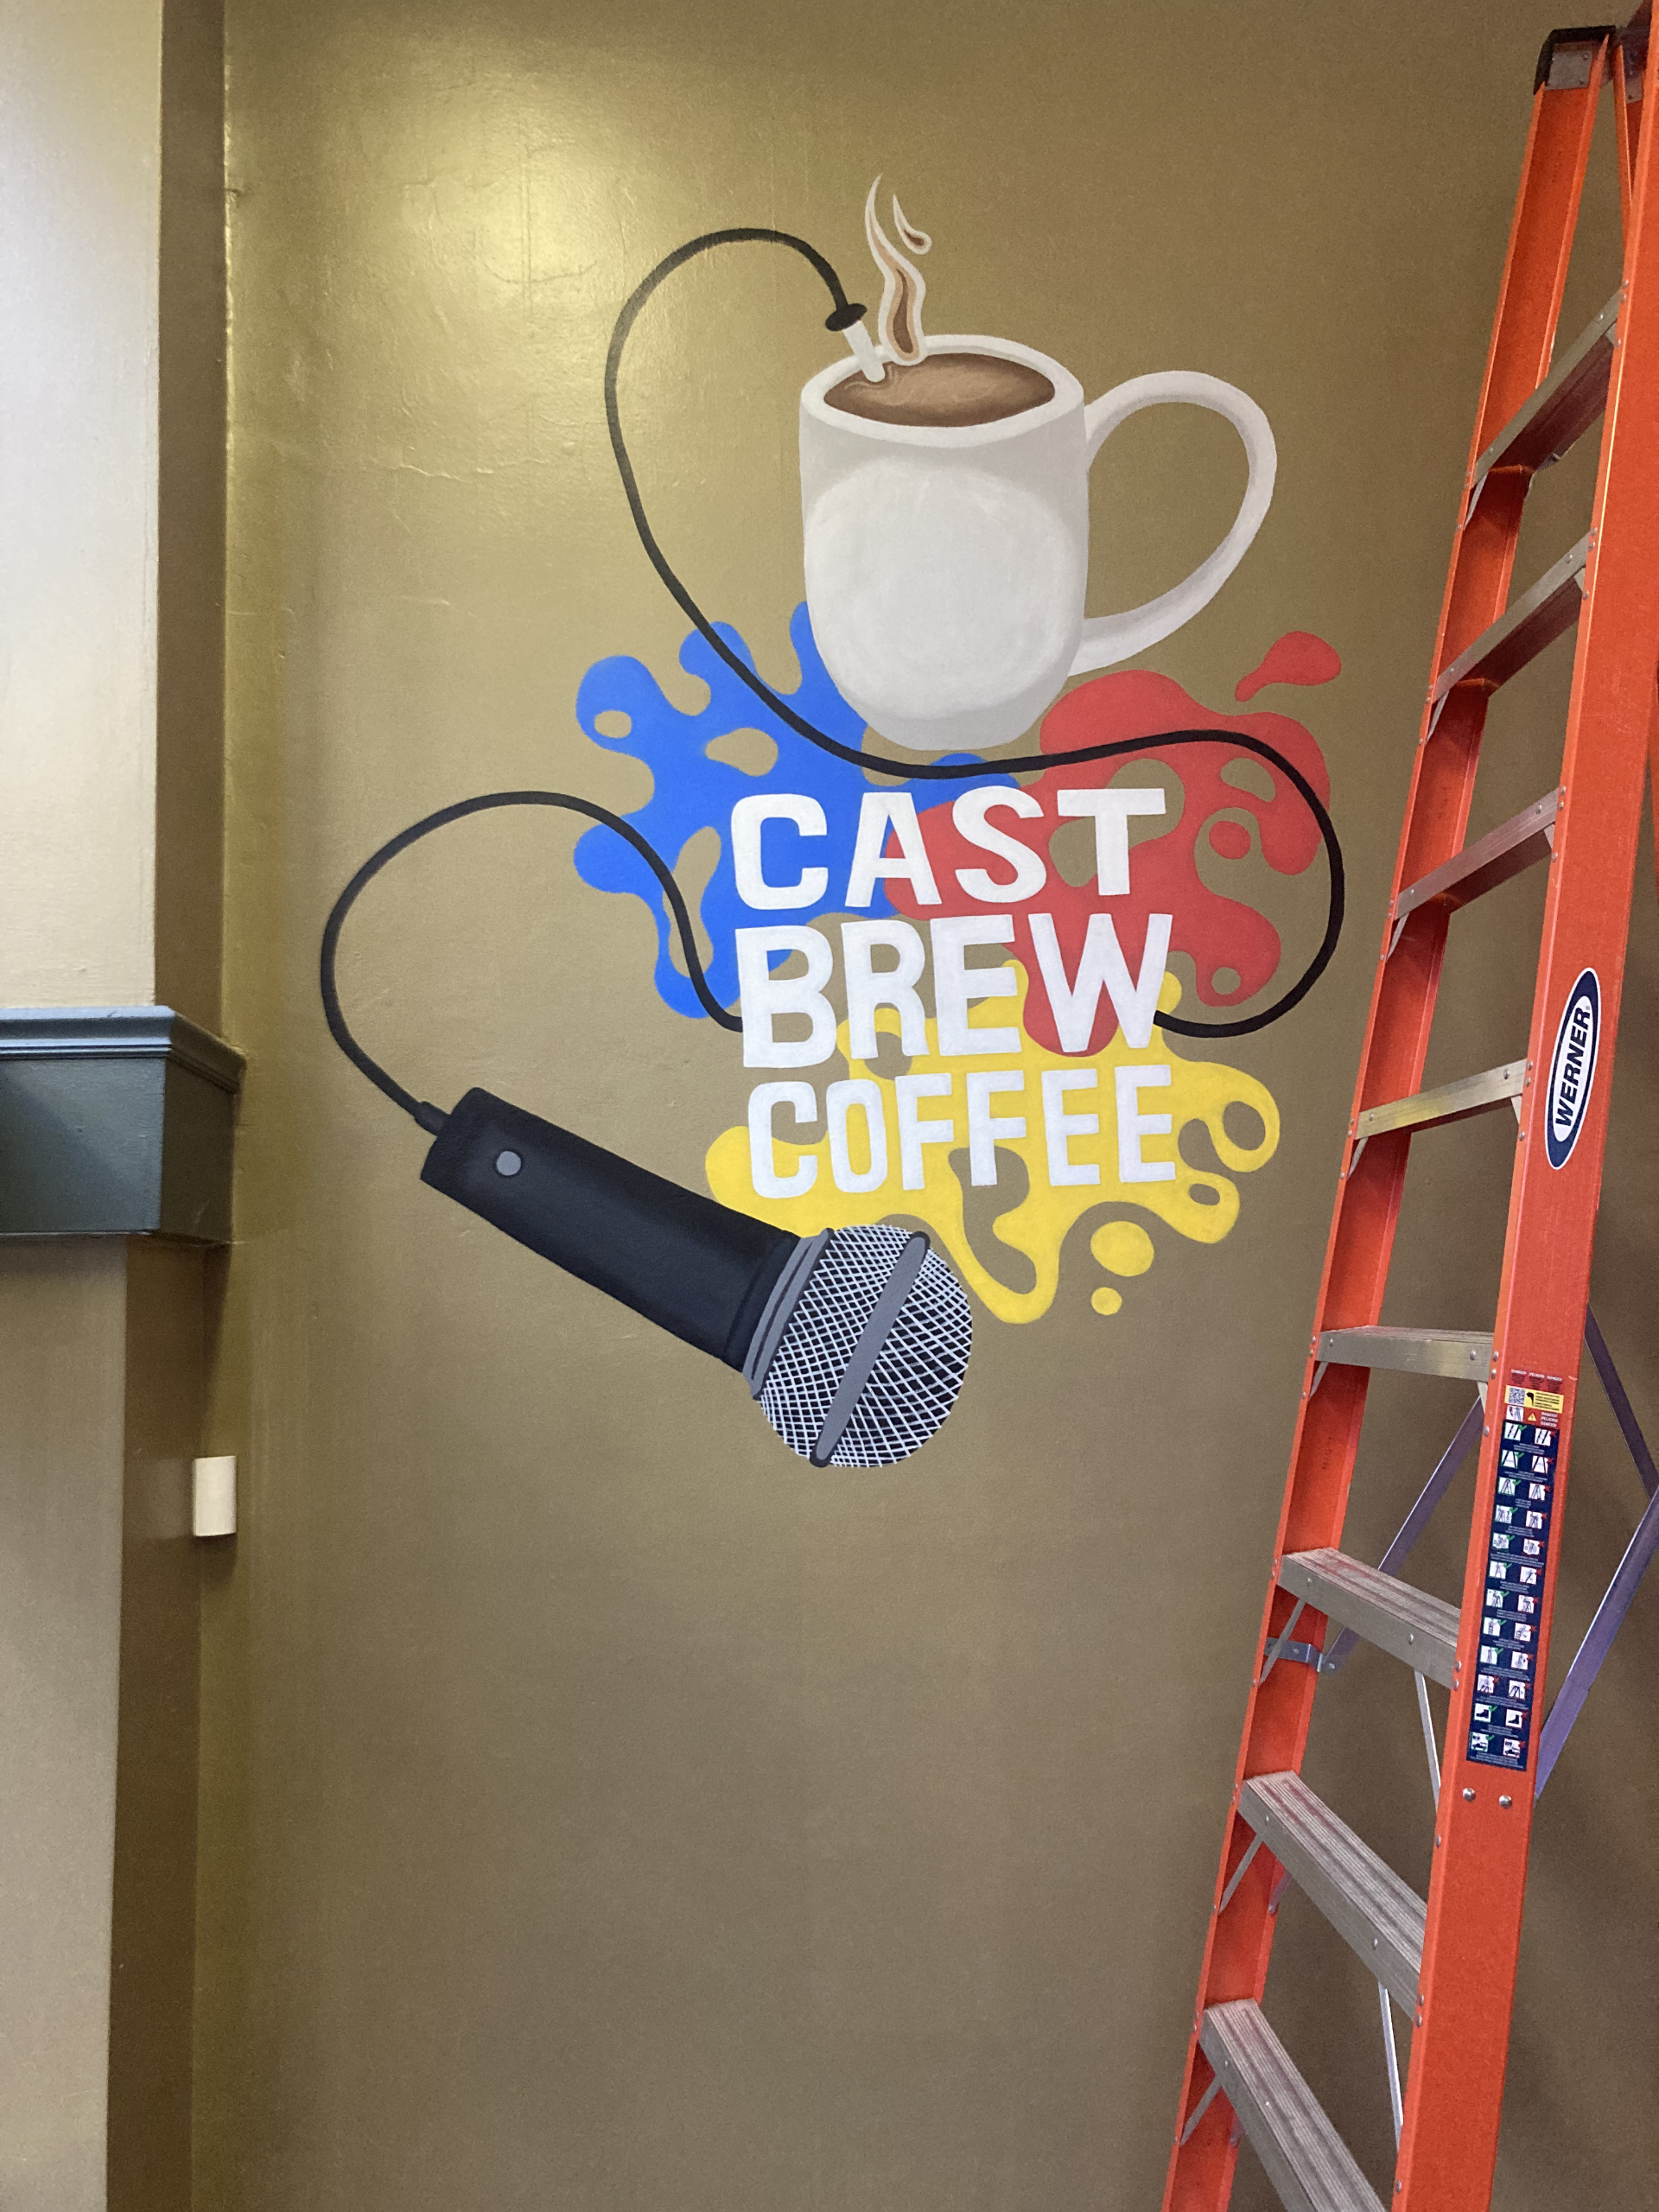
LET THERE BE SOLID SHADING!!!!
At this point, we were just about done with the shading and the textures.
Mark then moved to fix up the edges and add a final liner using a paint pen to really make it pop.
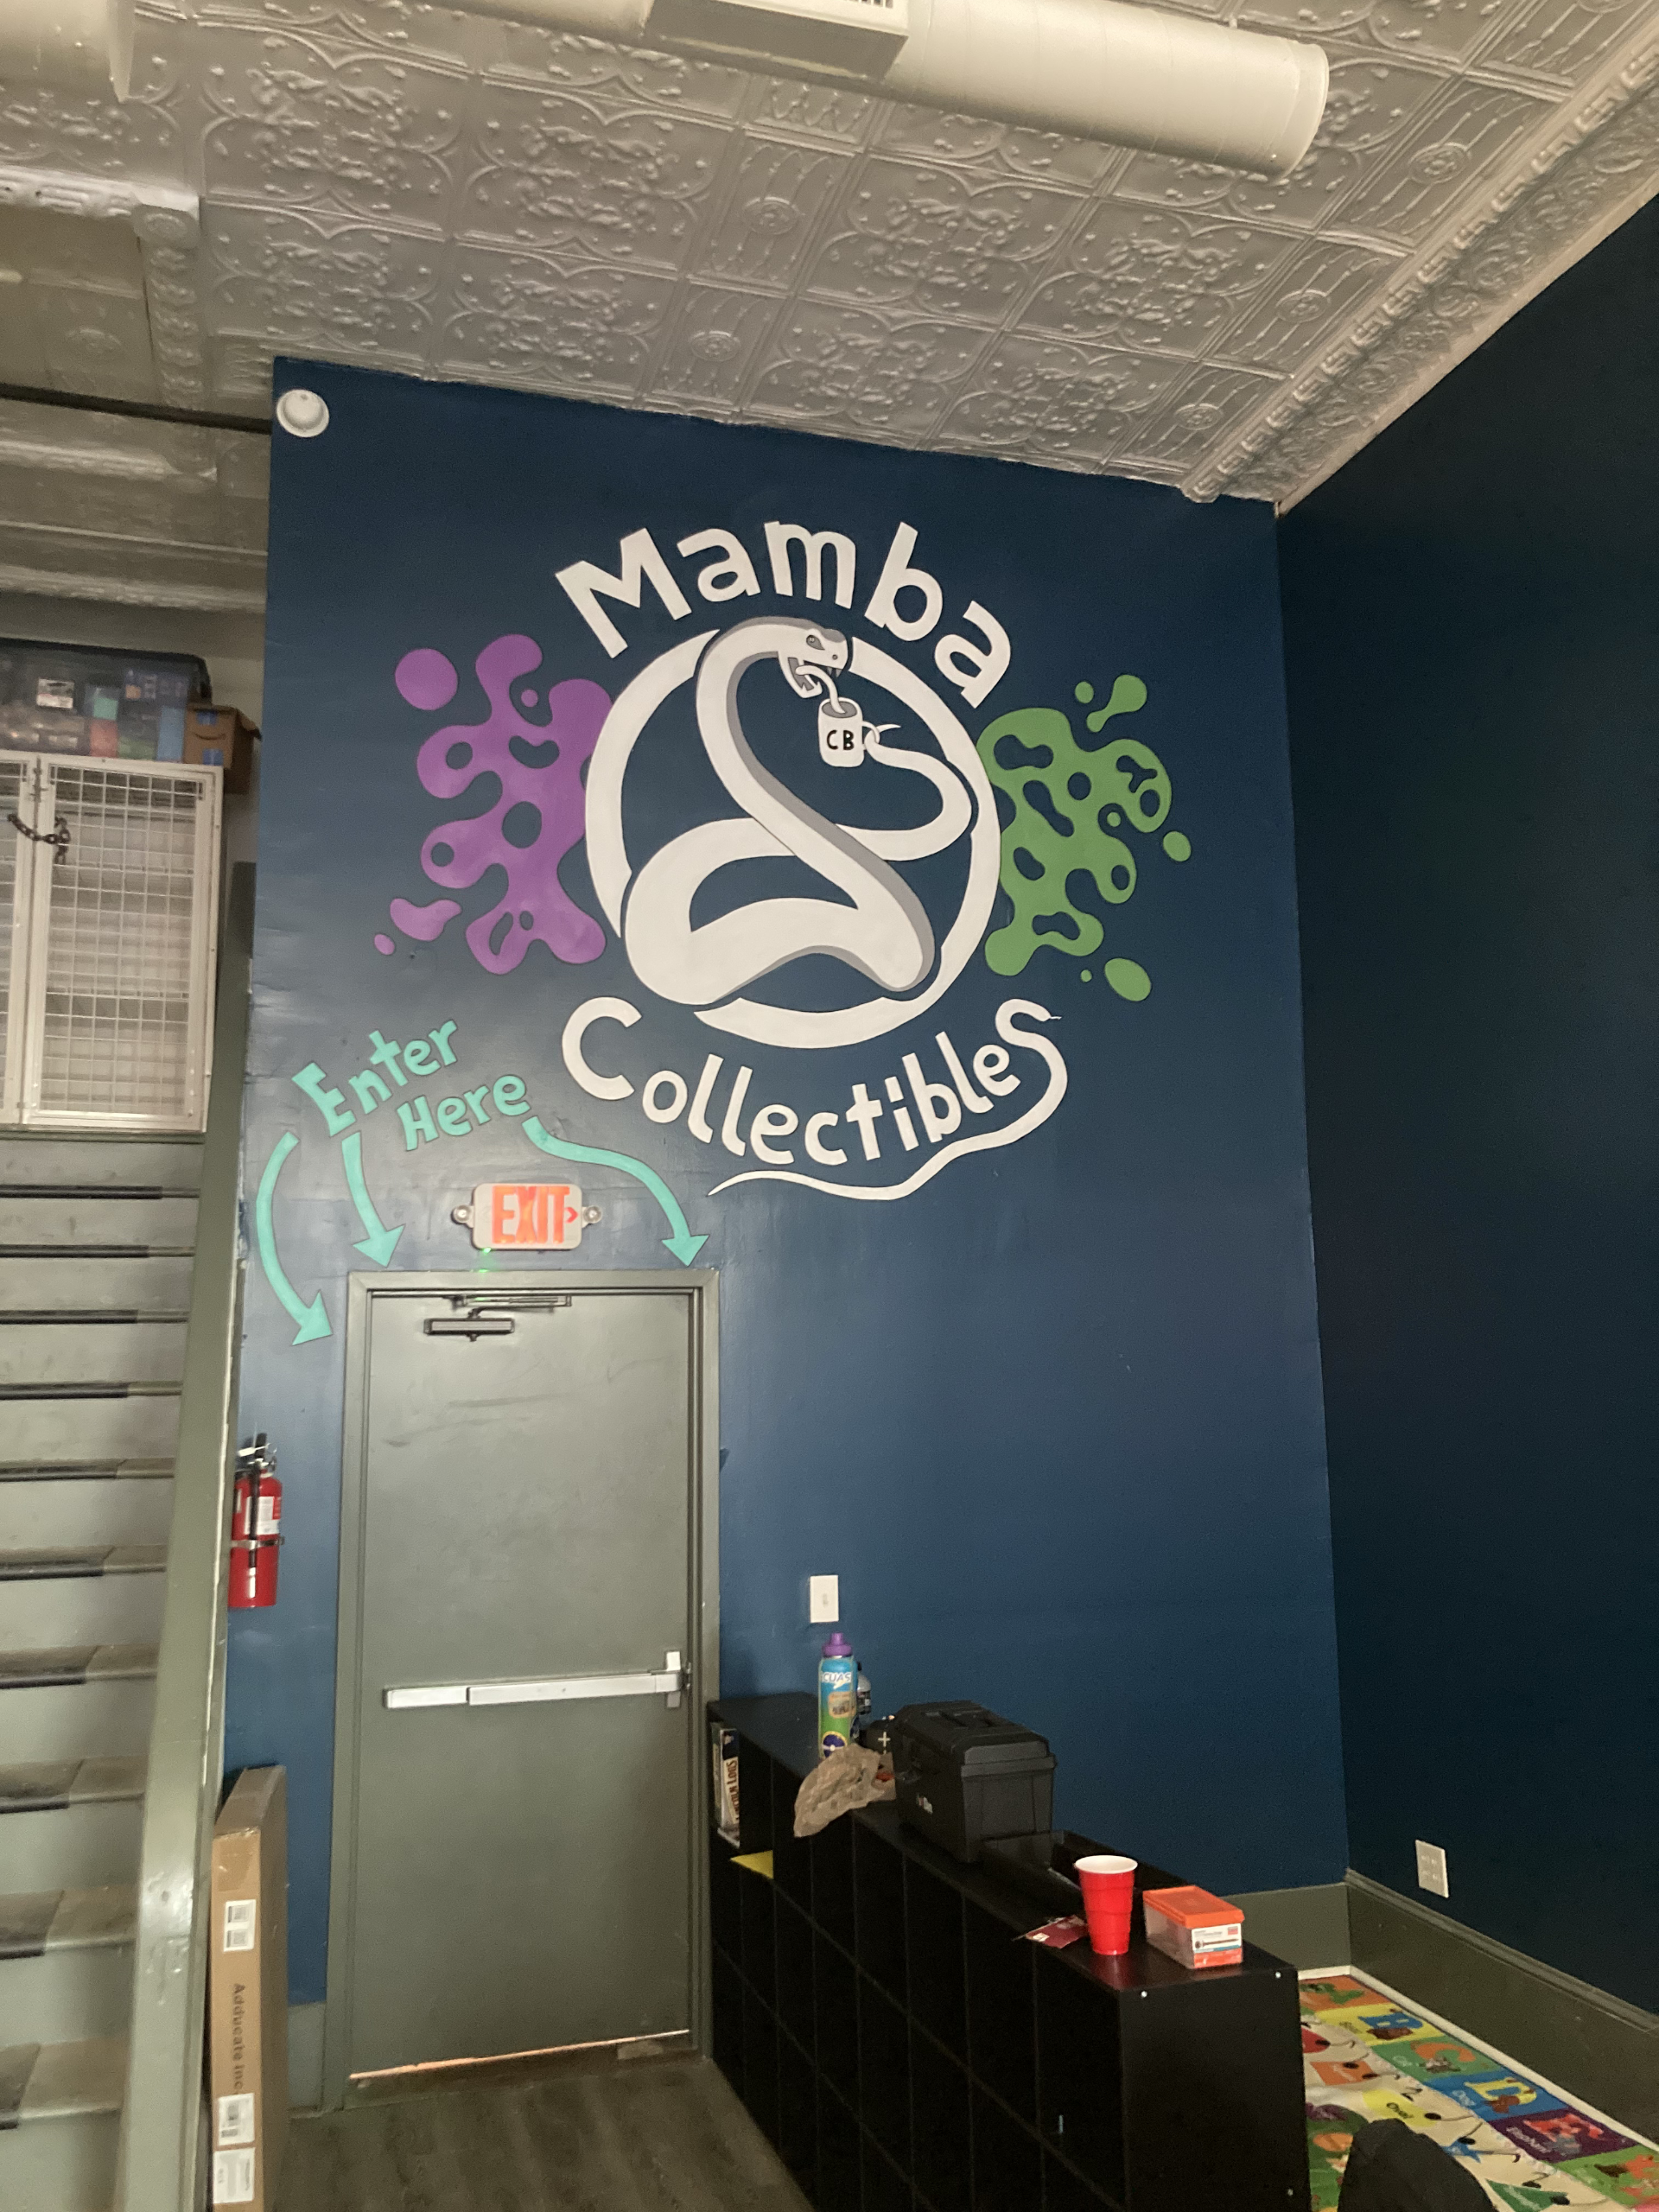
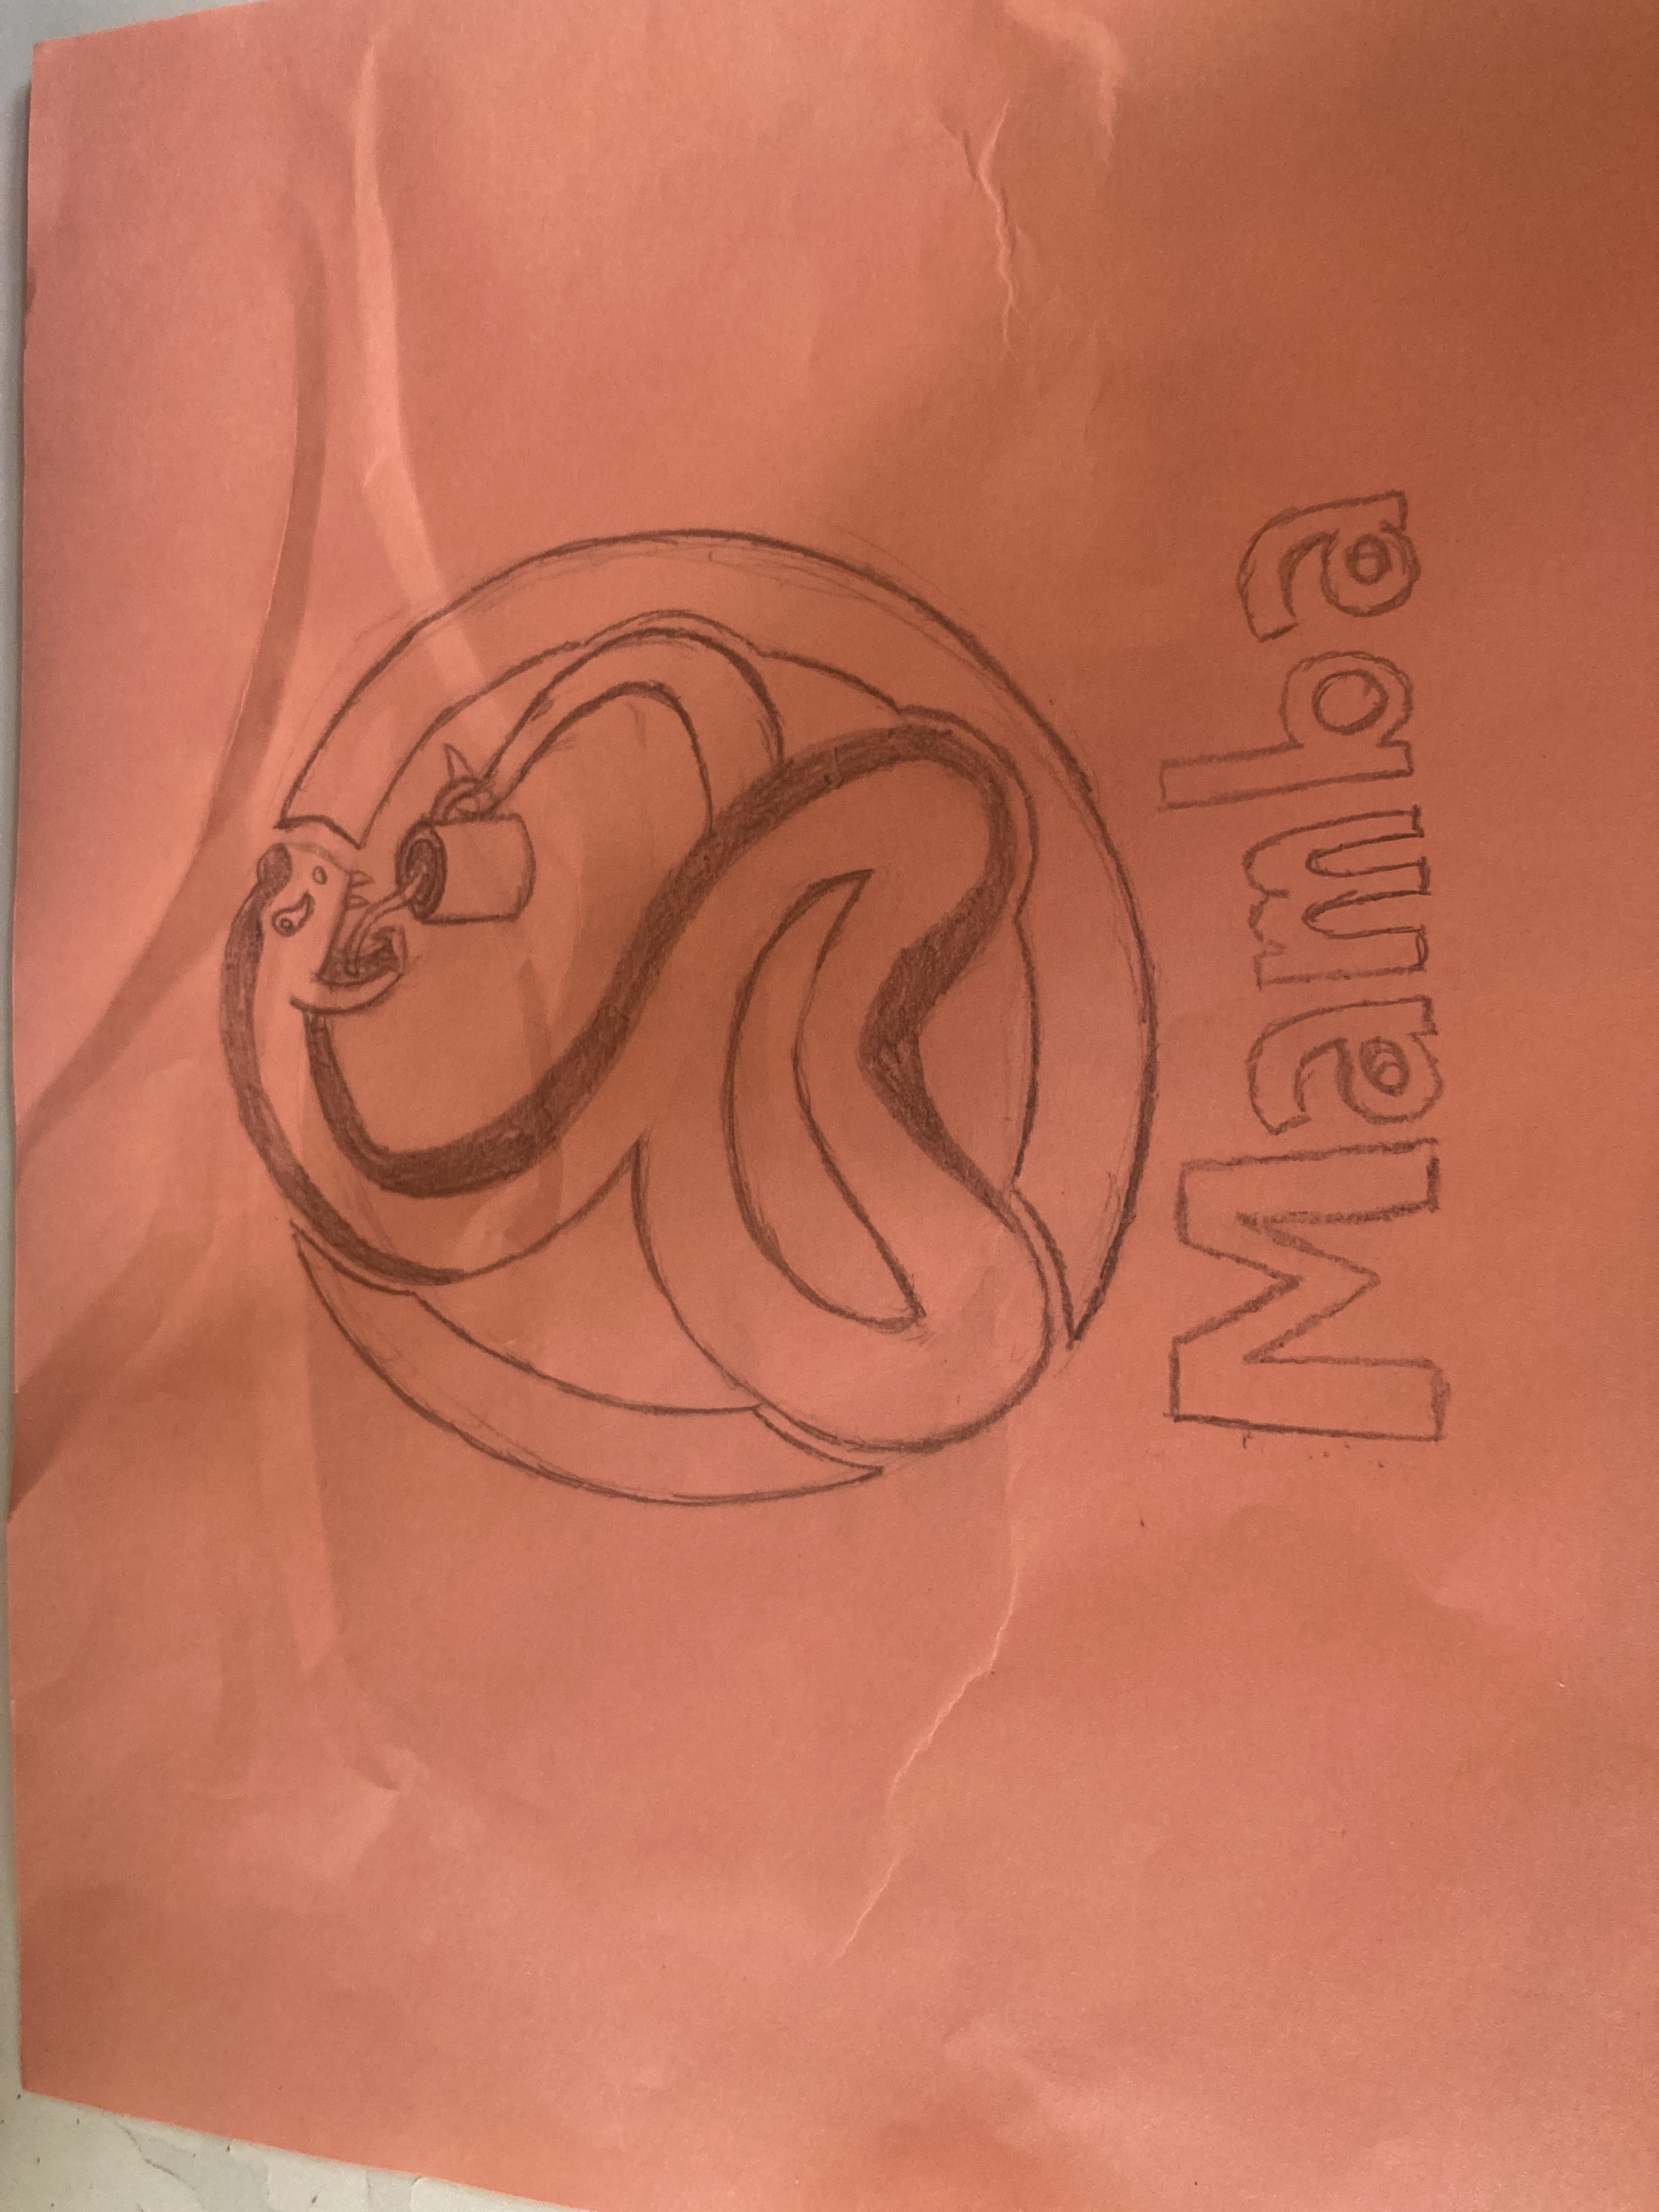
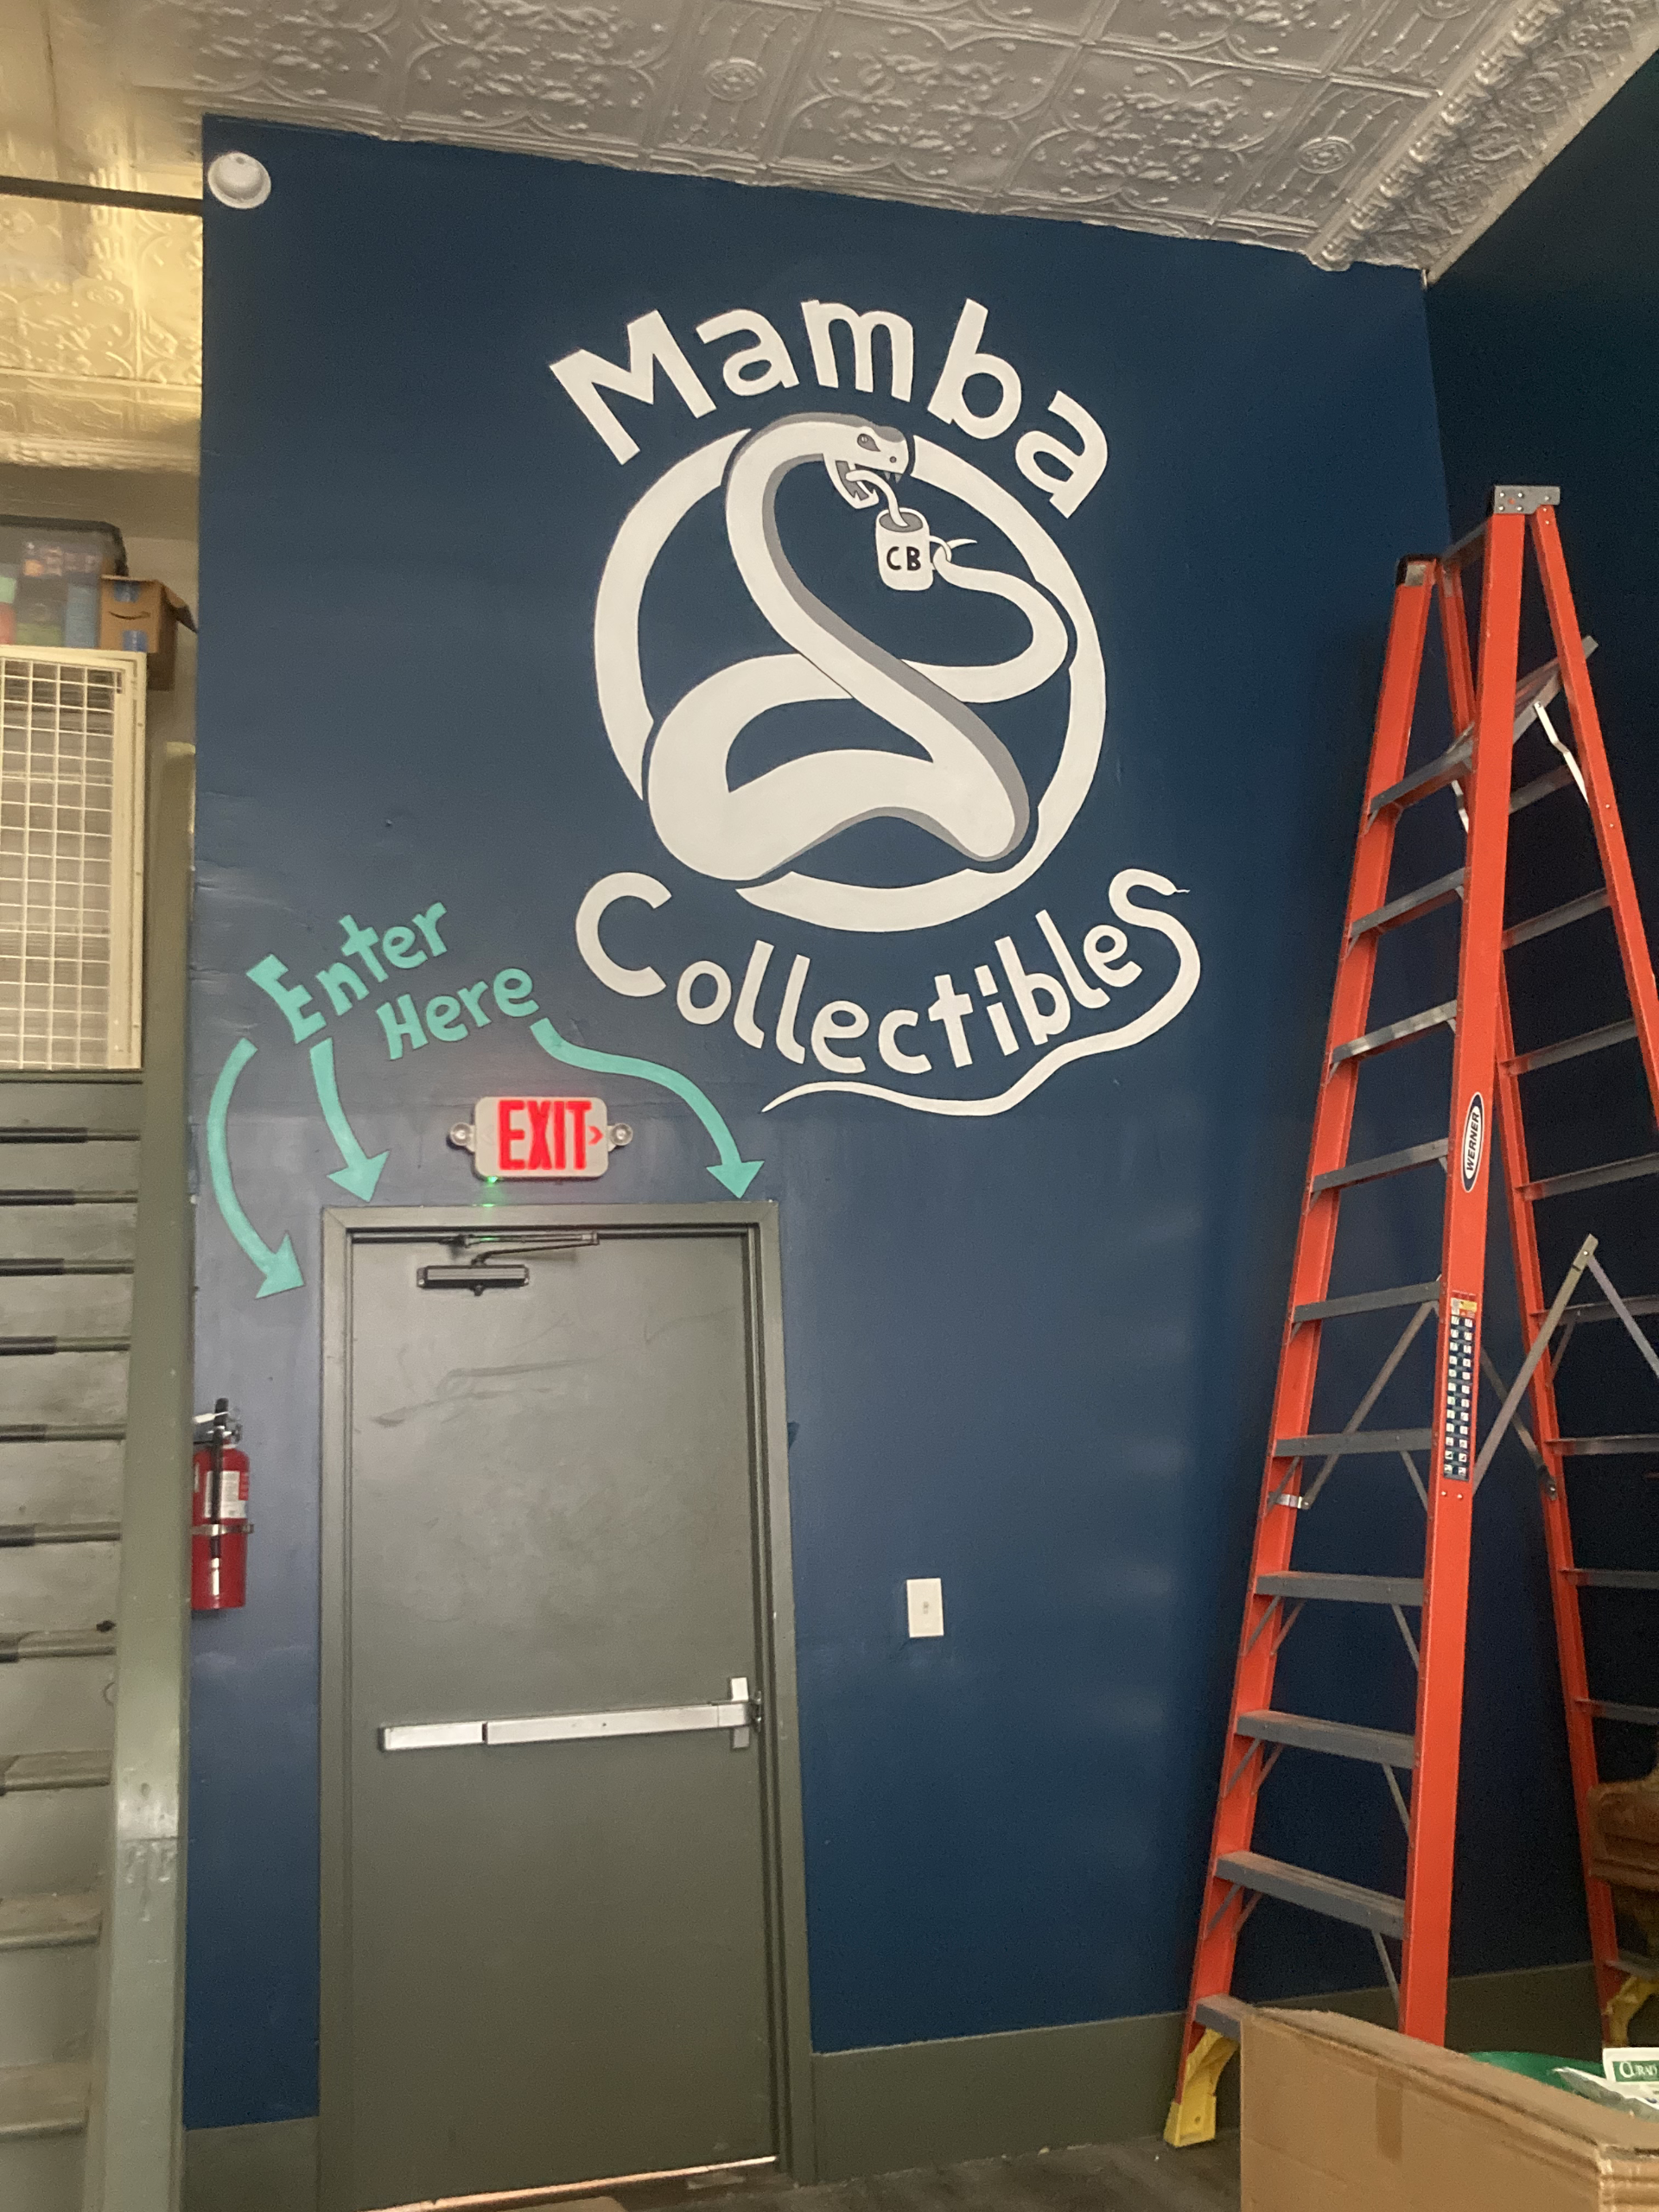
This is the 4th mural at Mamba Collectibles and a bit of an expansion story! Mark was beginning a Charizard mural and the owner of the shop instructed him to put down some artwork in their new coffee shop! The storefront is comprised of three floors, and the first had been under construction for some time. This was the first mural done in the coffee shop and is there to help people find the trading card store for when the coffee shop opened.
Fun fact, this is where Mark began overcoming his fear of heights.
This is the completed product; however, you can see its progress from day 0 by waiting patiently, or clicking the right arrow.
Session 0
Take a gander at this beautiful work of art! This was the initial sketch that we worked off of to get where we ended up.
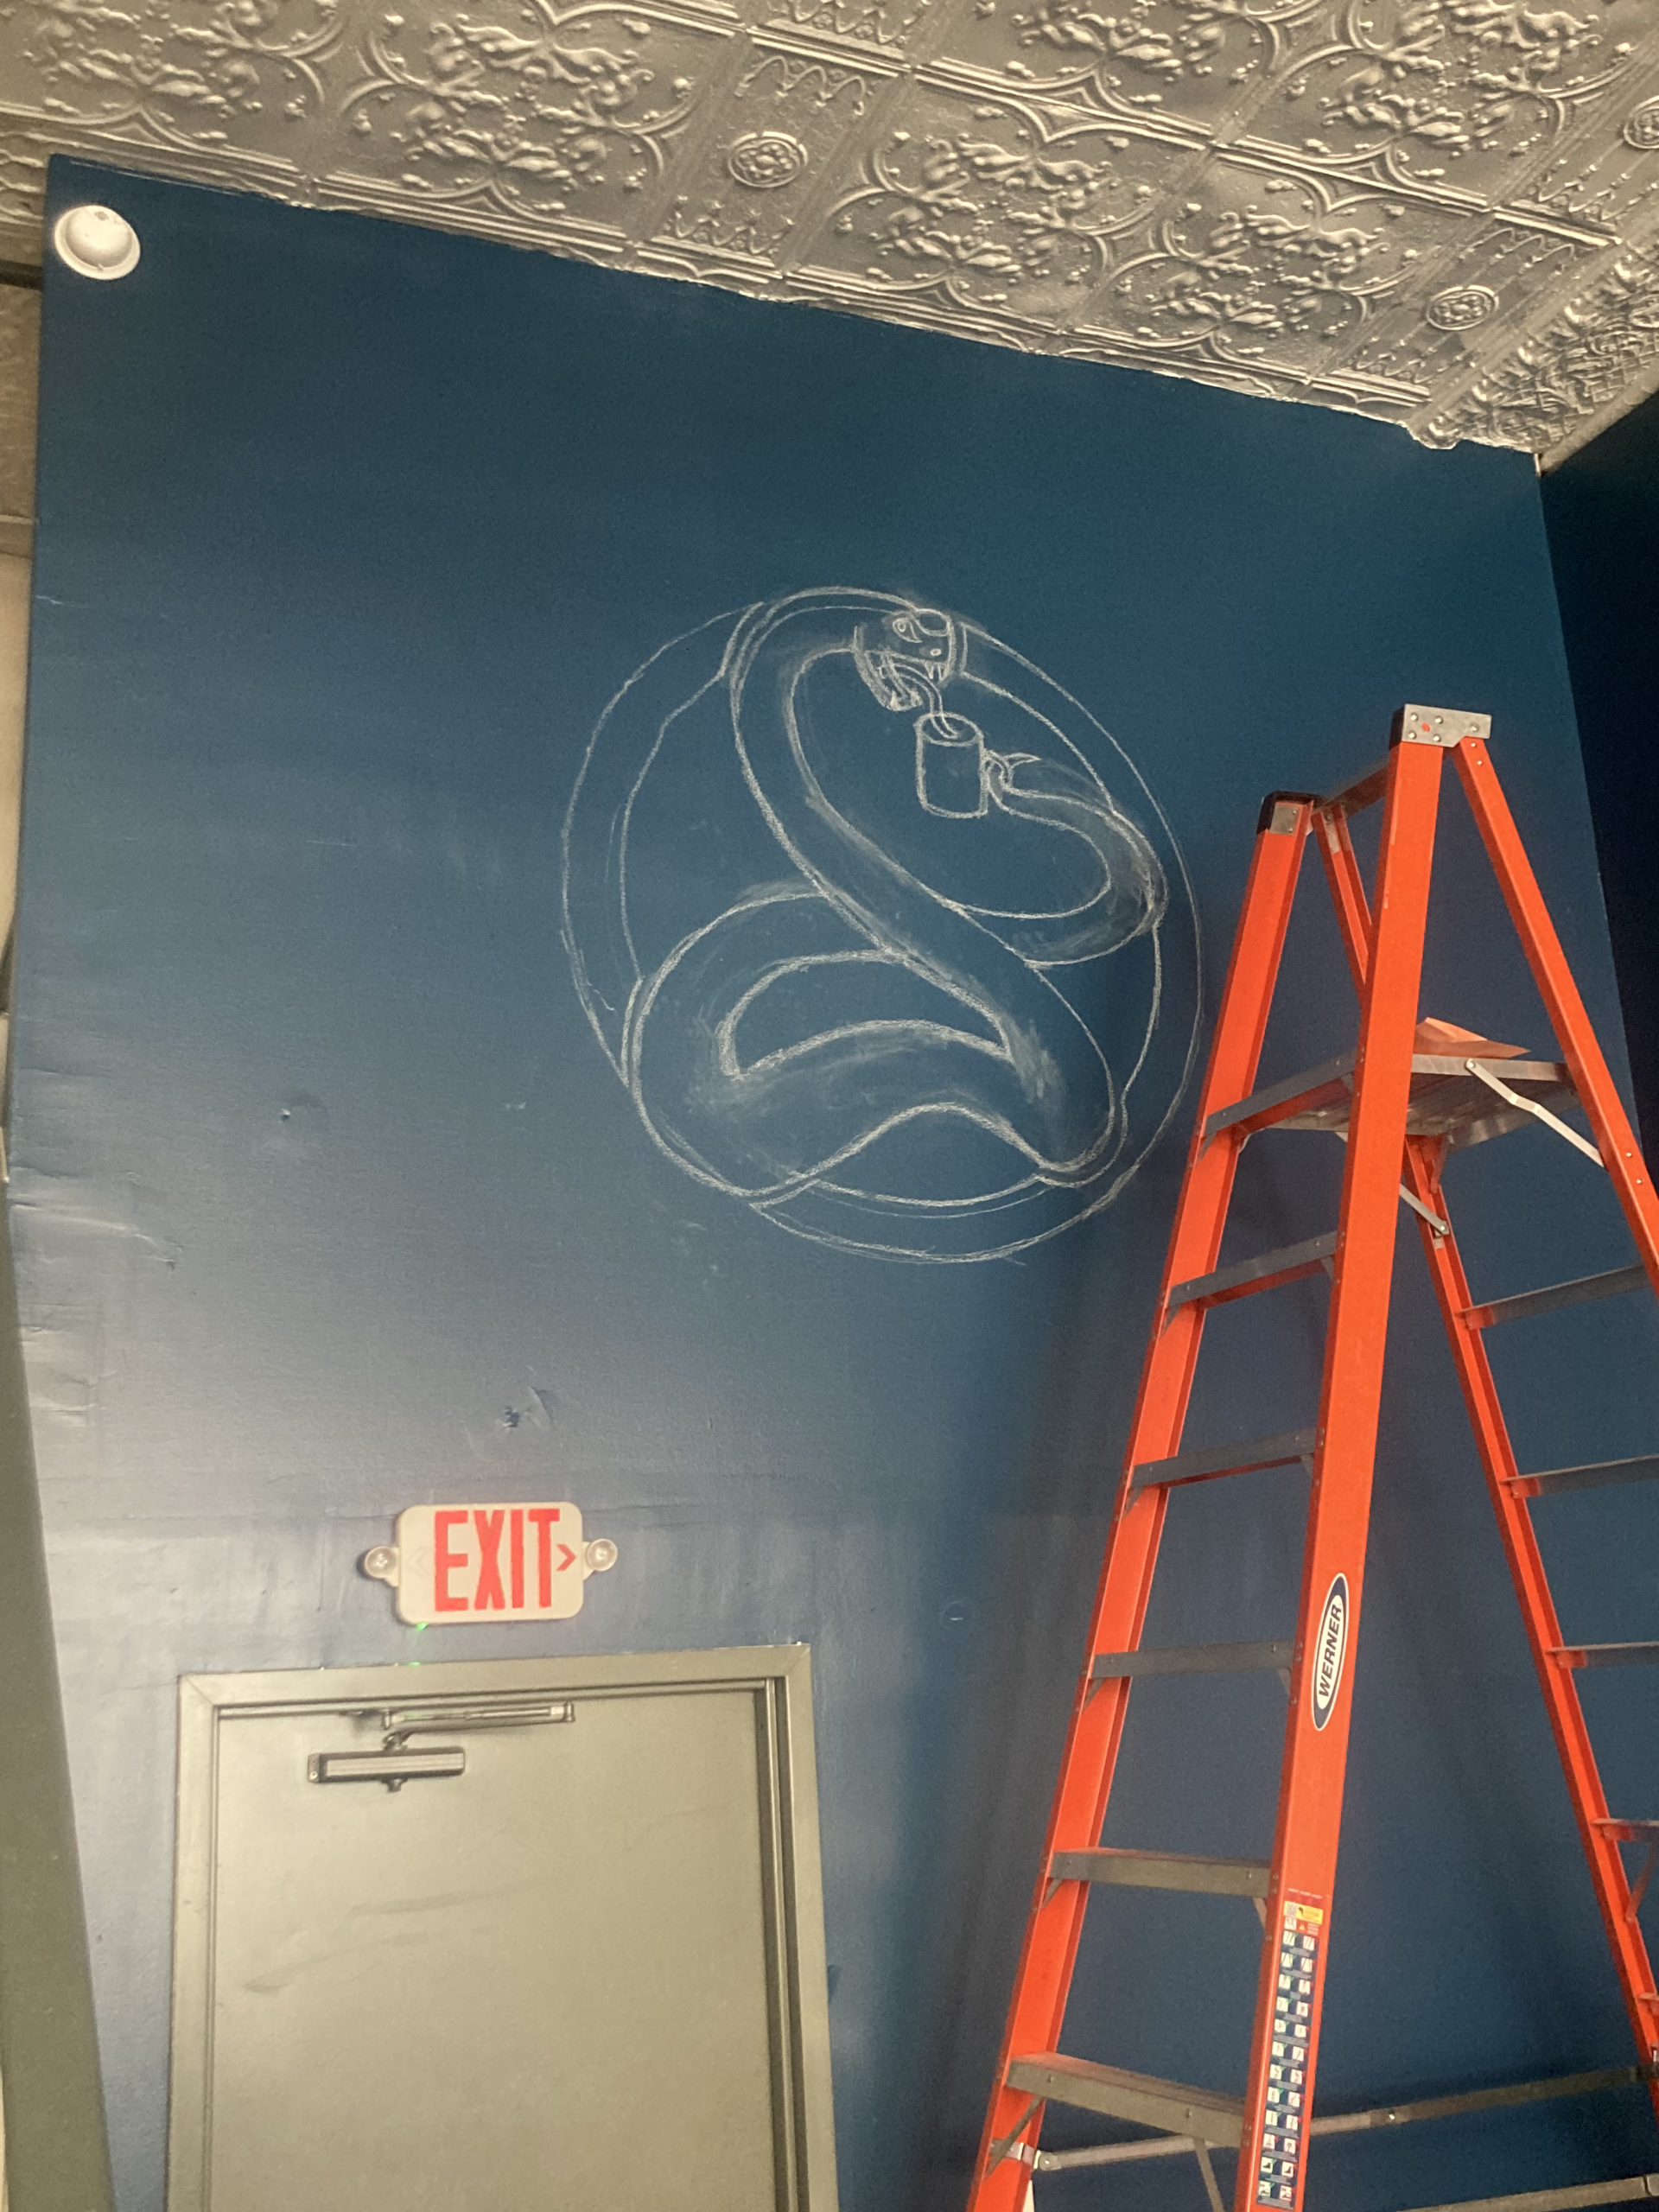
Session 1
Here is the initial chalk sketch. As with any mural, placement is key to minimize the amount of time spent redoing things.
Session 2
BEHOLD! FIRST LAYER!
Paint!
Session 3
LET THERE BE MORE PAINT WITH SHADING!
More Paint!
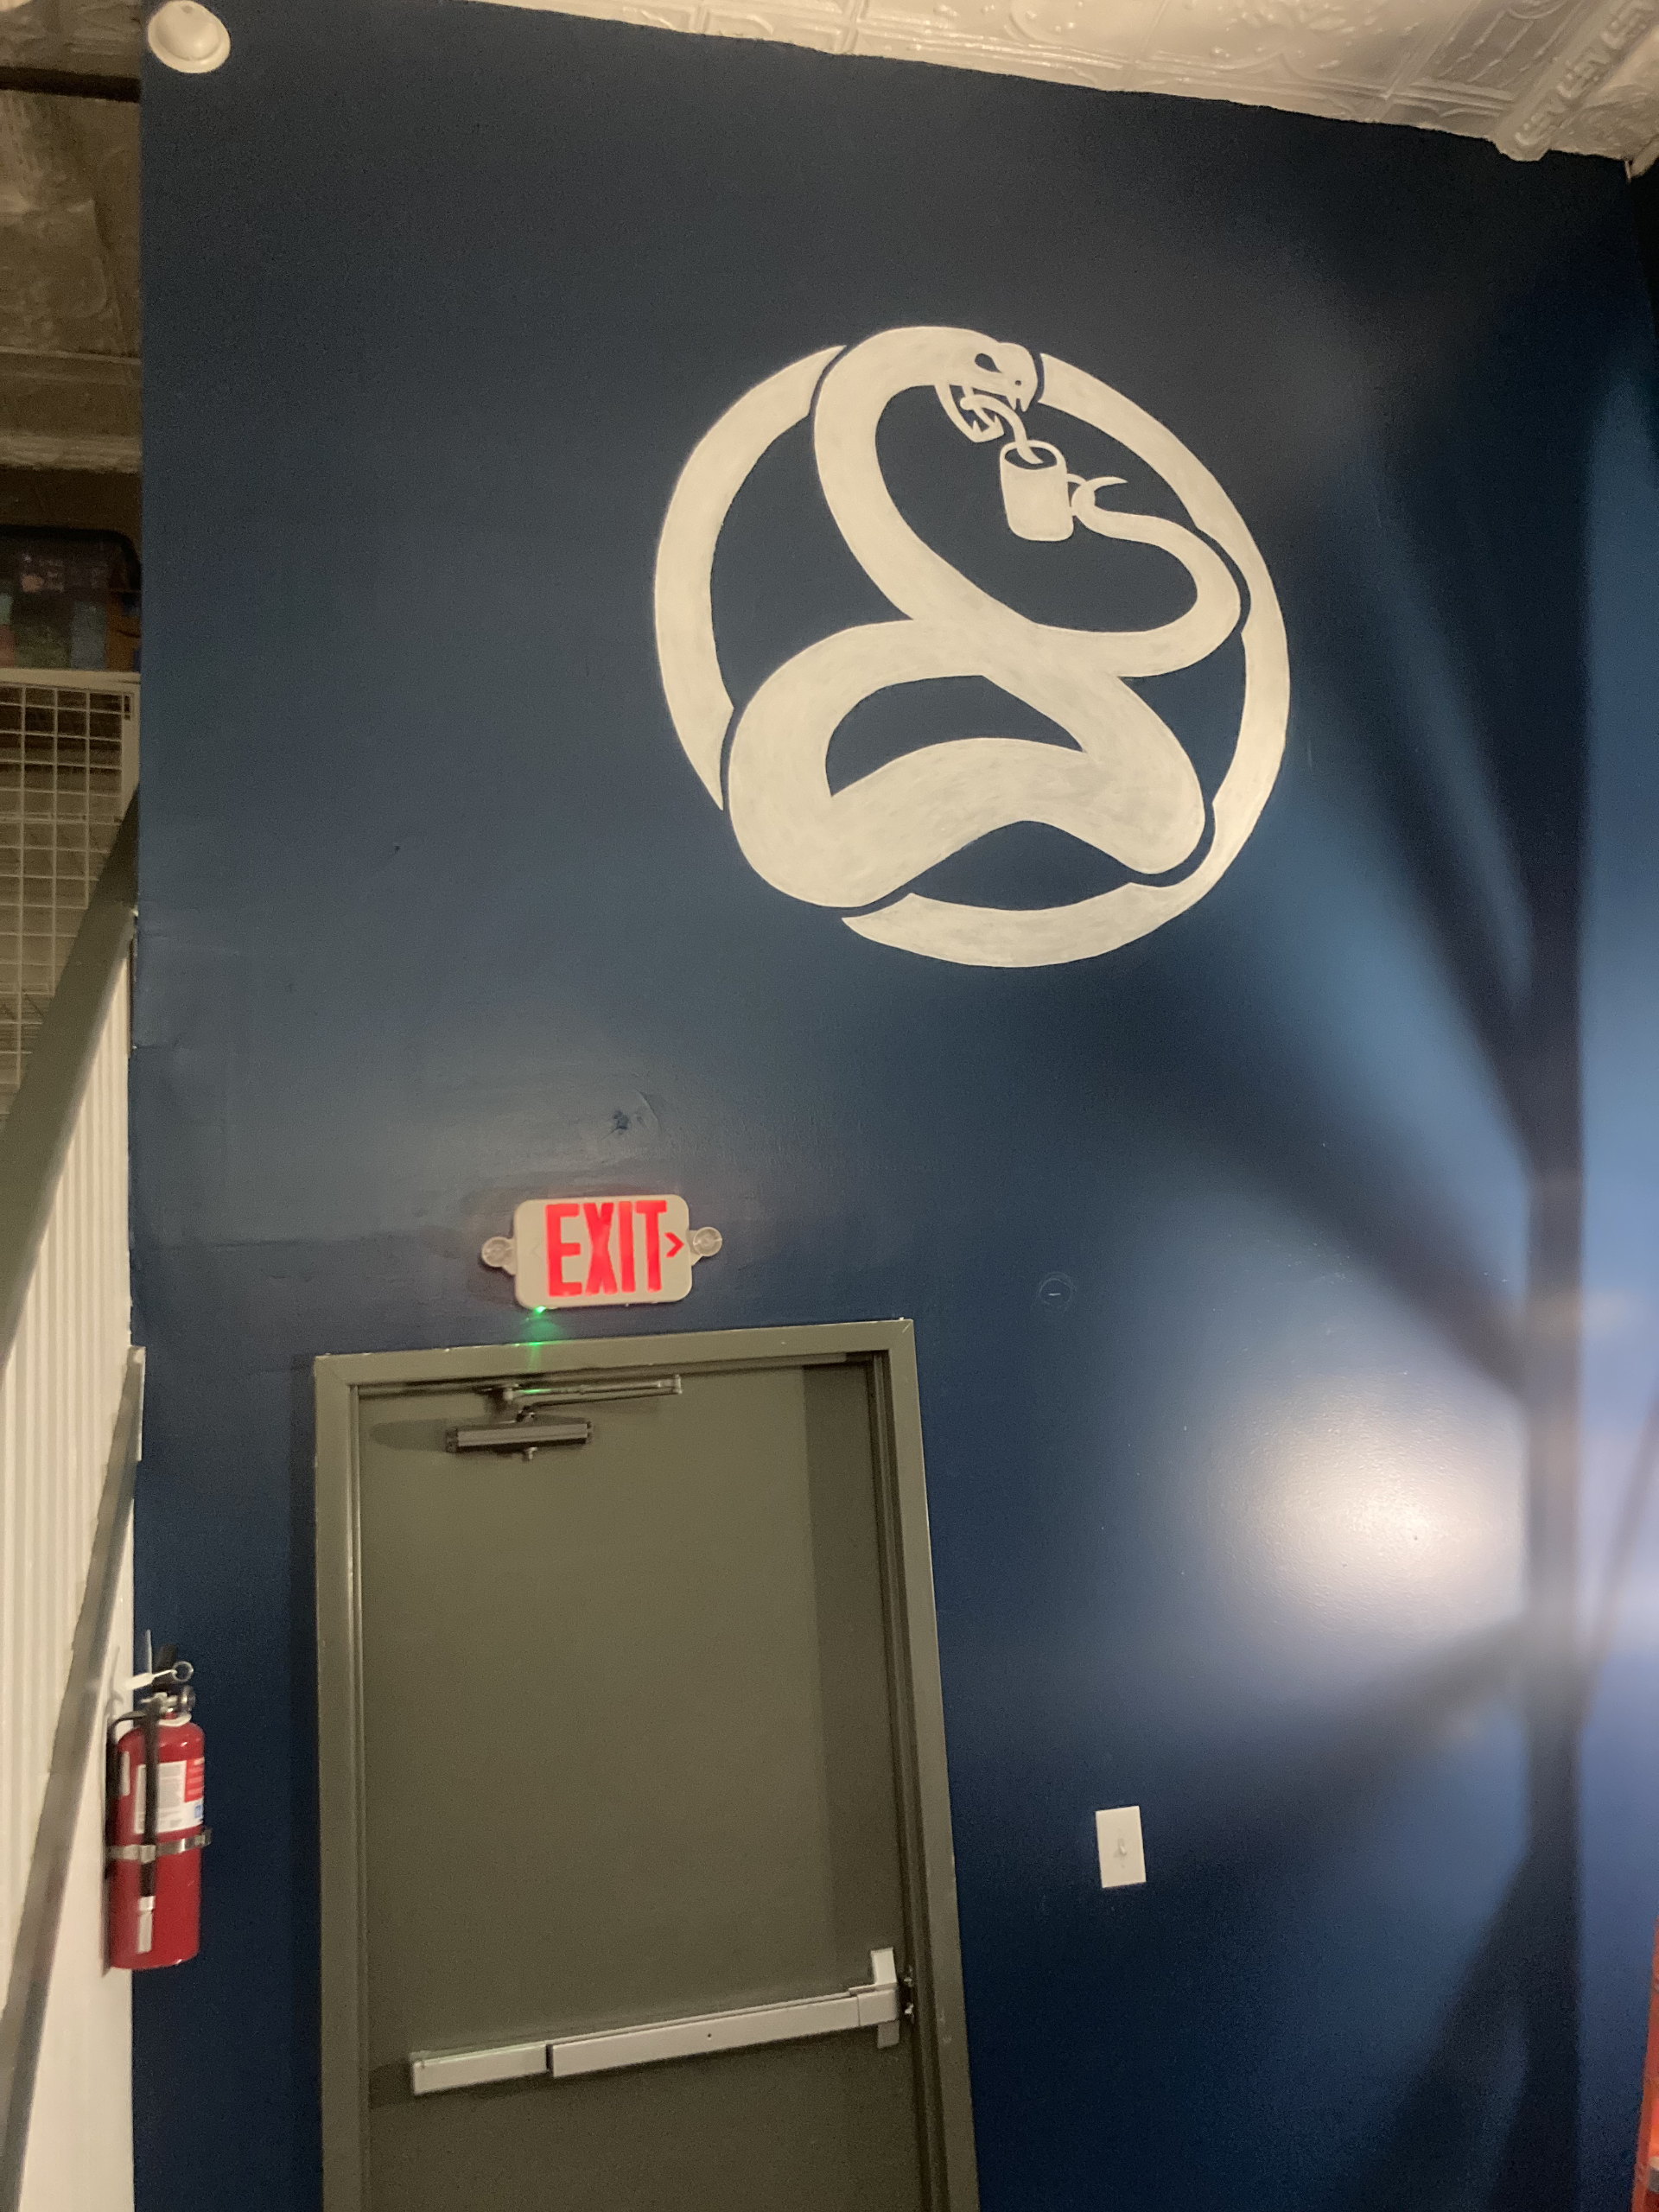
Session 4
LET THERE BE A COMPLETED MURAL!!!!
In this "session", we thought that this was the completed project.
Mark had moved onto the next mural in the coffee shop.
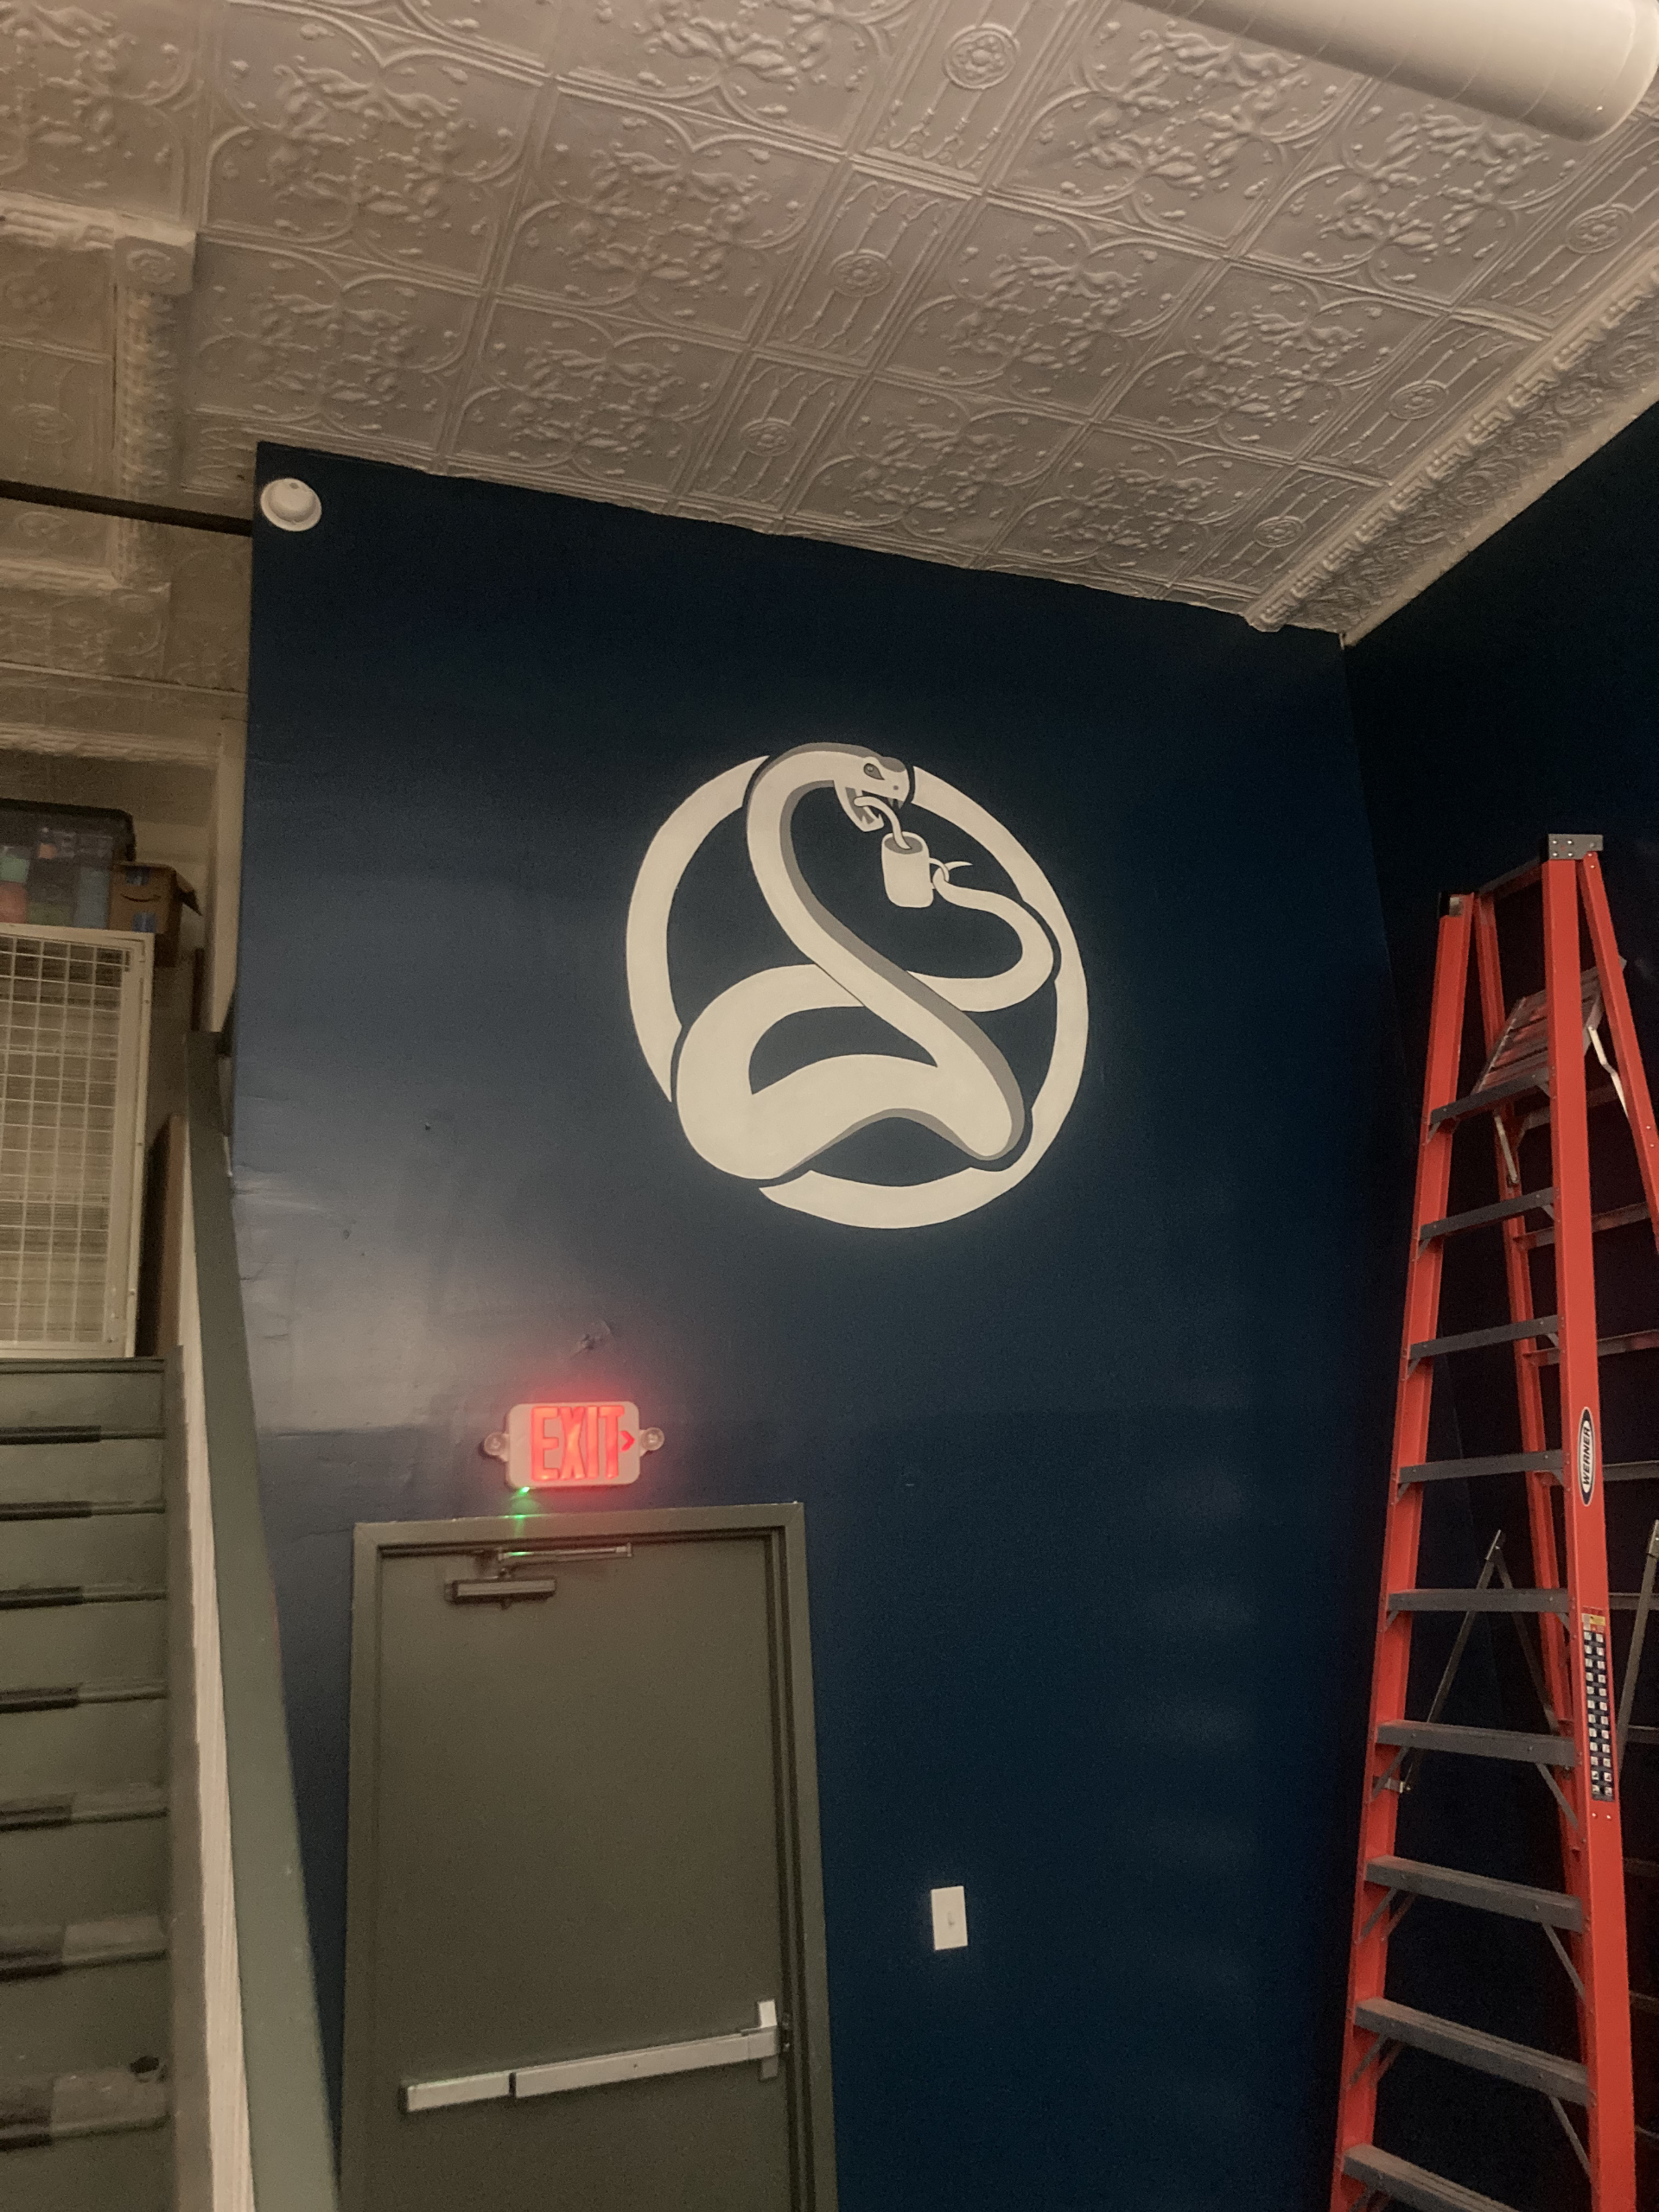
Session 5
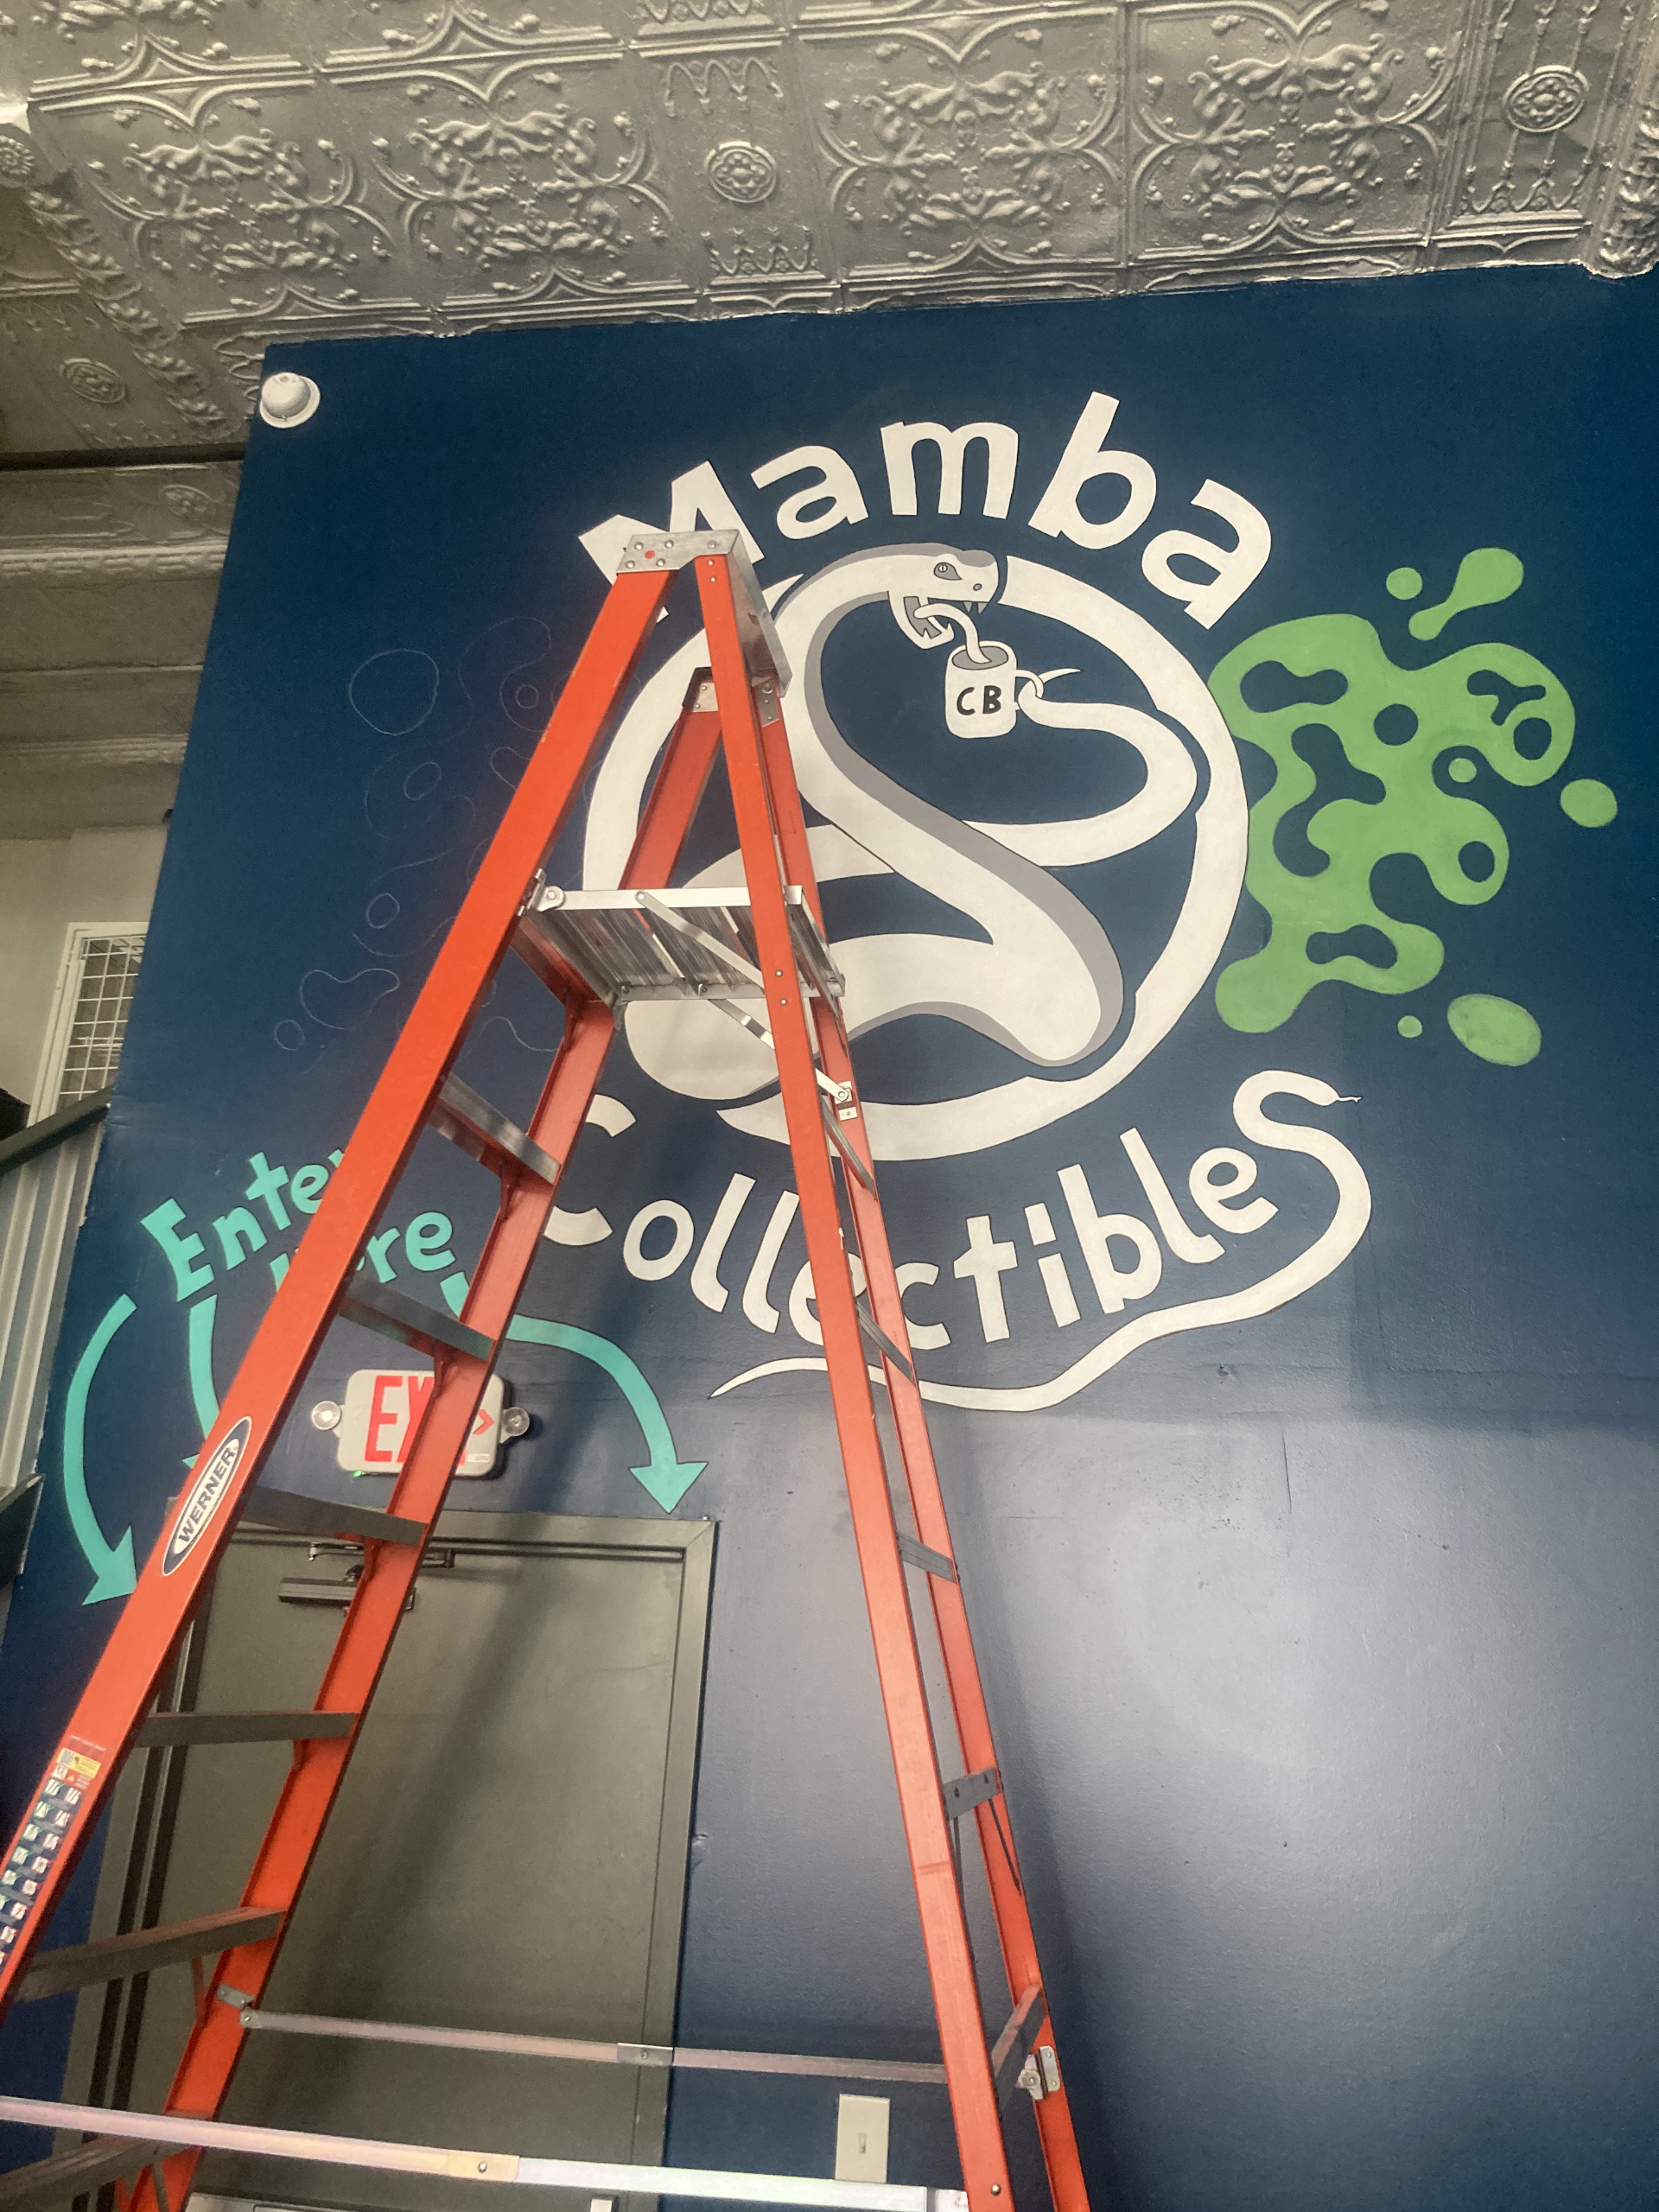
BEHOLD, COLOR!!!!!!
After the next mural was completed, Mark ended up coming back to this one to make it a little more pretty. He was offset by the black and white feel of the mural and felt that the enter here sign was clashing. Therefor, we added a little sprinkle of color to pair with the Mamba Cast Brew Mural :)
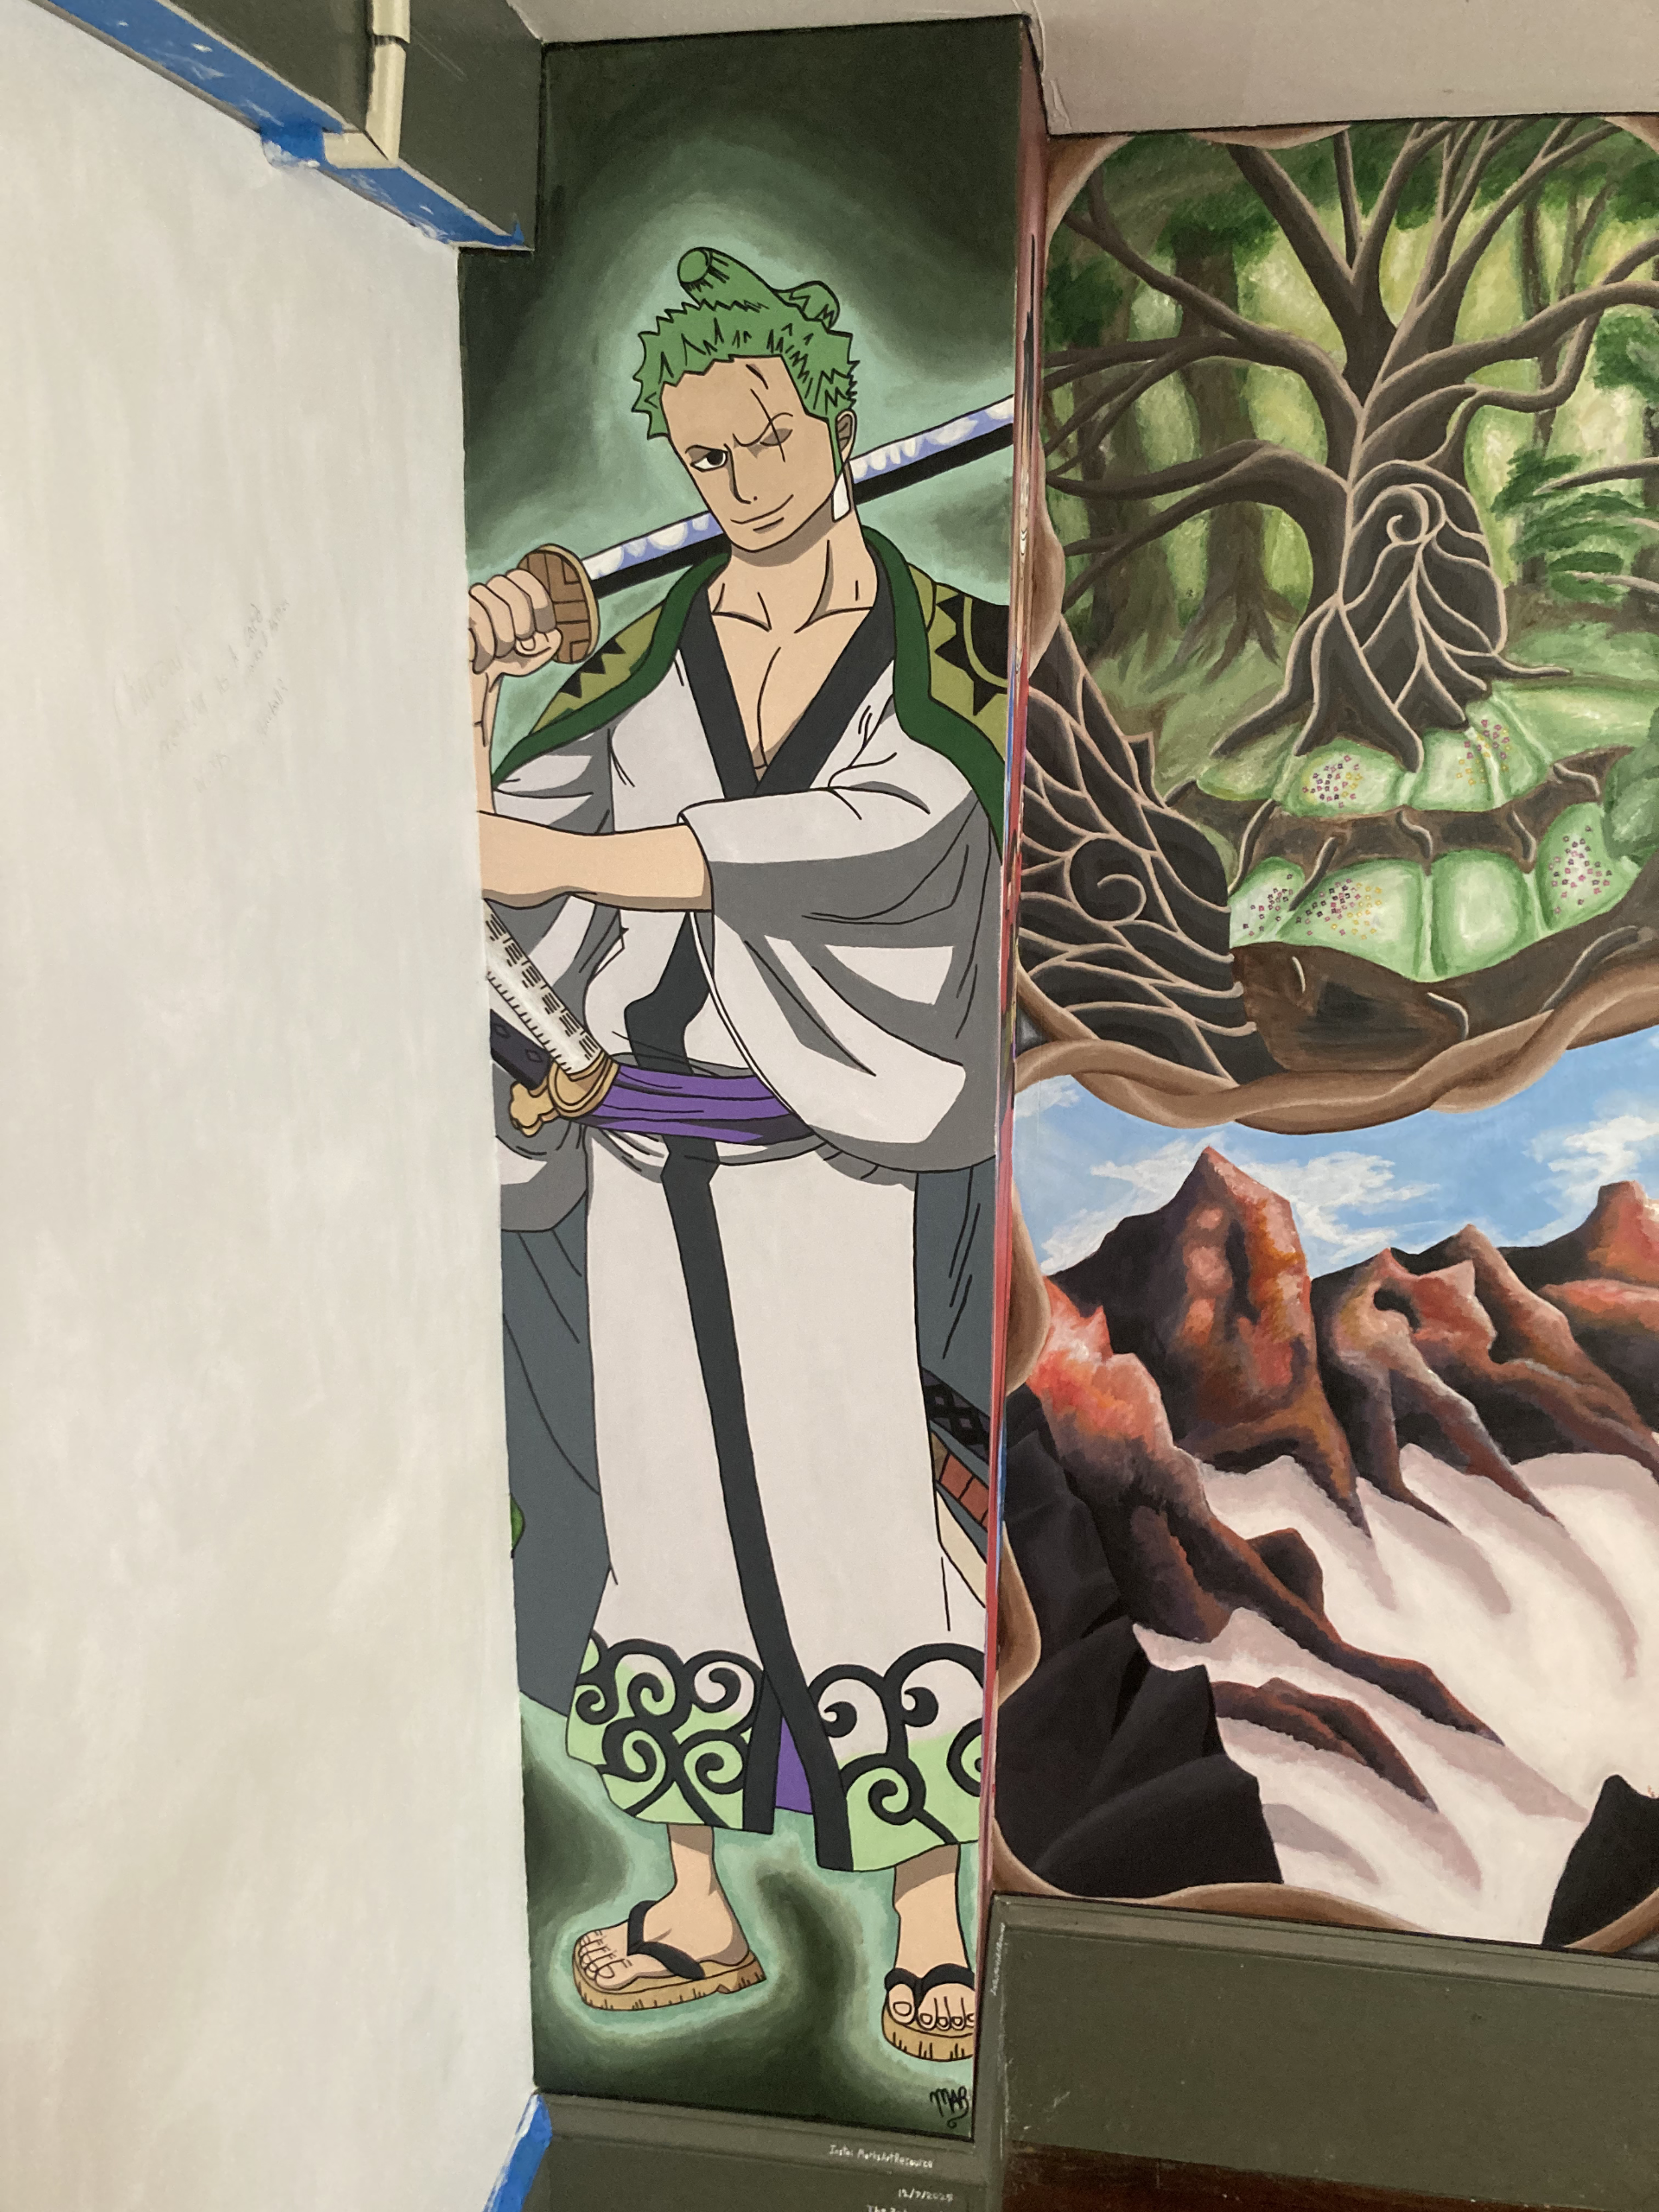
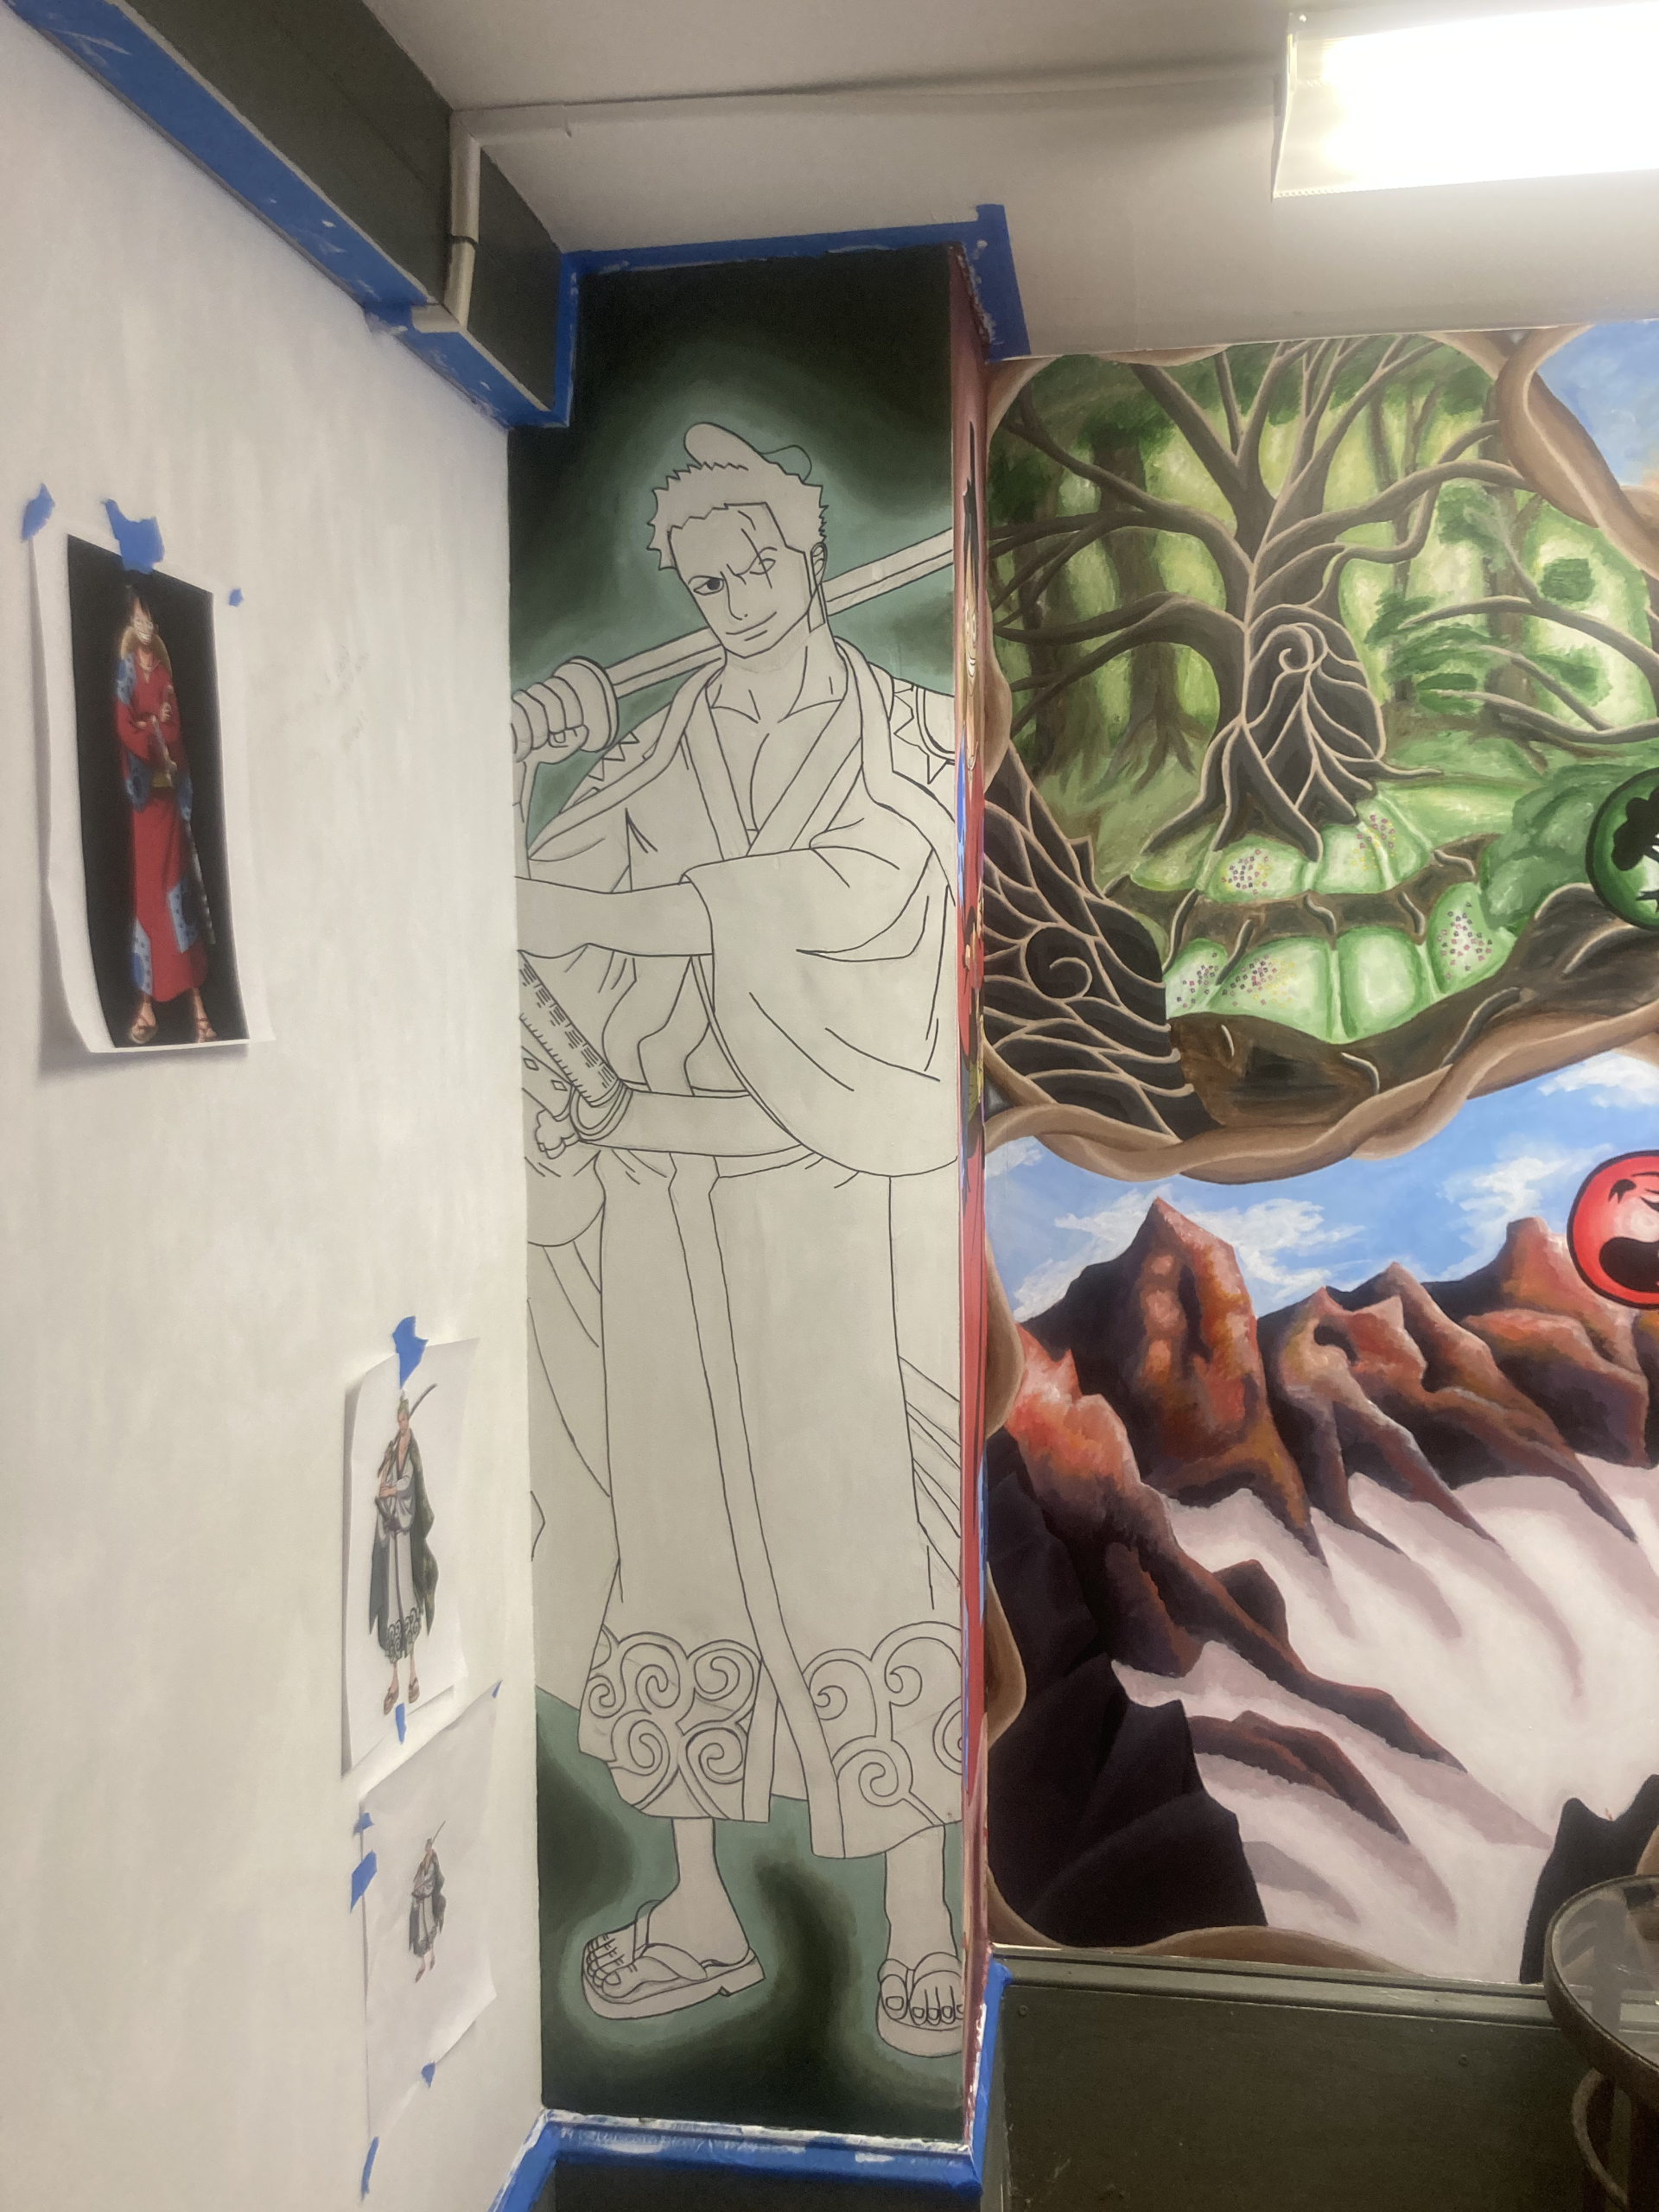
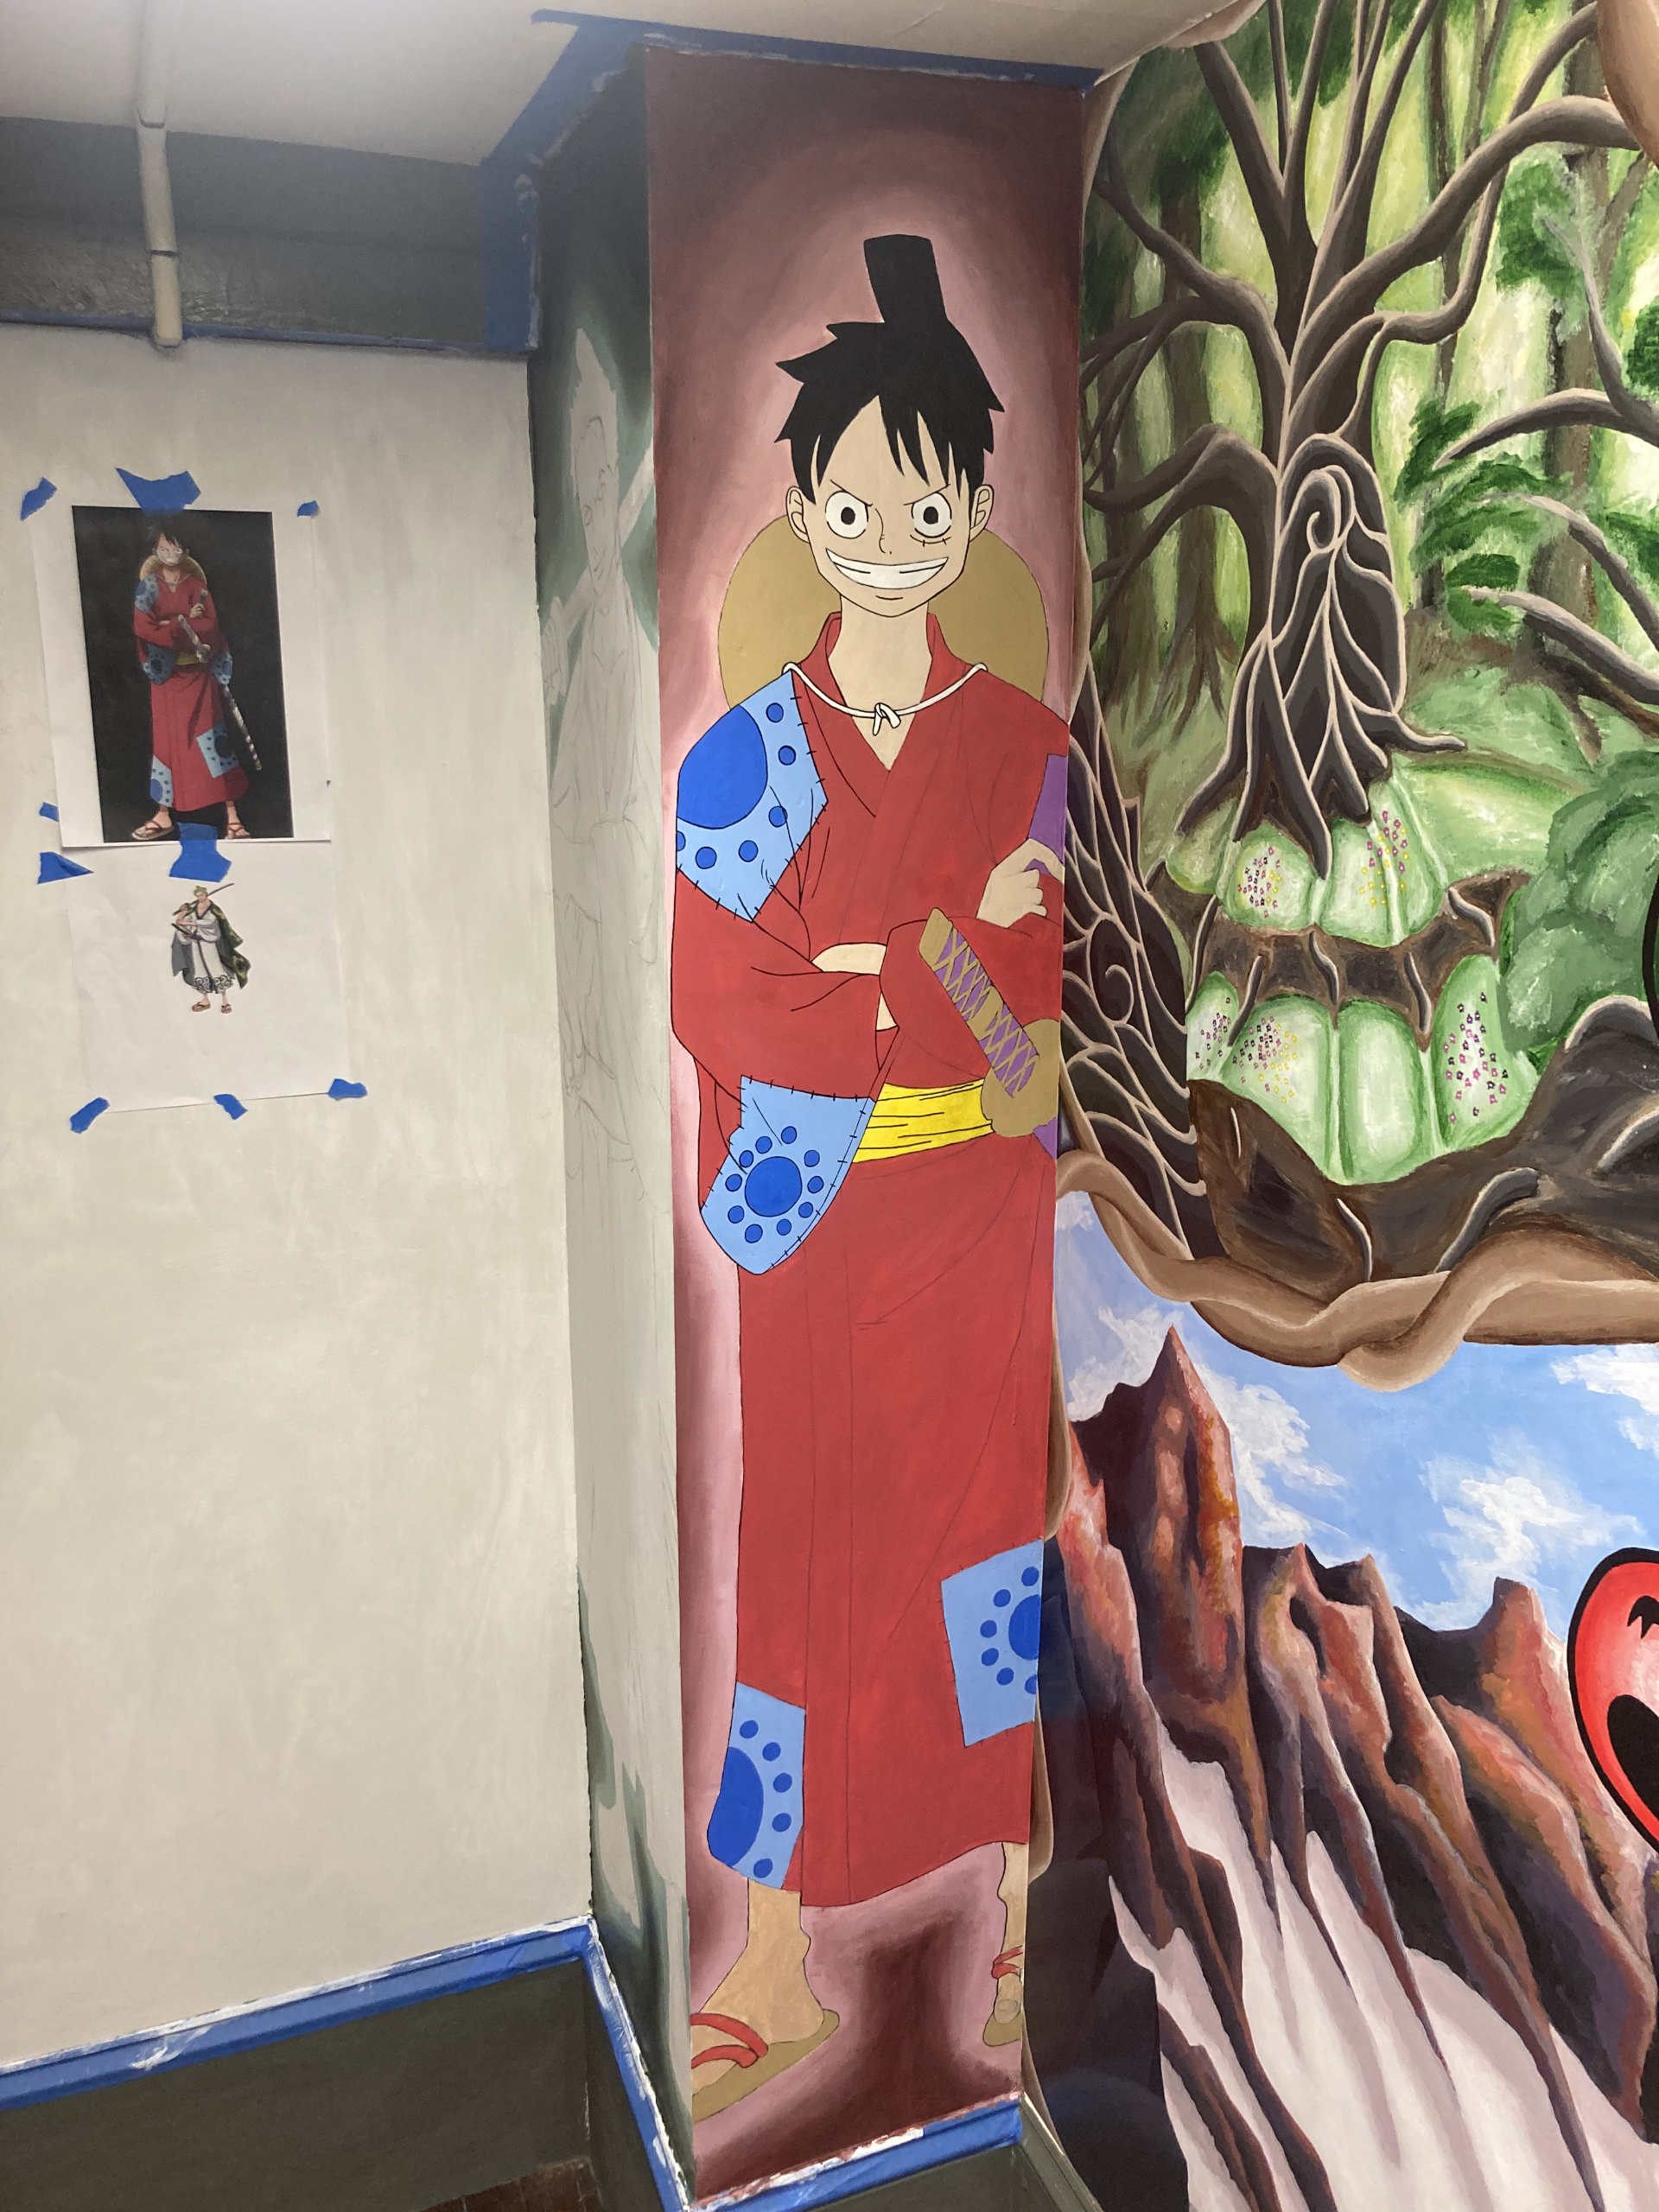
This was the third mural on the wall in the stairs between the sports and TCG floors. Here is the other half of the One Piece TCG series, and also Mark's favorite character in his second favorite anime!!! One day we'll get to do a Naruto mural and anime ambitions will be satisfied. Just kidding, thats when we get to do Naruto, JJK, Kaiju No. 8, FMA, Solo Leveling, My Hero, Death Note, and maybe, just maybe, Soul eater. Anime has been on a roll from 2024-2026 so there will be others added to the bucket list.
This is the completed product; however, you can see its progress from day 0 by waiting patiently, or clicking the right arrow.
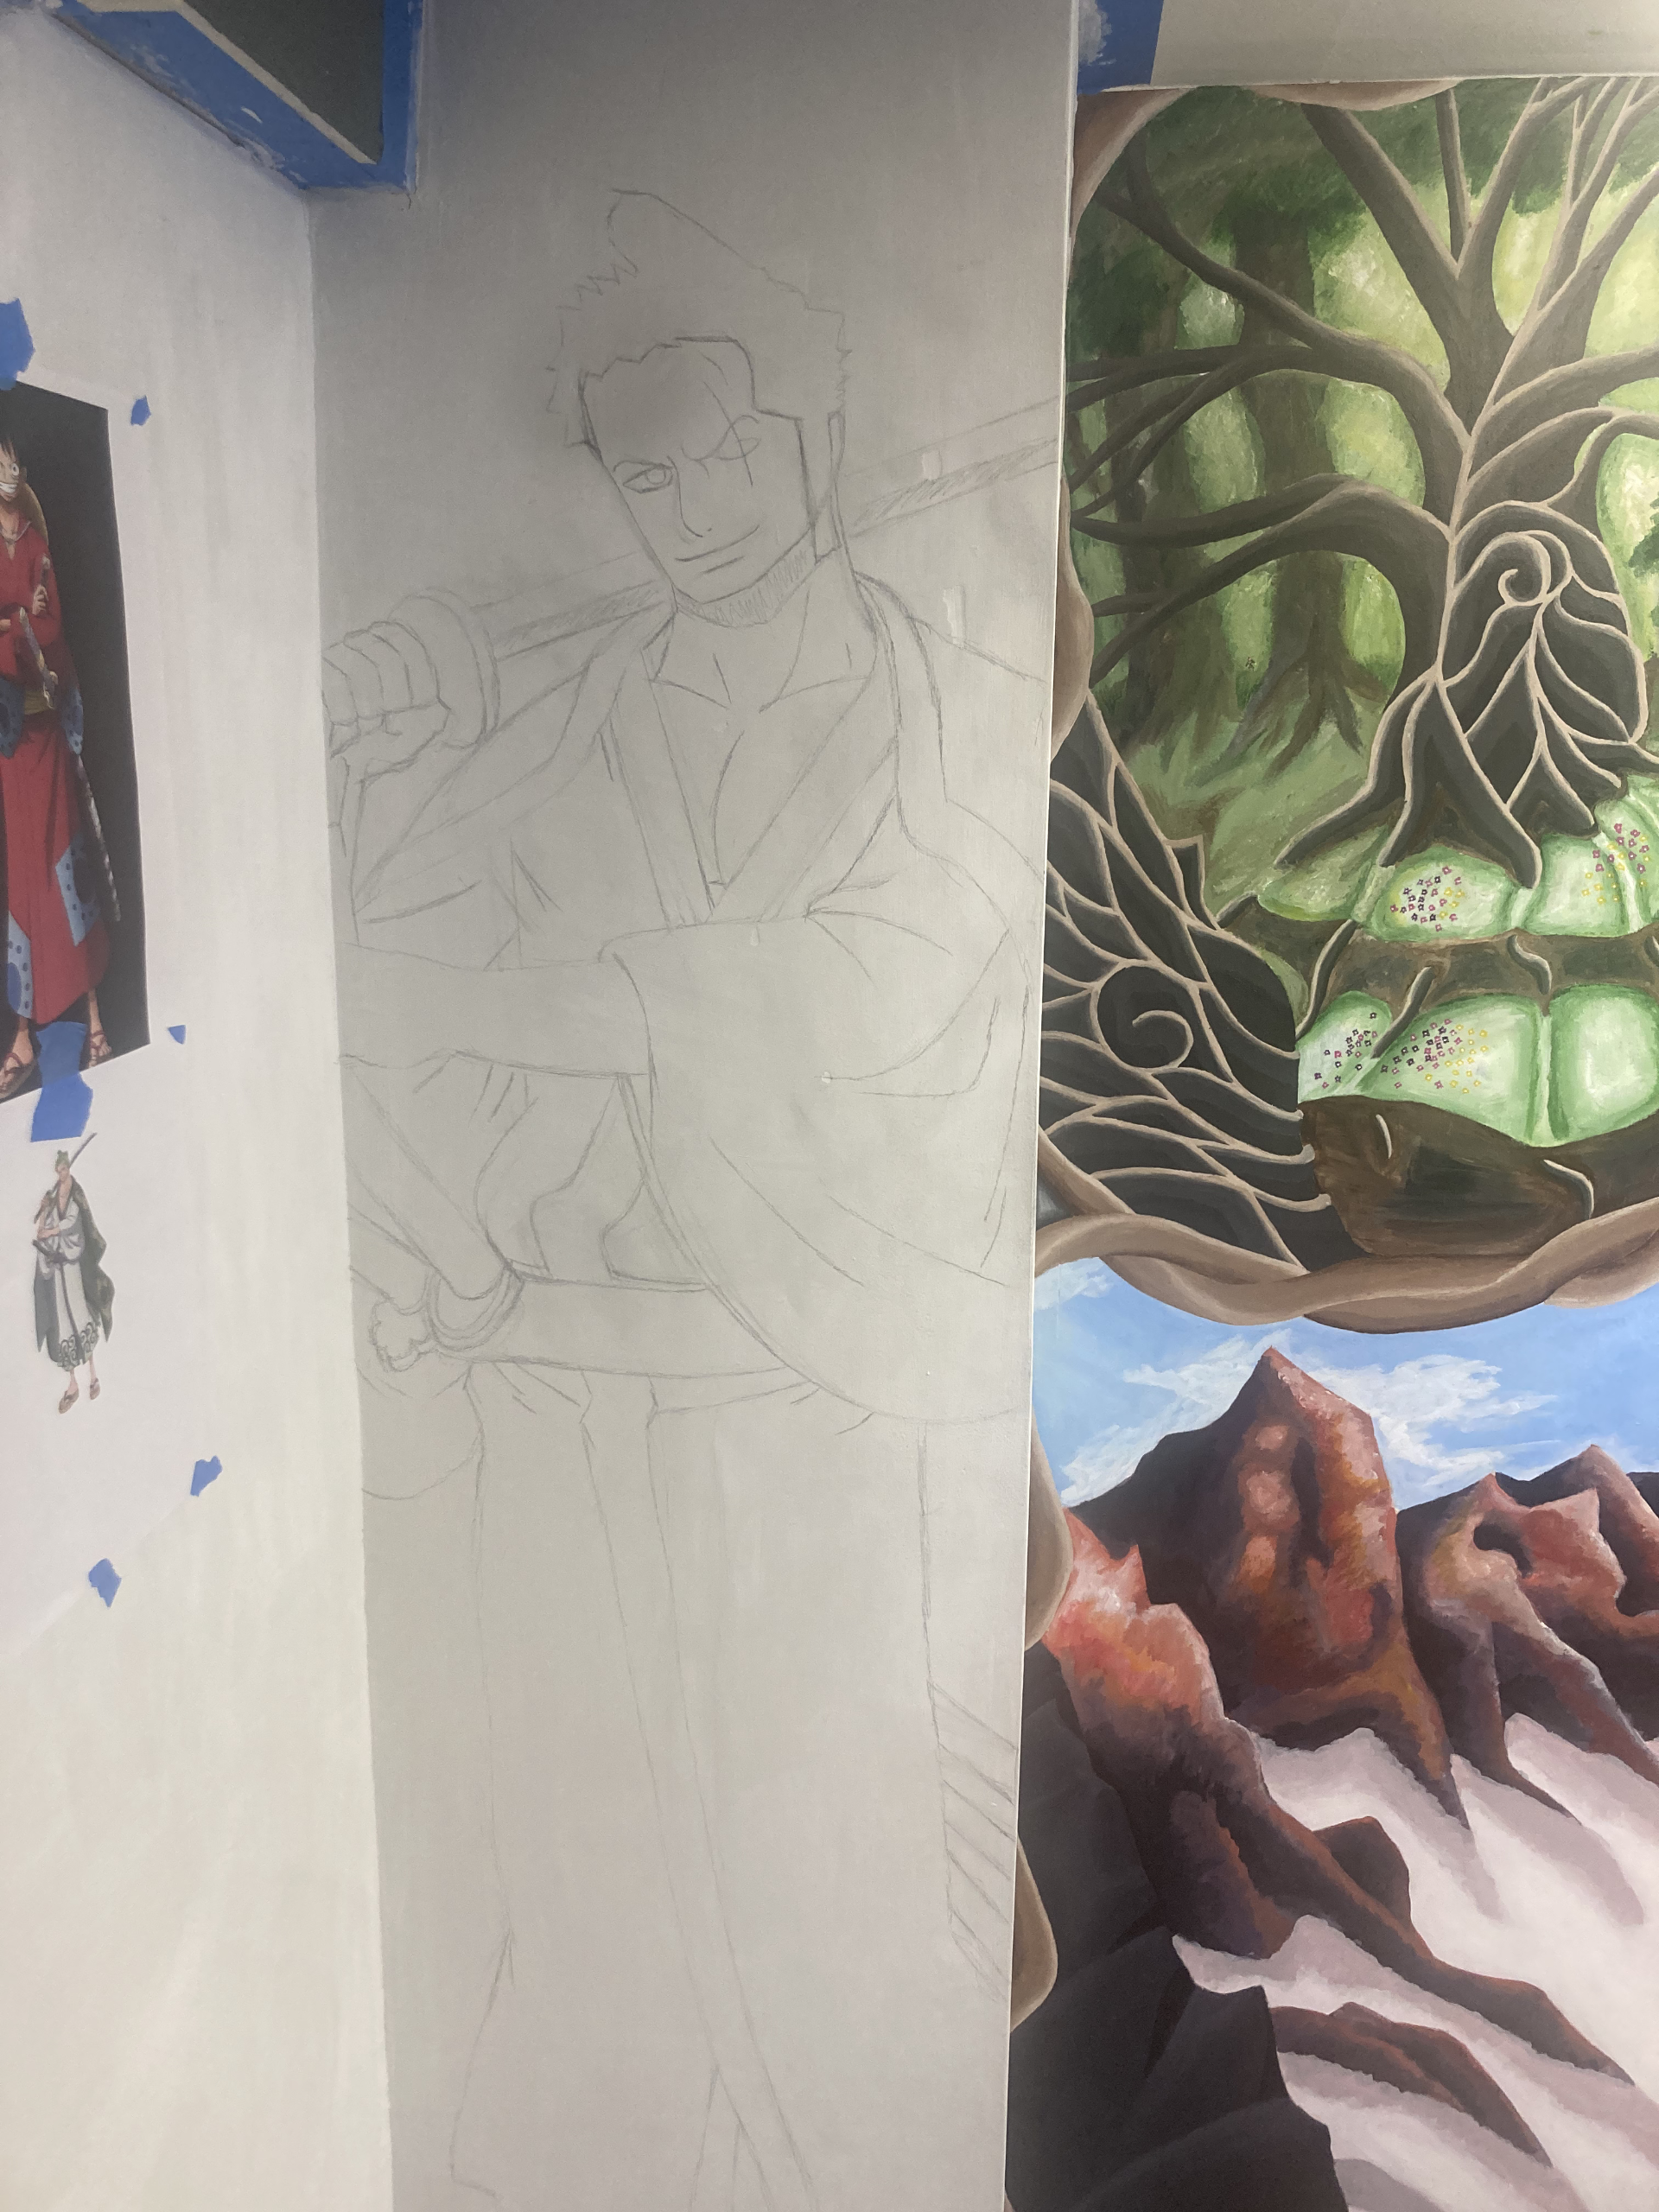
Session 0
Here's a good picture of the Zoro sketch that we started from. Mark put this down when he was drawing out Luffy so we could get the positioning right.
Session 1
Since we had the background done when we started, it was time to firm-up the sketch with some nice and solid lines.
This enabled Mark to put layers down accordingly and get the positioning to hold throughout the layers.
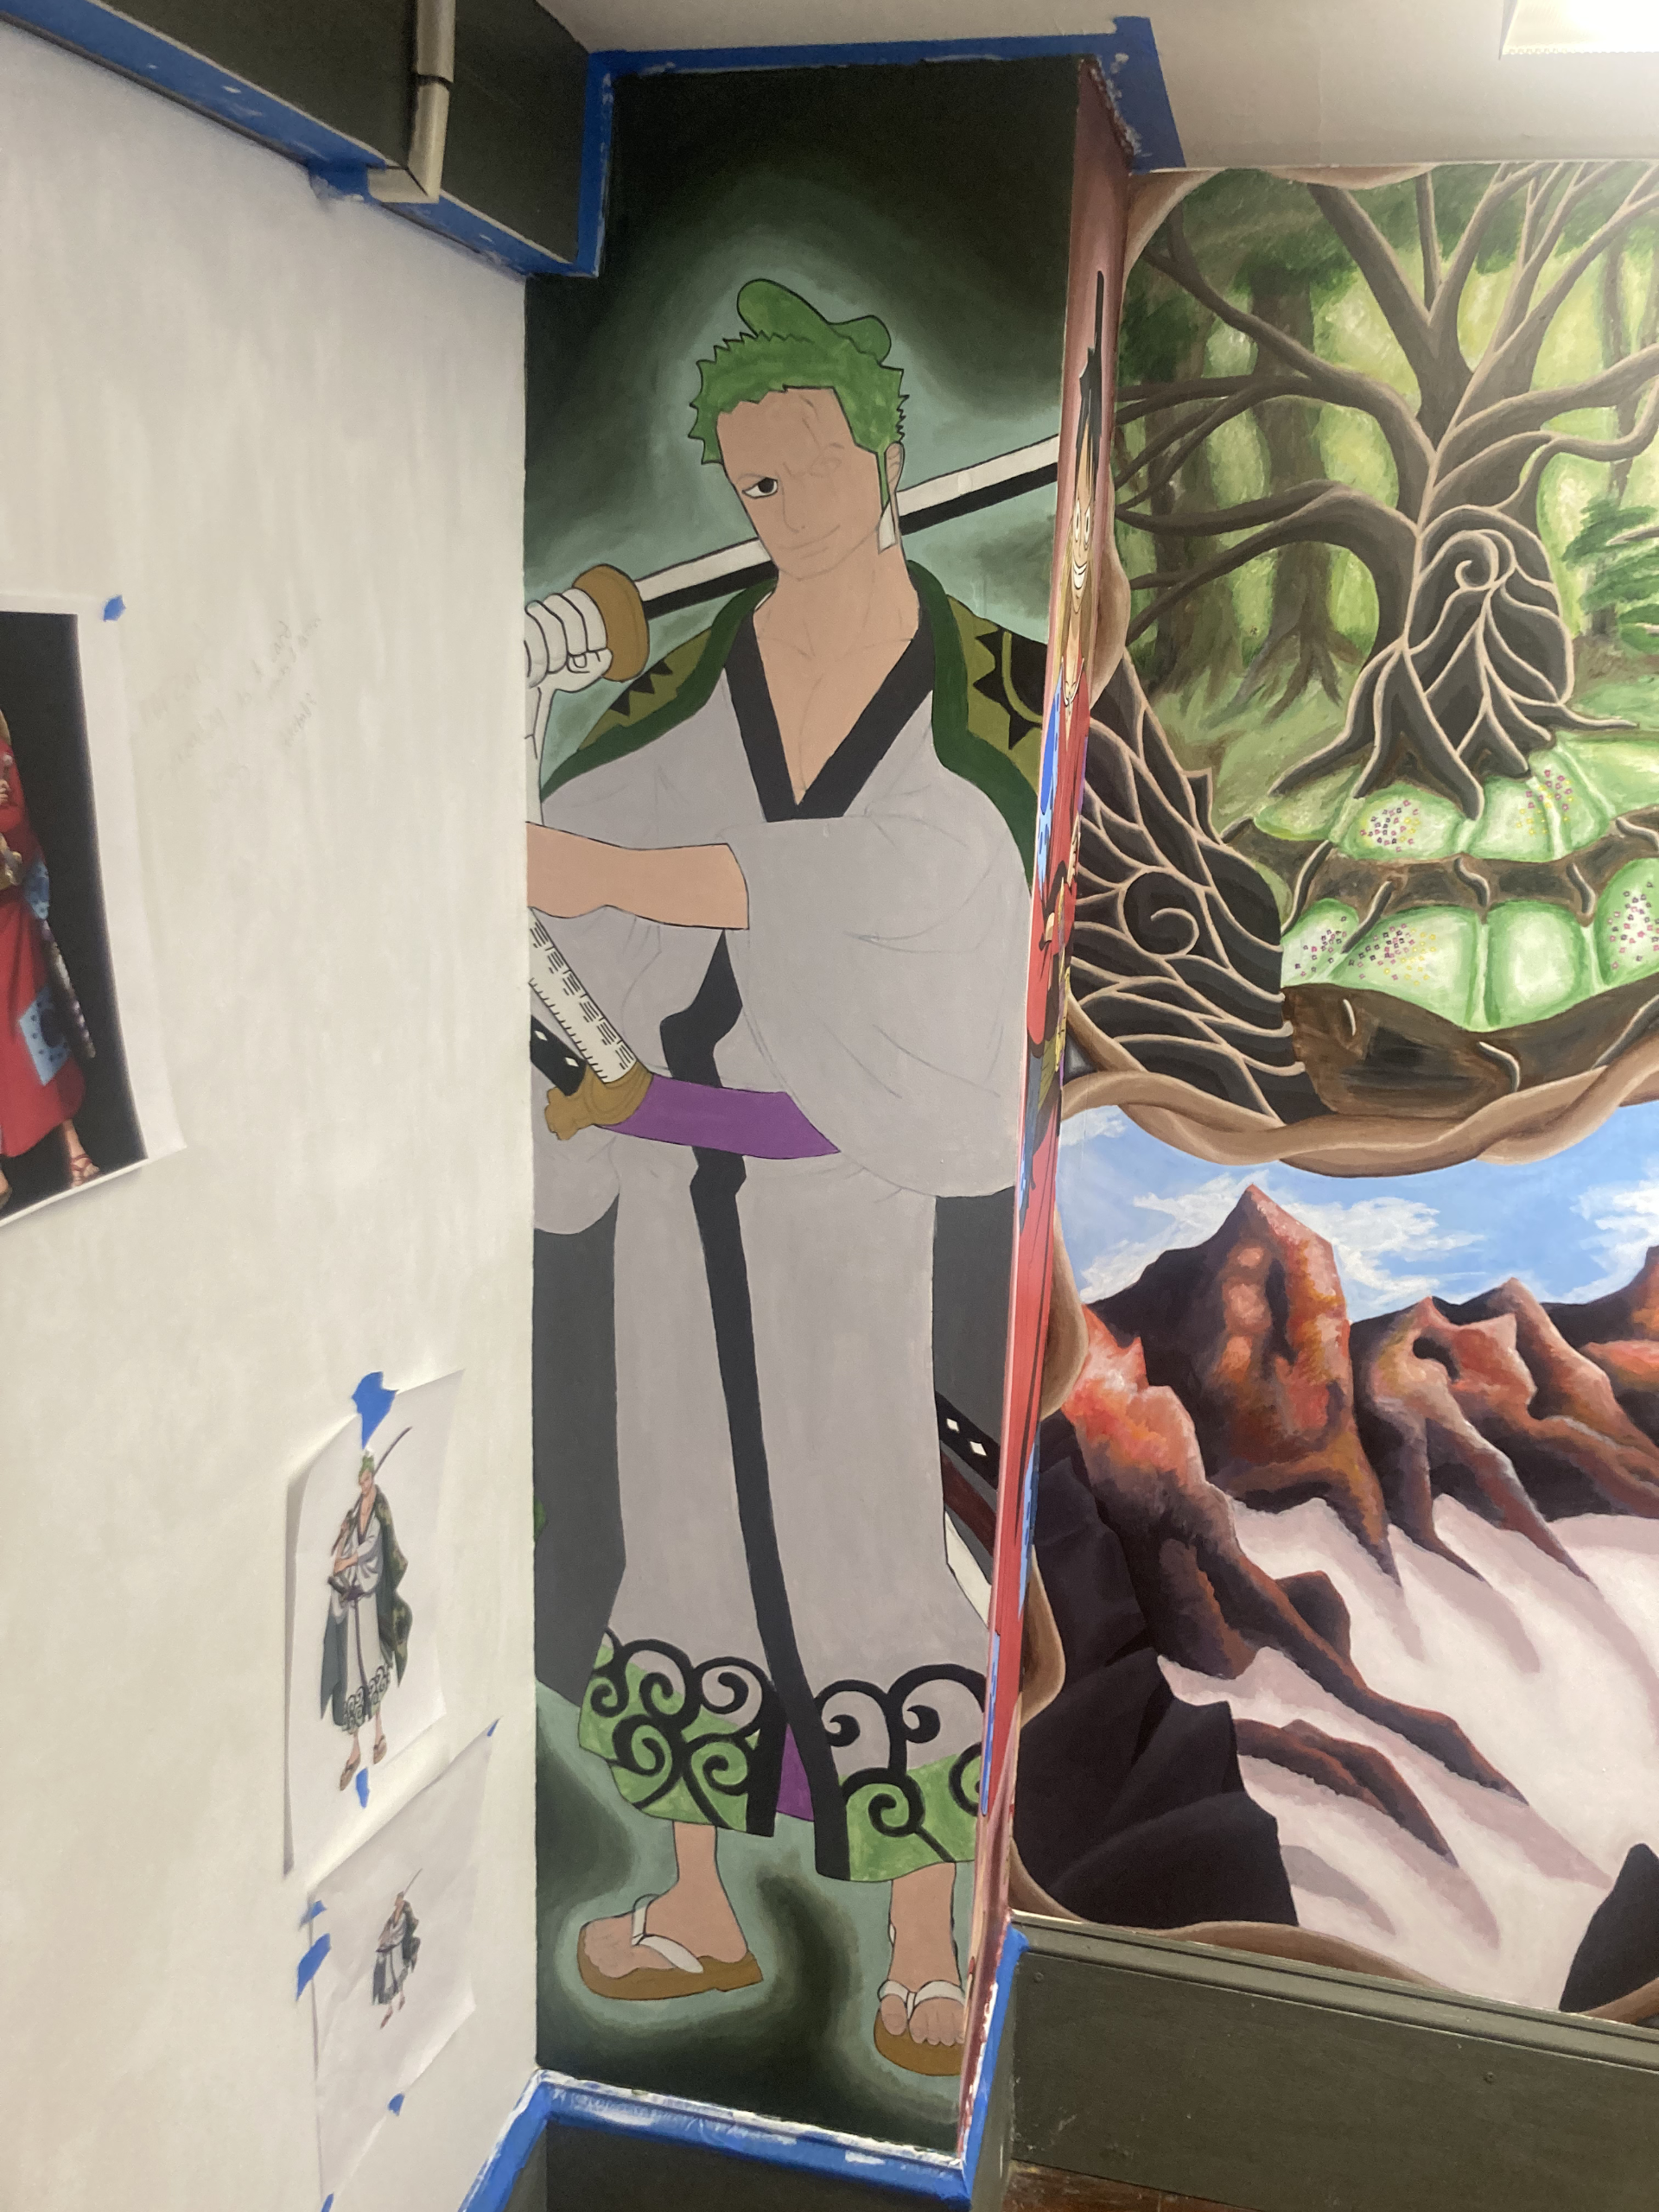
Session 2
BEHOLD! FIRST LAYER!
Mark missed a couple of spots, but we managed to get a rough idea of the color placement and lay the groundwork for future development.
As you'll see in the next couple of slides, the skin tone gave us much grief.
Session 3
LET THERE BE THICKER PAINT!
The paint was still pretty thin in the previous slide, so Mark went in and firmed up a few places, as well as solidified the missing segments.
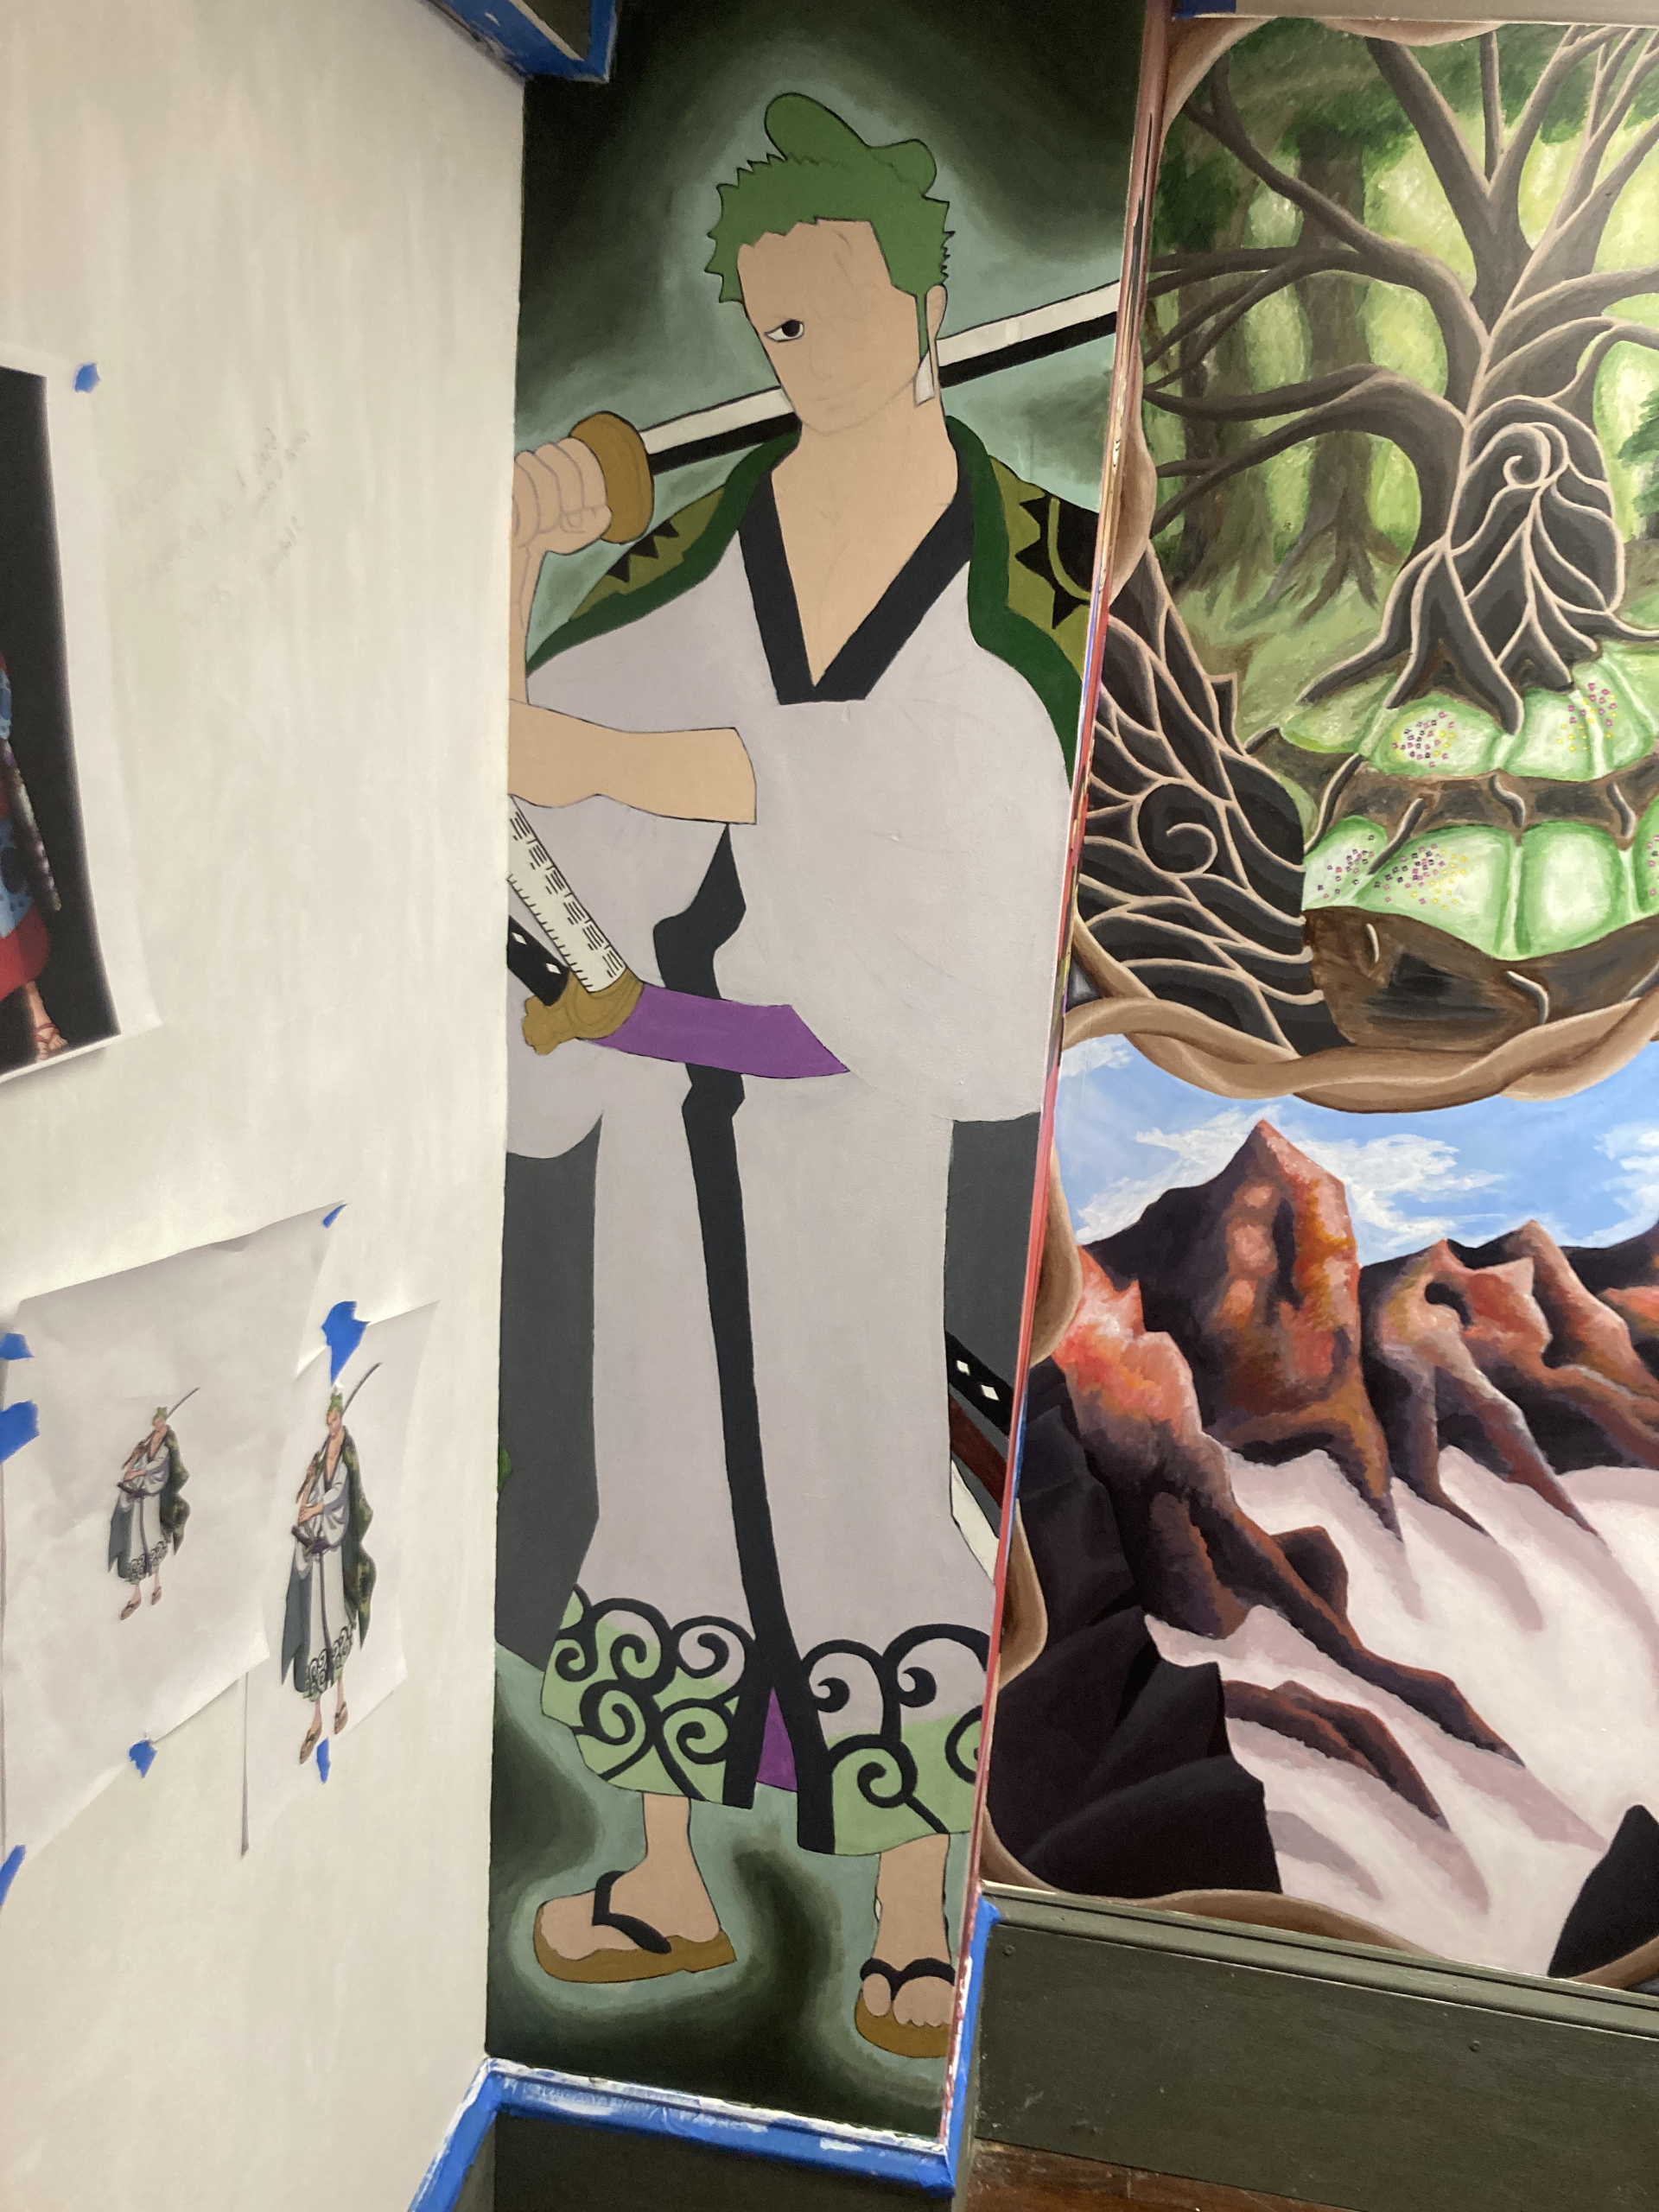
Session 4
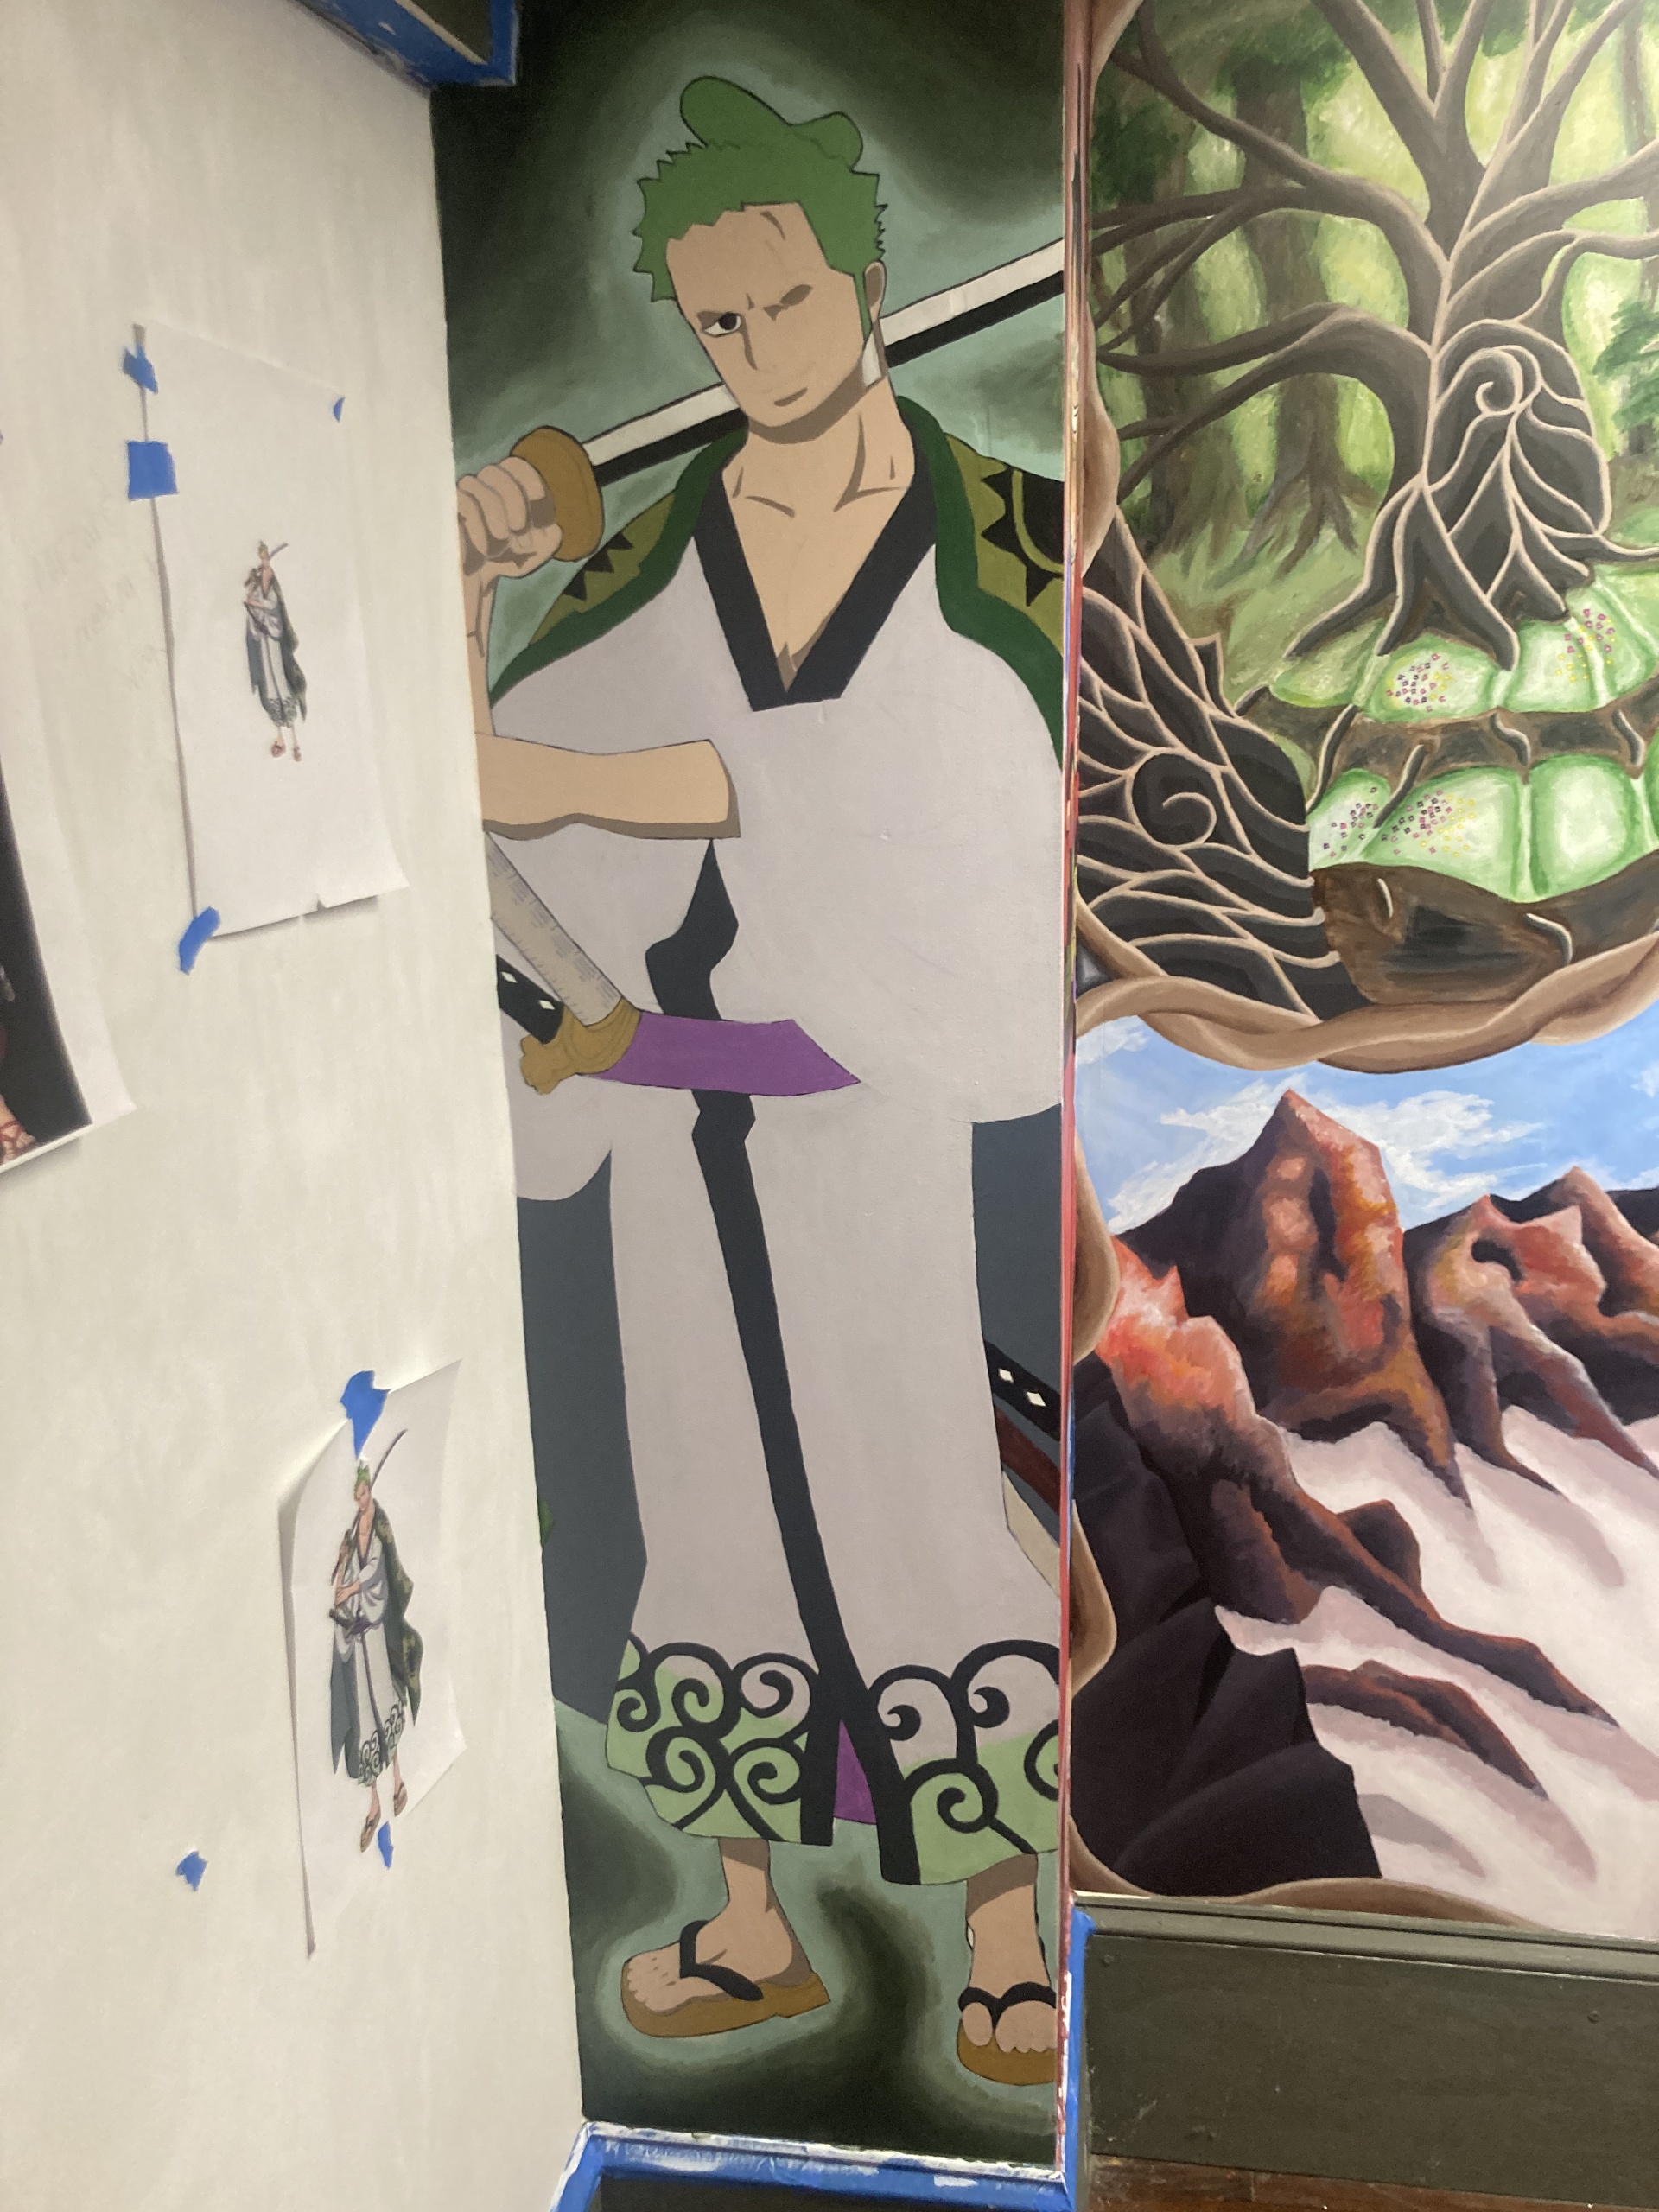
LET THERE BE SOME SHADING!!!!
At this point, we had the basic positioning down and a nice and solid layer. It was time to get some of the skintone shading and prep for the final layer.
We never got a good picture of the sessions inbetween, but a long session was knocked out to do the linework and the outfit shading before we could call this complete.
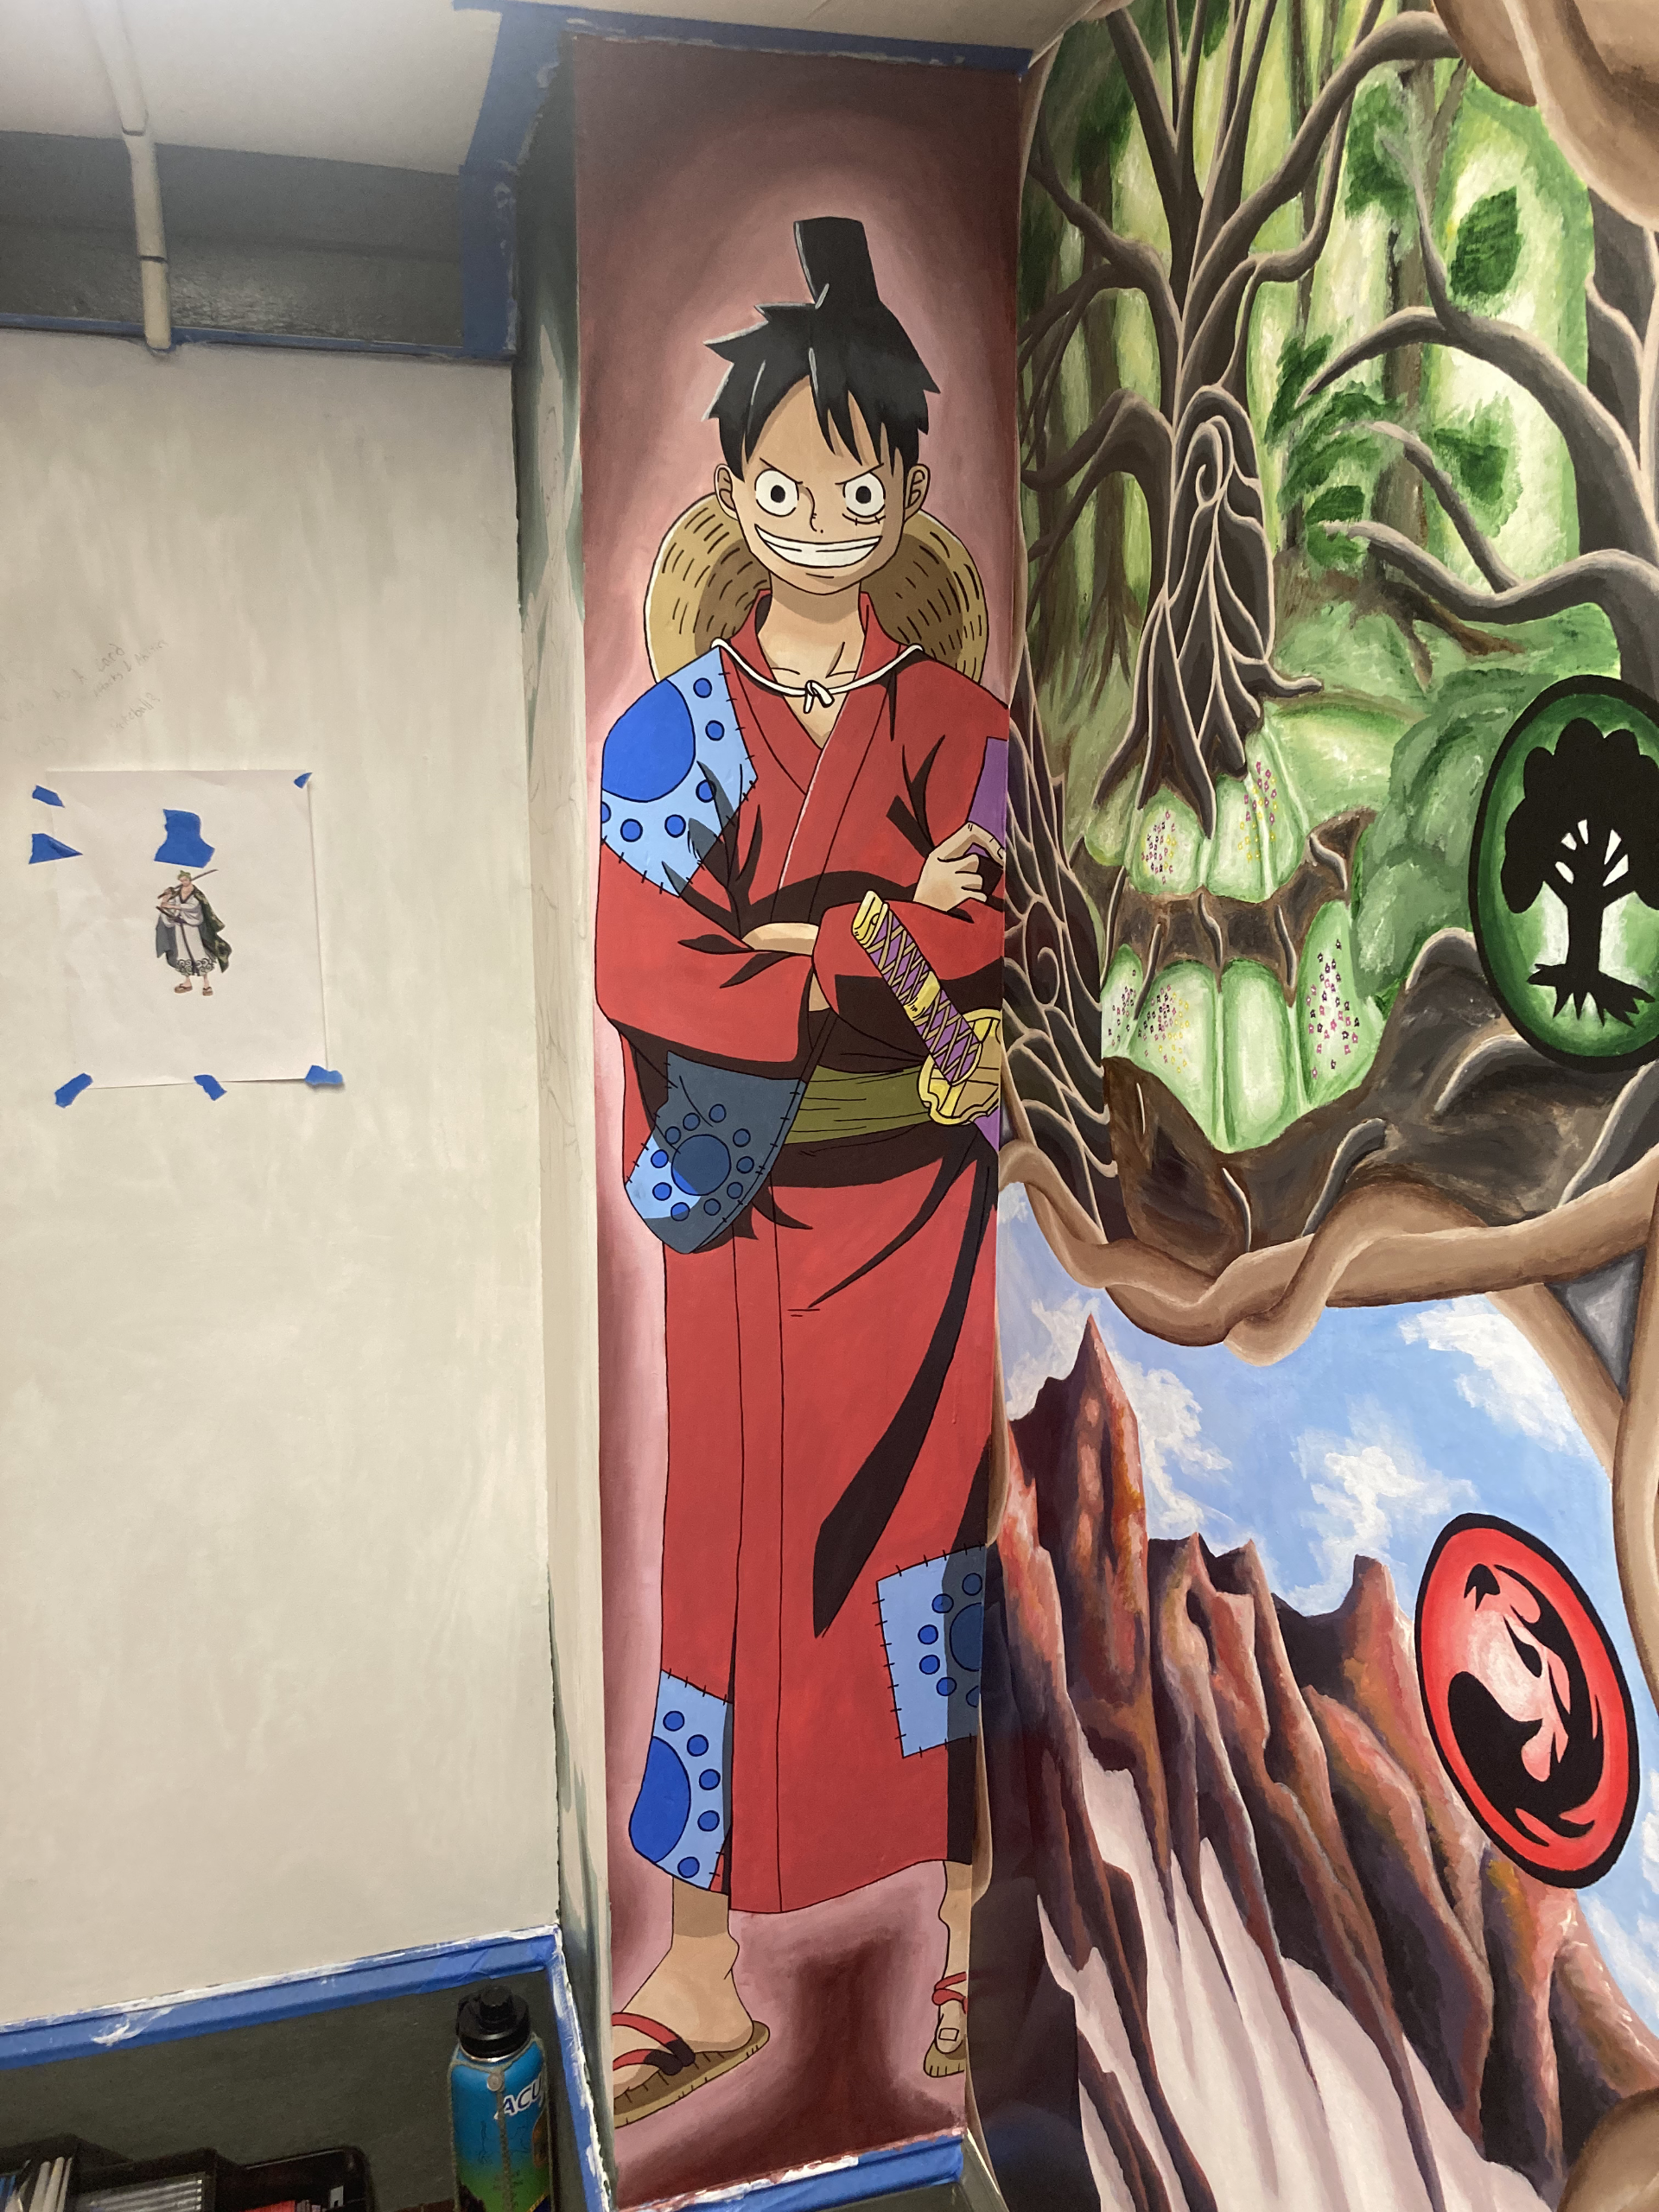
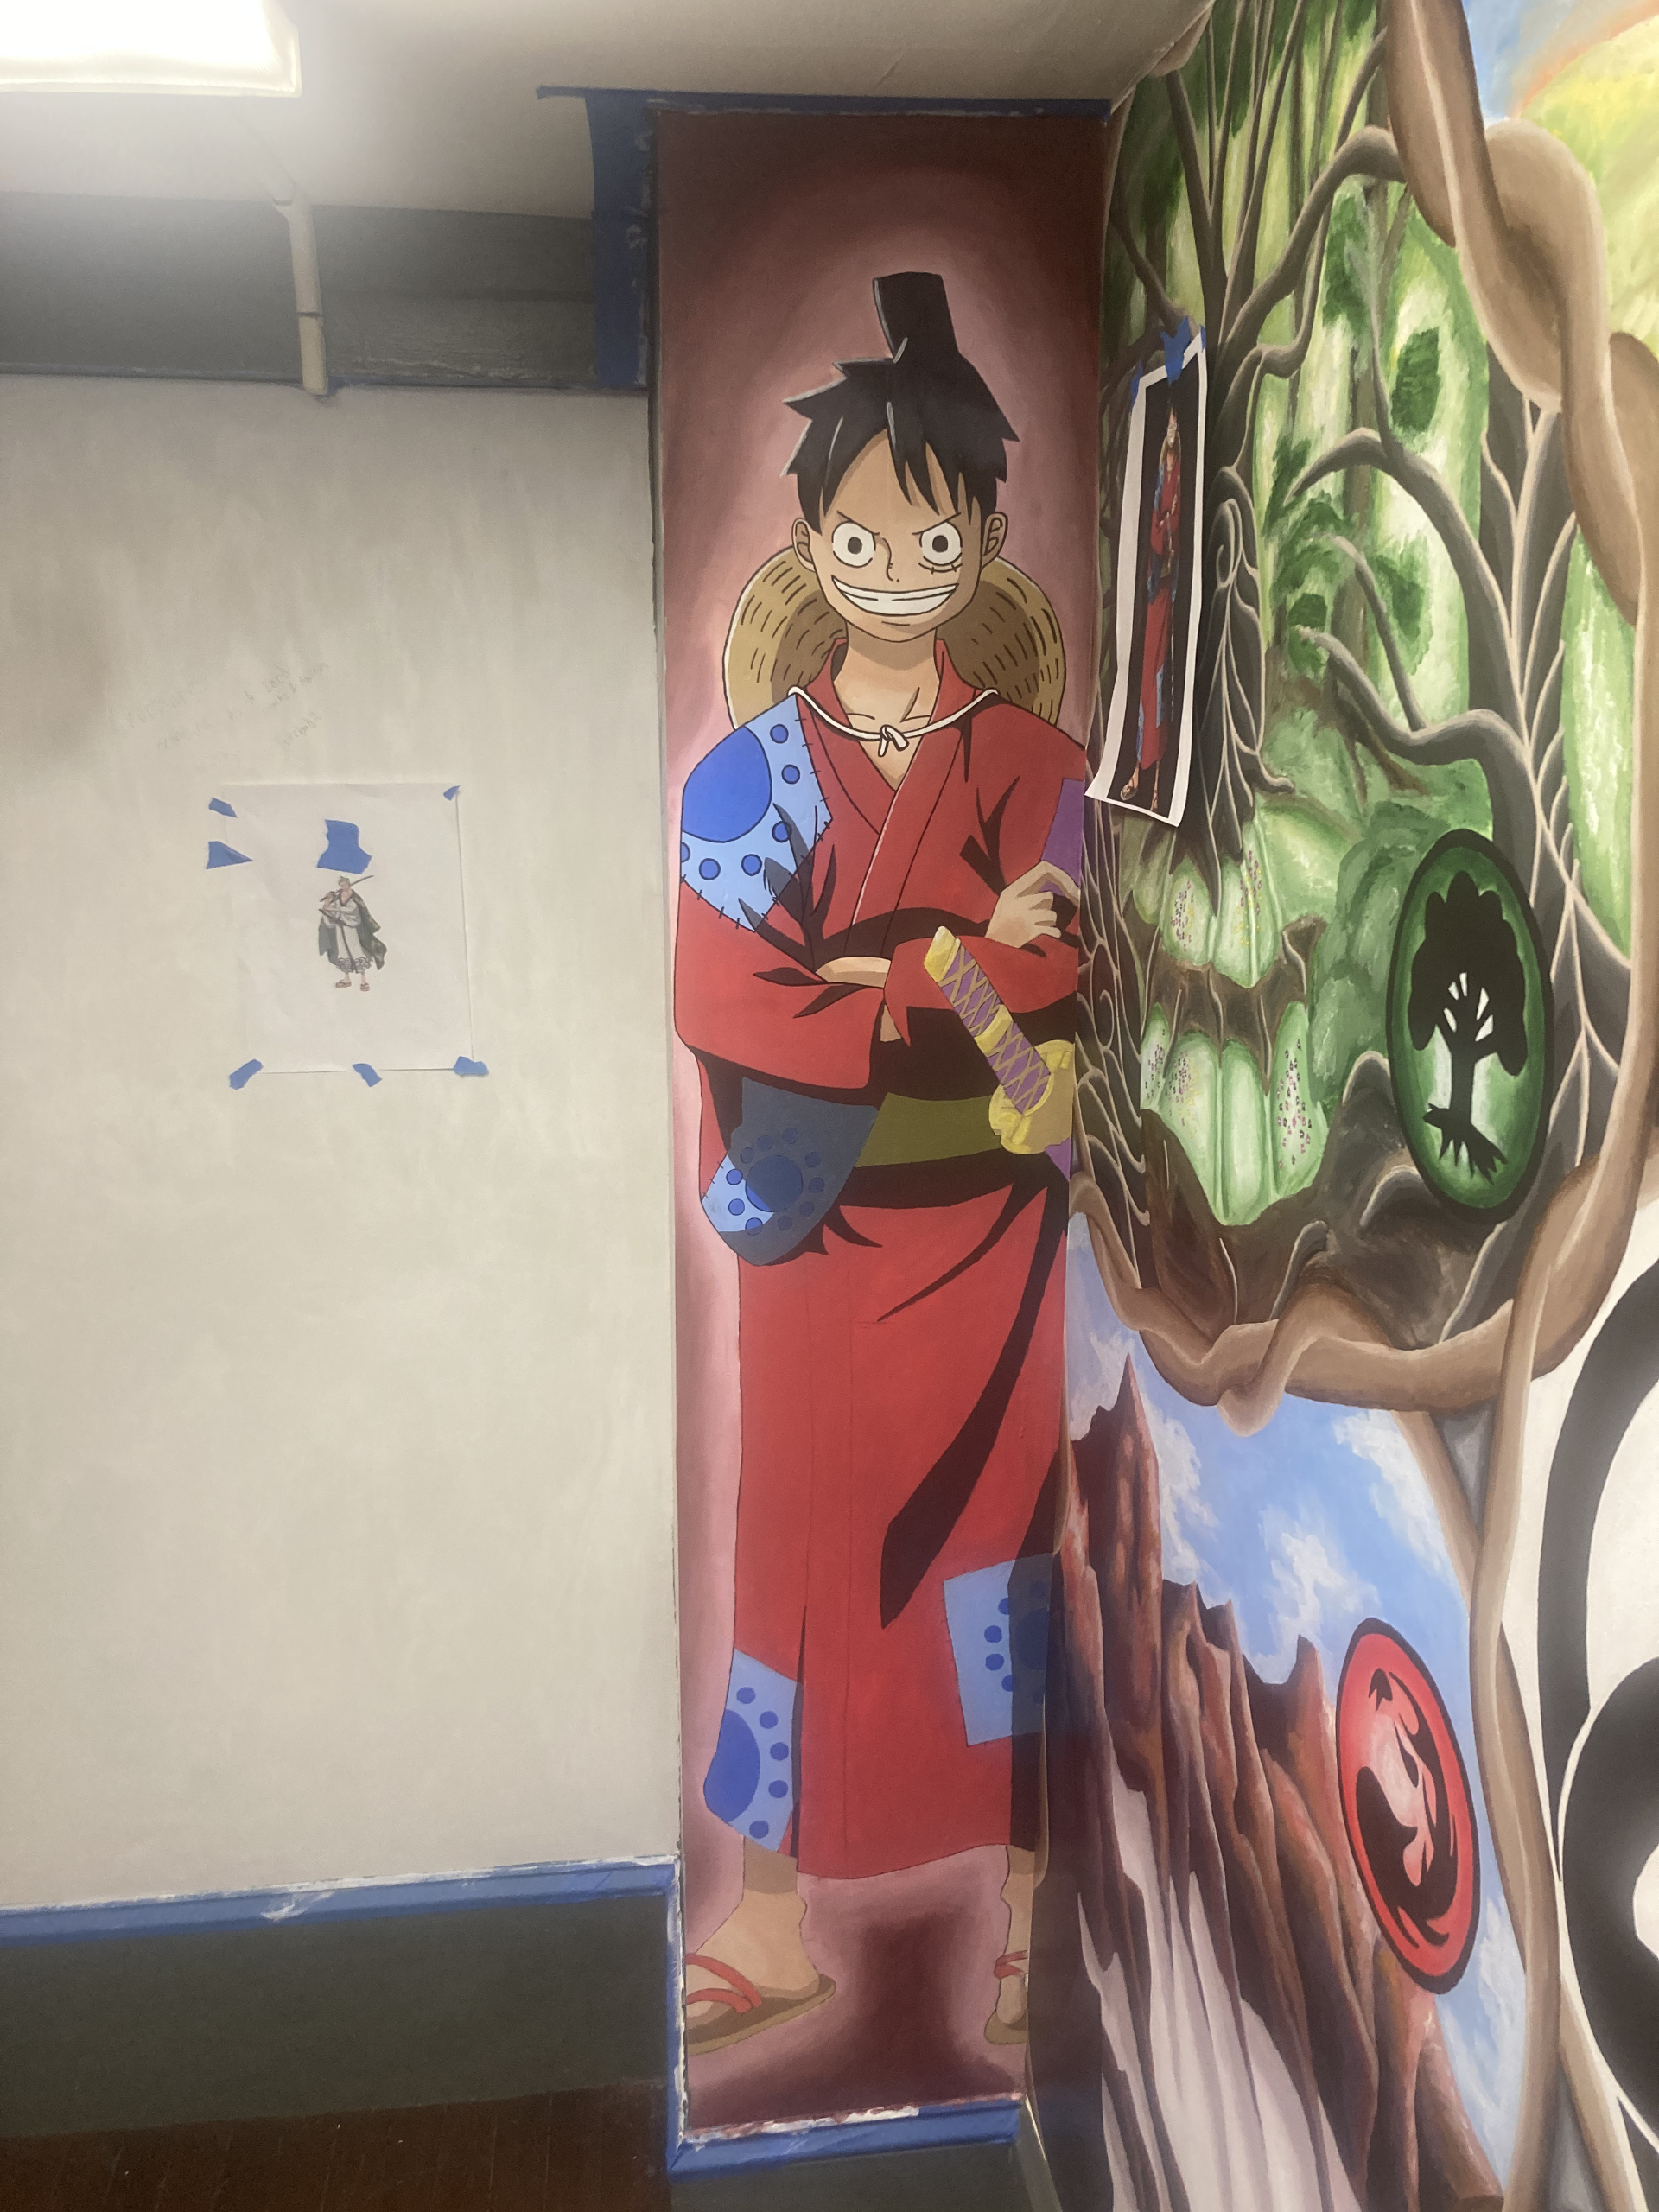
This was the second mural on the wall in the stairs between the sports and TCG floors. This time, we got to put something down for One Piece!!!!!! The mural is a portrait of Luffy during the Wano arc. In all honesty, it's a 2-part mural of the same where we have Luffy on one side, and Zoro on the other.
This is the completed product; however, you can see its progress from day 0 by waiting patiently, or clicking the right arrow.
Session 0
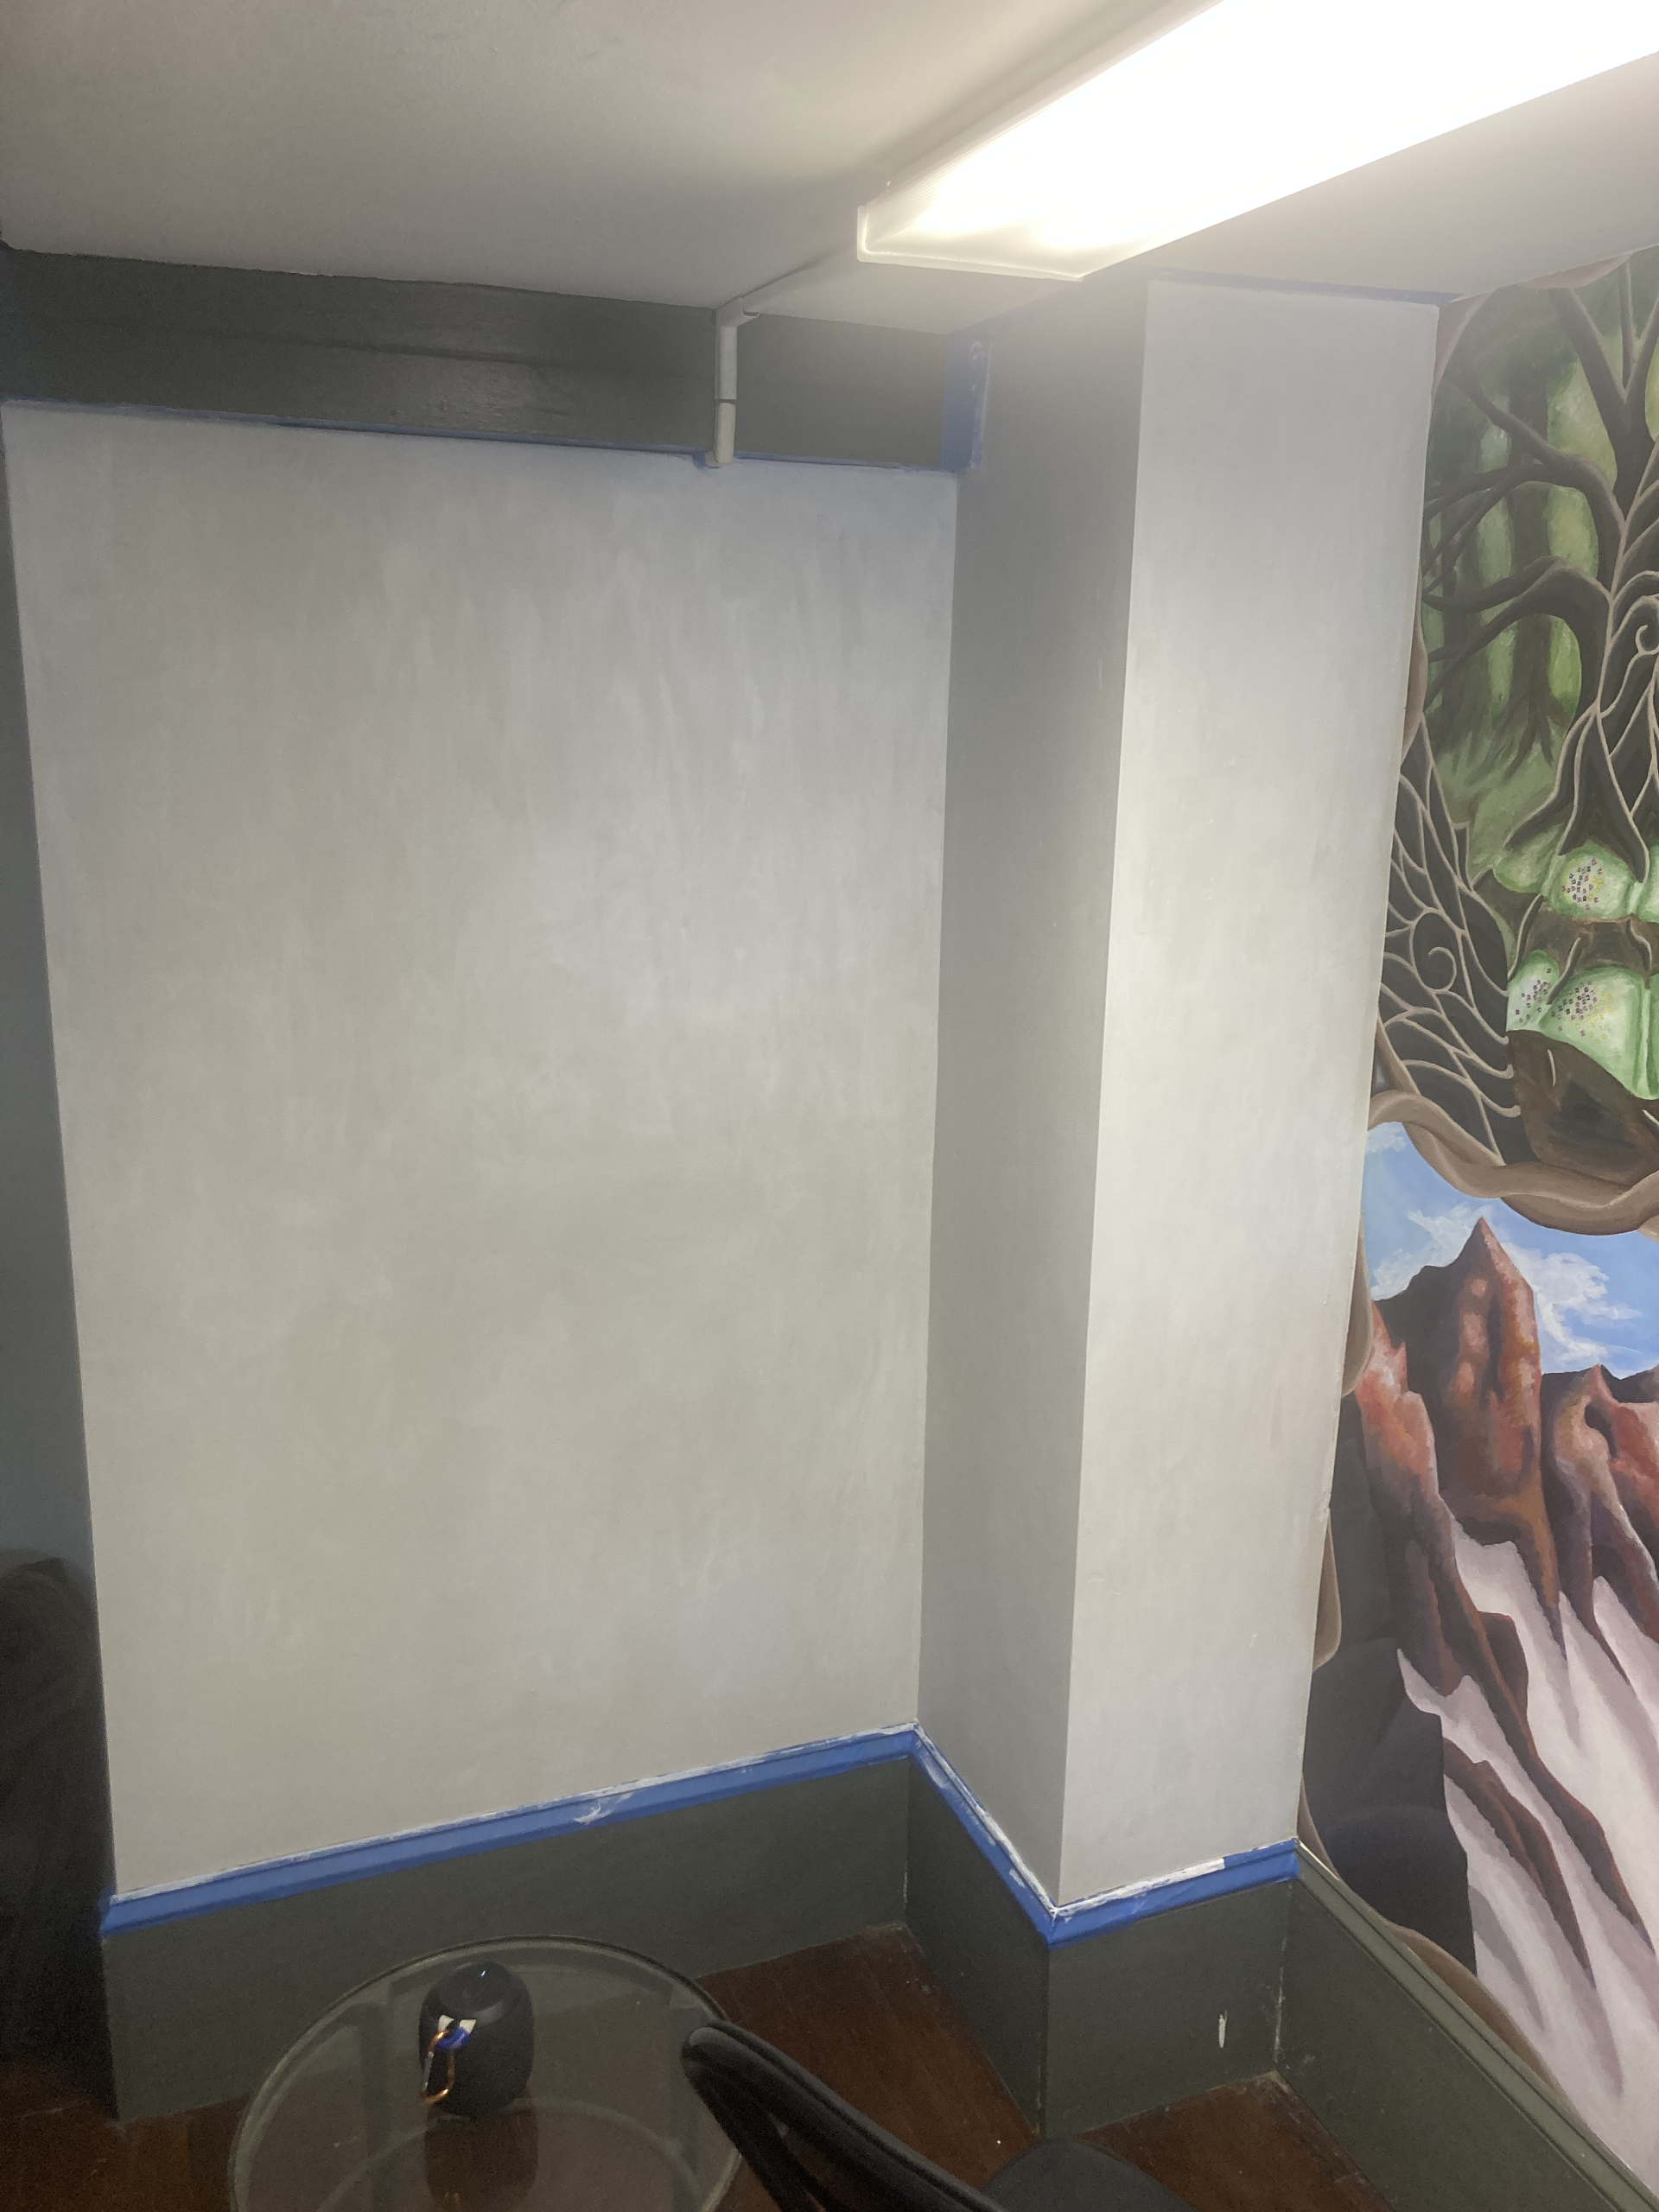
Here's a picture of a blank wall! This was the canvas after putting a layer of primer down. At this point, we knew that the owner was interested in 2 more murals, so we went ahead and did the primer for the other 2 :)
Session 1
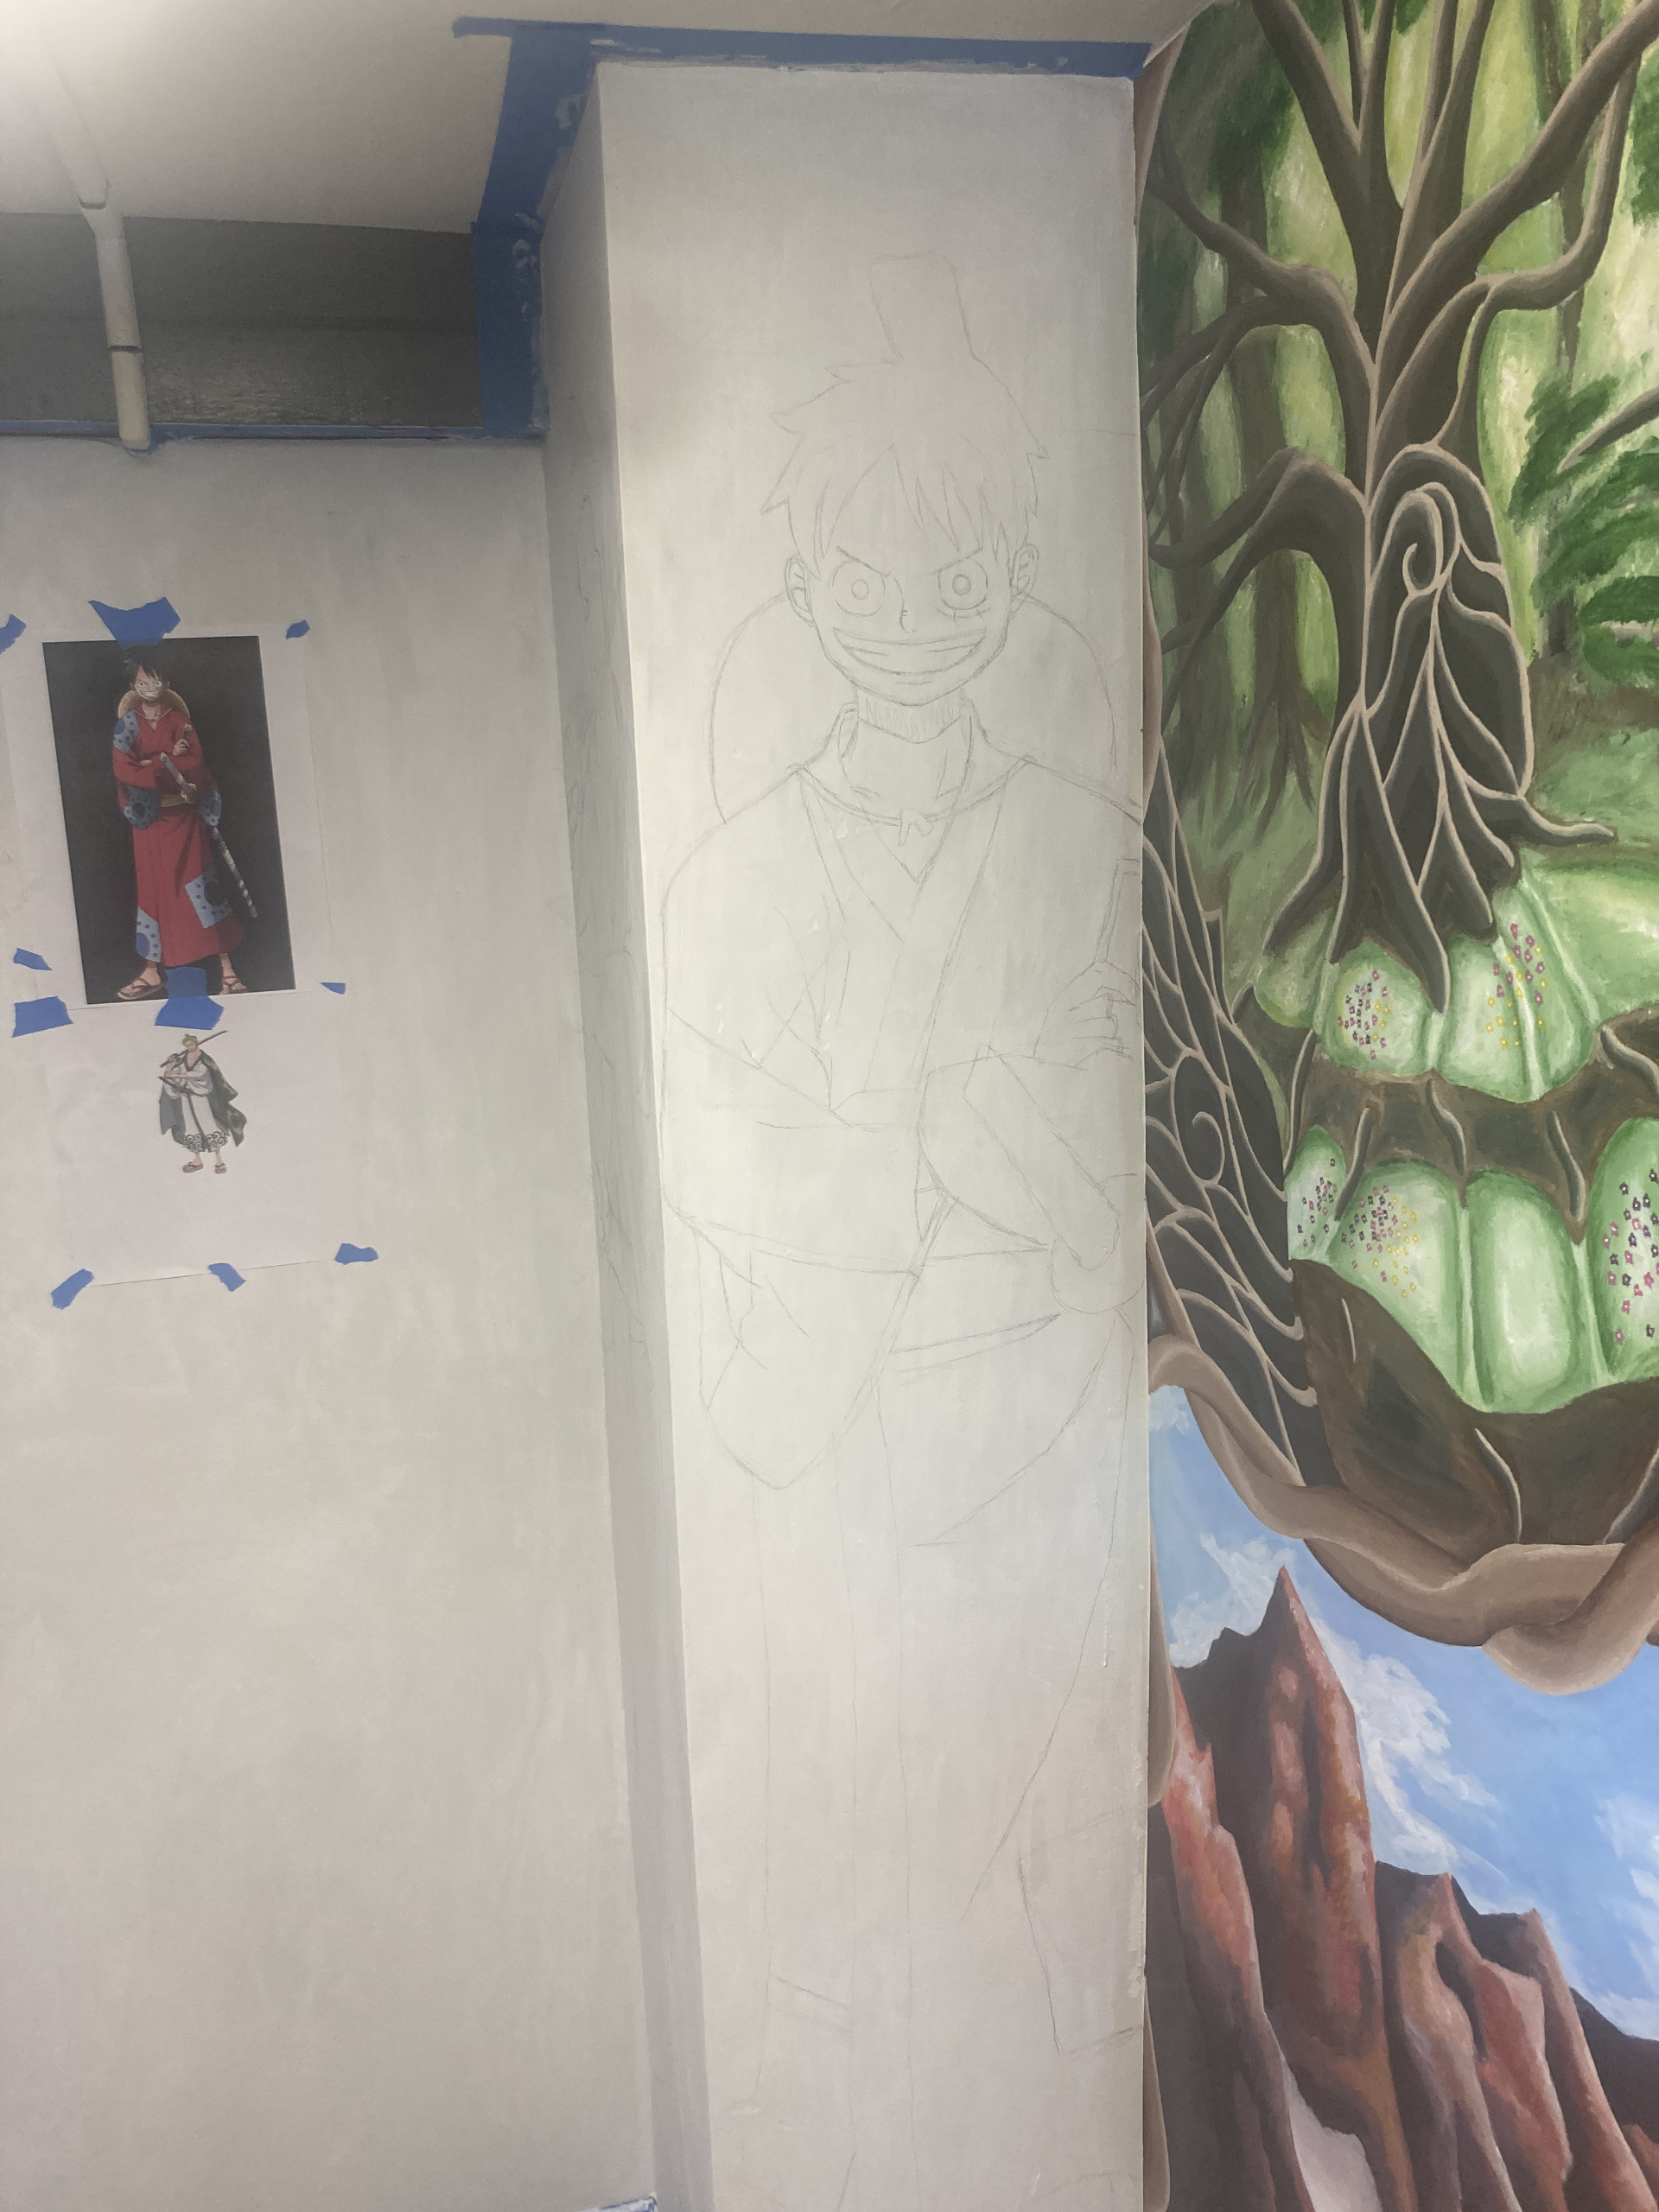
Mark isn't a big fan of using reference materials for his artwork, but since it's an actual figure, we went ahead and did it.
This is a picture of the rough sketch that we started from. Positioning is everything for these kinds of murals, so getting the groundwork for the paint was arguably the hardest part of this one.
Session 2
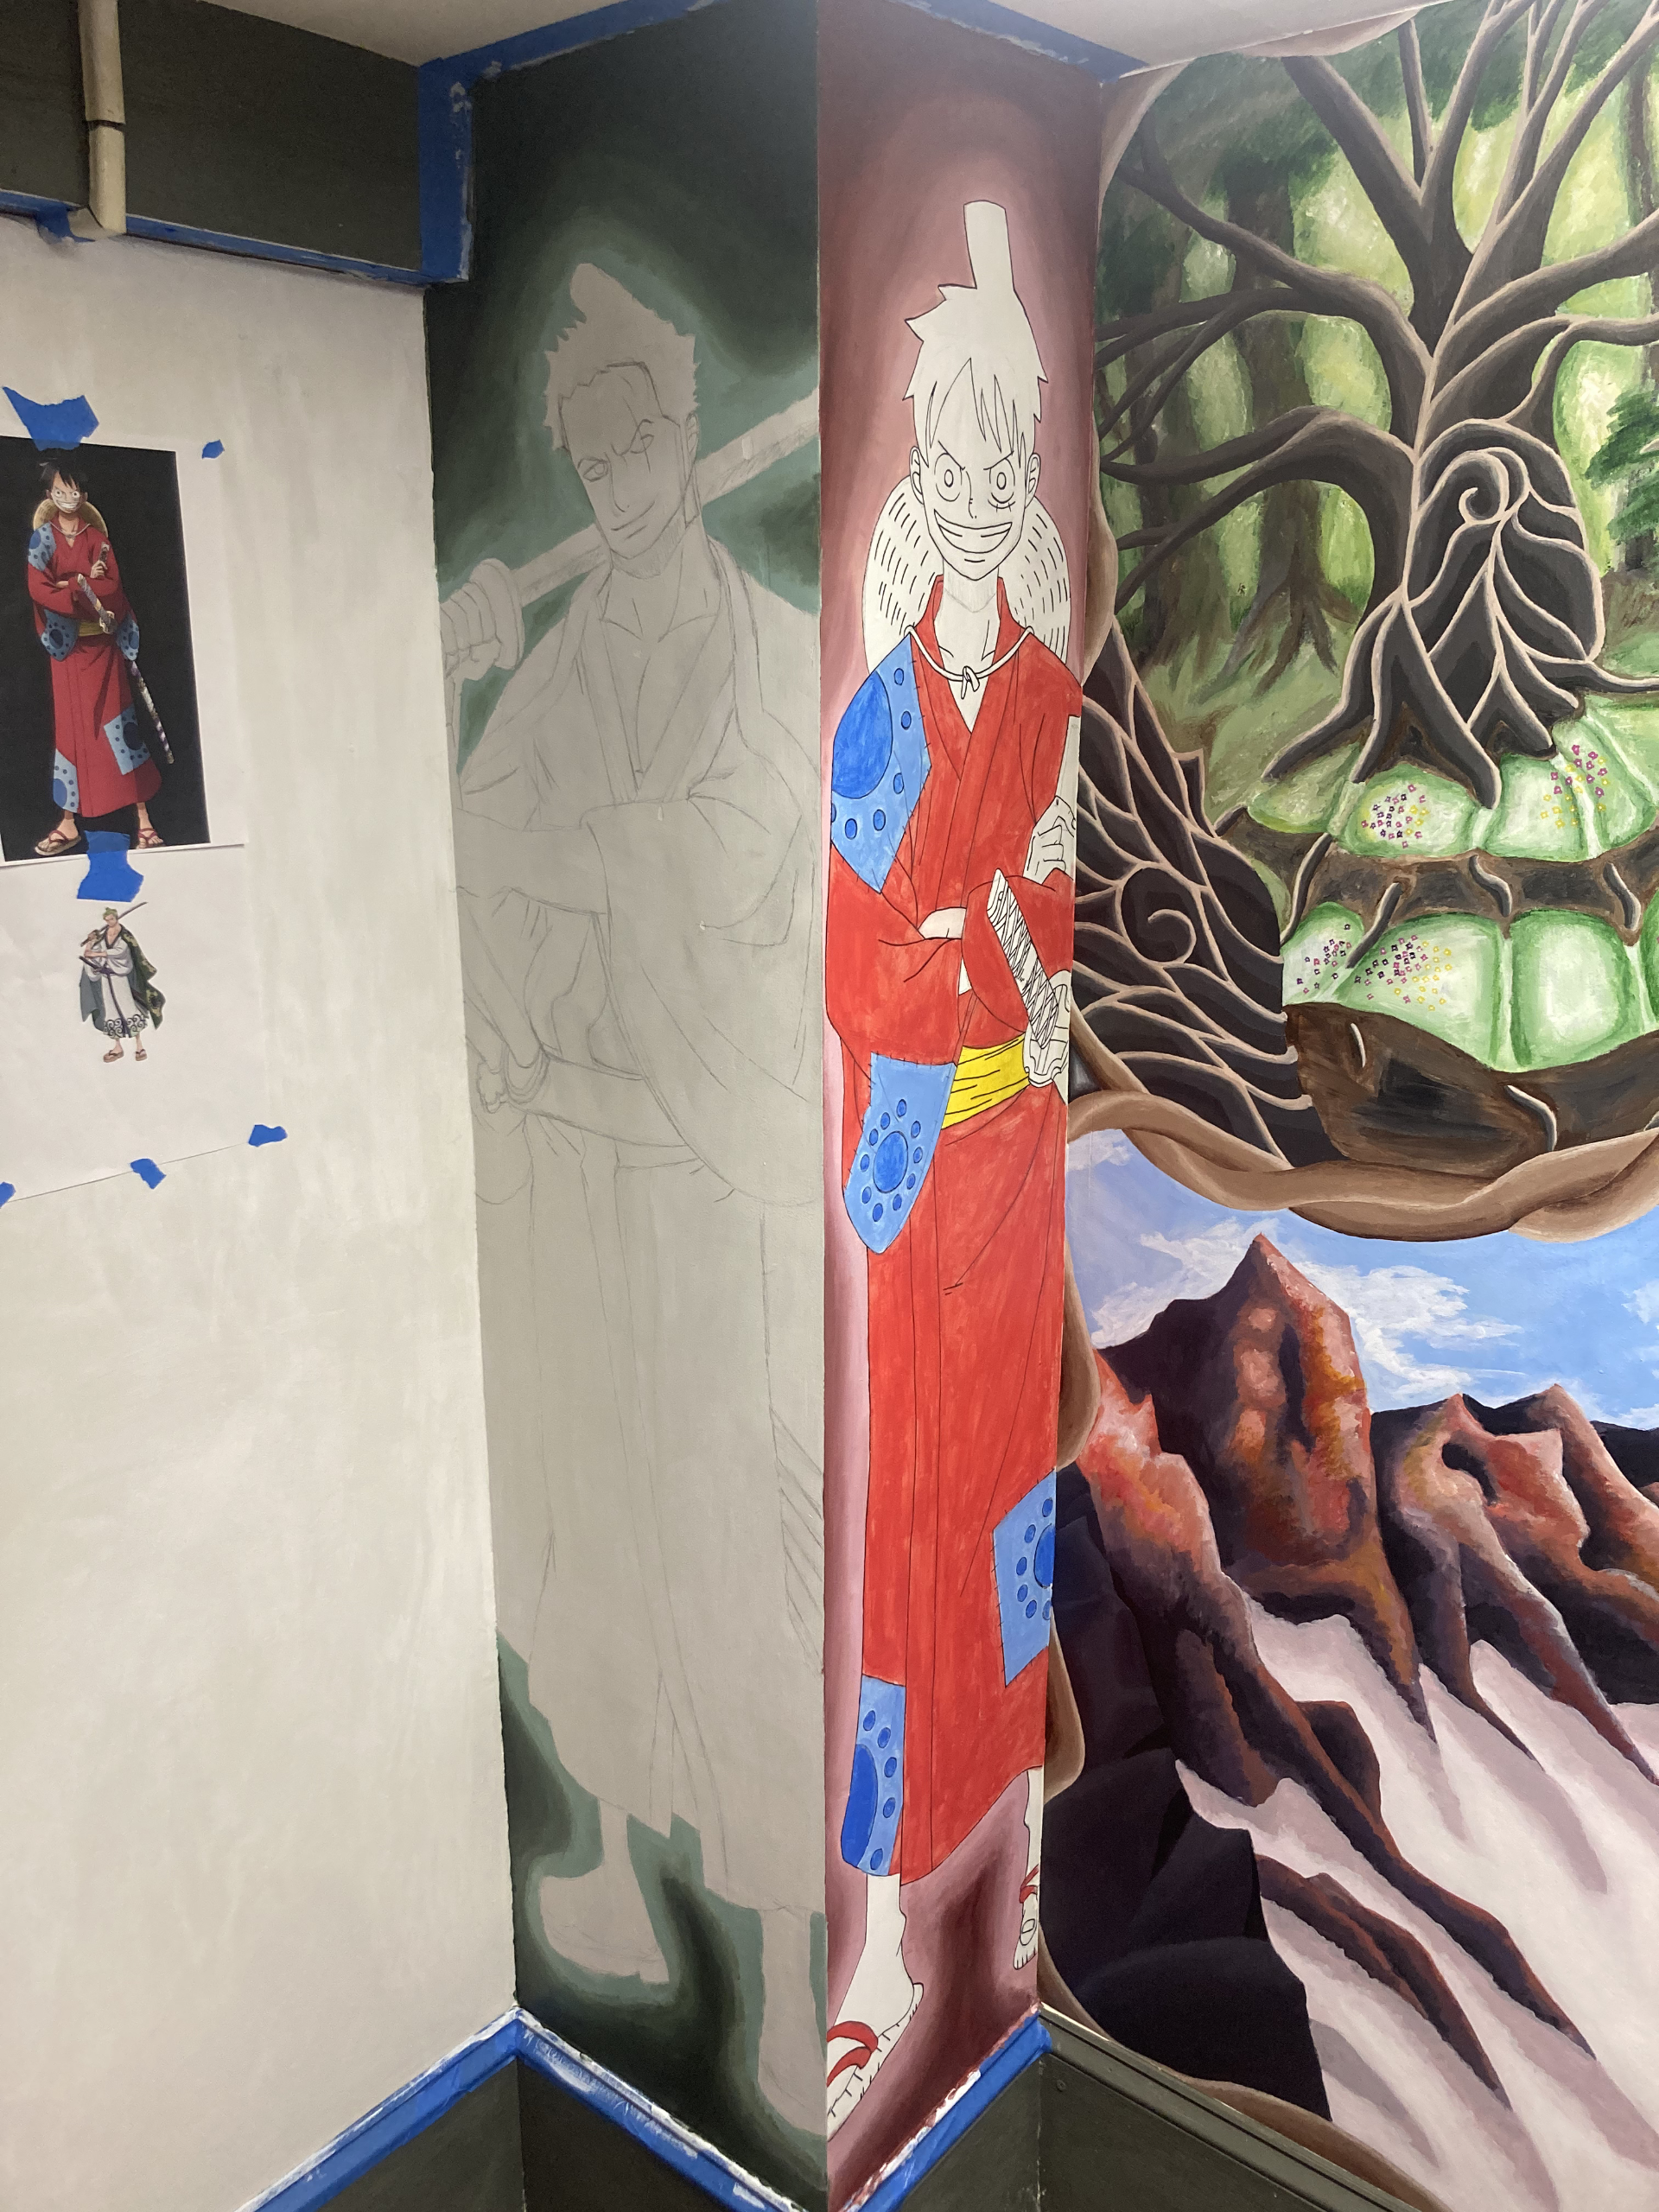
Since we got the sketch down, it was now time to do the background layer. Considering that there were 2 parts to this mural, Mark went ahead and did a contrast green and red flavor for the Luffy and Zoro murals to help add some depth and capture the characters' vibes.
At this point, we also added the base coat for Luffy's outfit.
We are not fans of waisting paint!!!!! There might've been a tad too much red paint left over and Mark still had some energy.
Session 3
LET THERE BE SKIN TONE AND SOLID COATING!
Since we got the positioning down for Luffy and Zoro, it was time to buckle down and get to work on Luffy. Acrylic is a little bit fickle when it comes to mid-shelf paint. It's important to get a nice and thick layer down to do any type of shading. We used a sharpie to trace the detail lines and then went over with our layer to make sure our idea would hold throughout the process.
Session 4
LET THERE BE SHADING!!!!
We love a mural that has a plan. The coat was solid so we went in and did the shading. This really brought the mural to life from the previous sessions.
All that was left on the Luffy side was to put a darker shade down, redo the detail lines using a paint pen, and touch a couple of fine details.
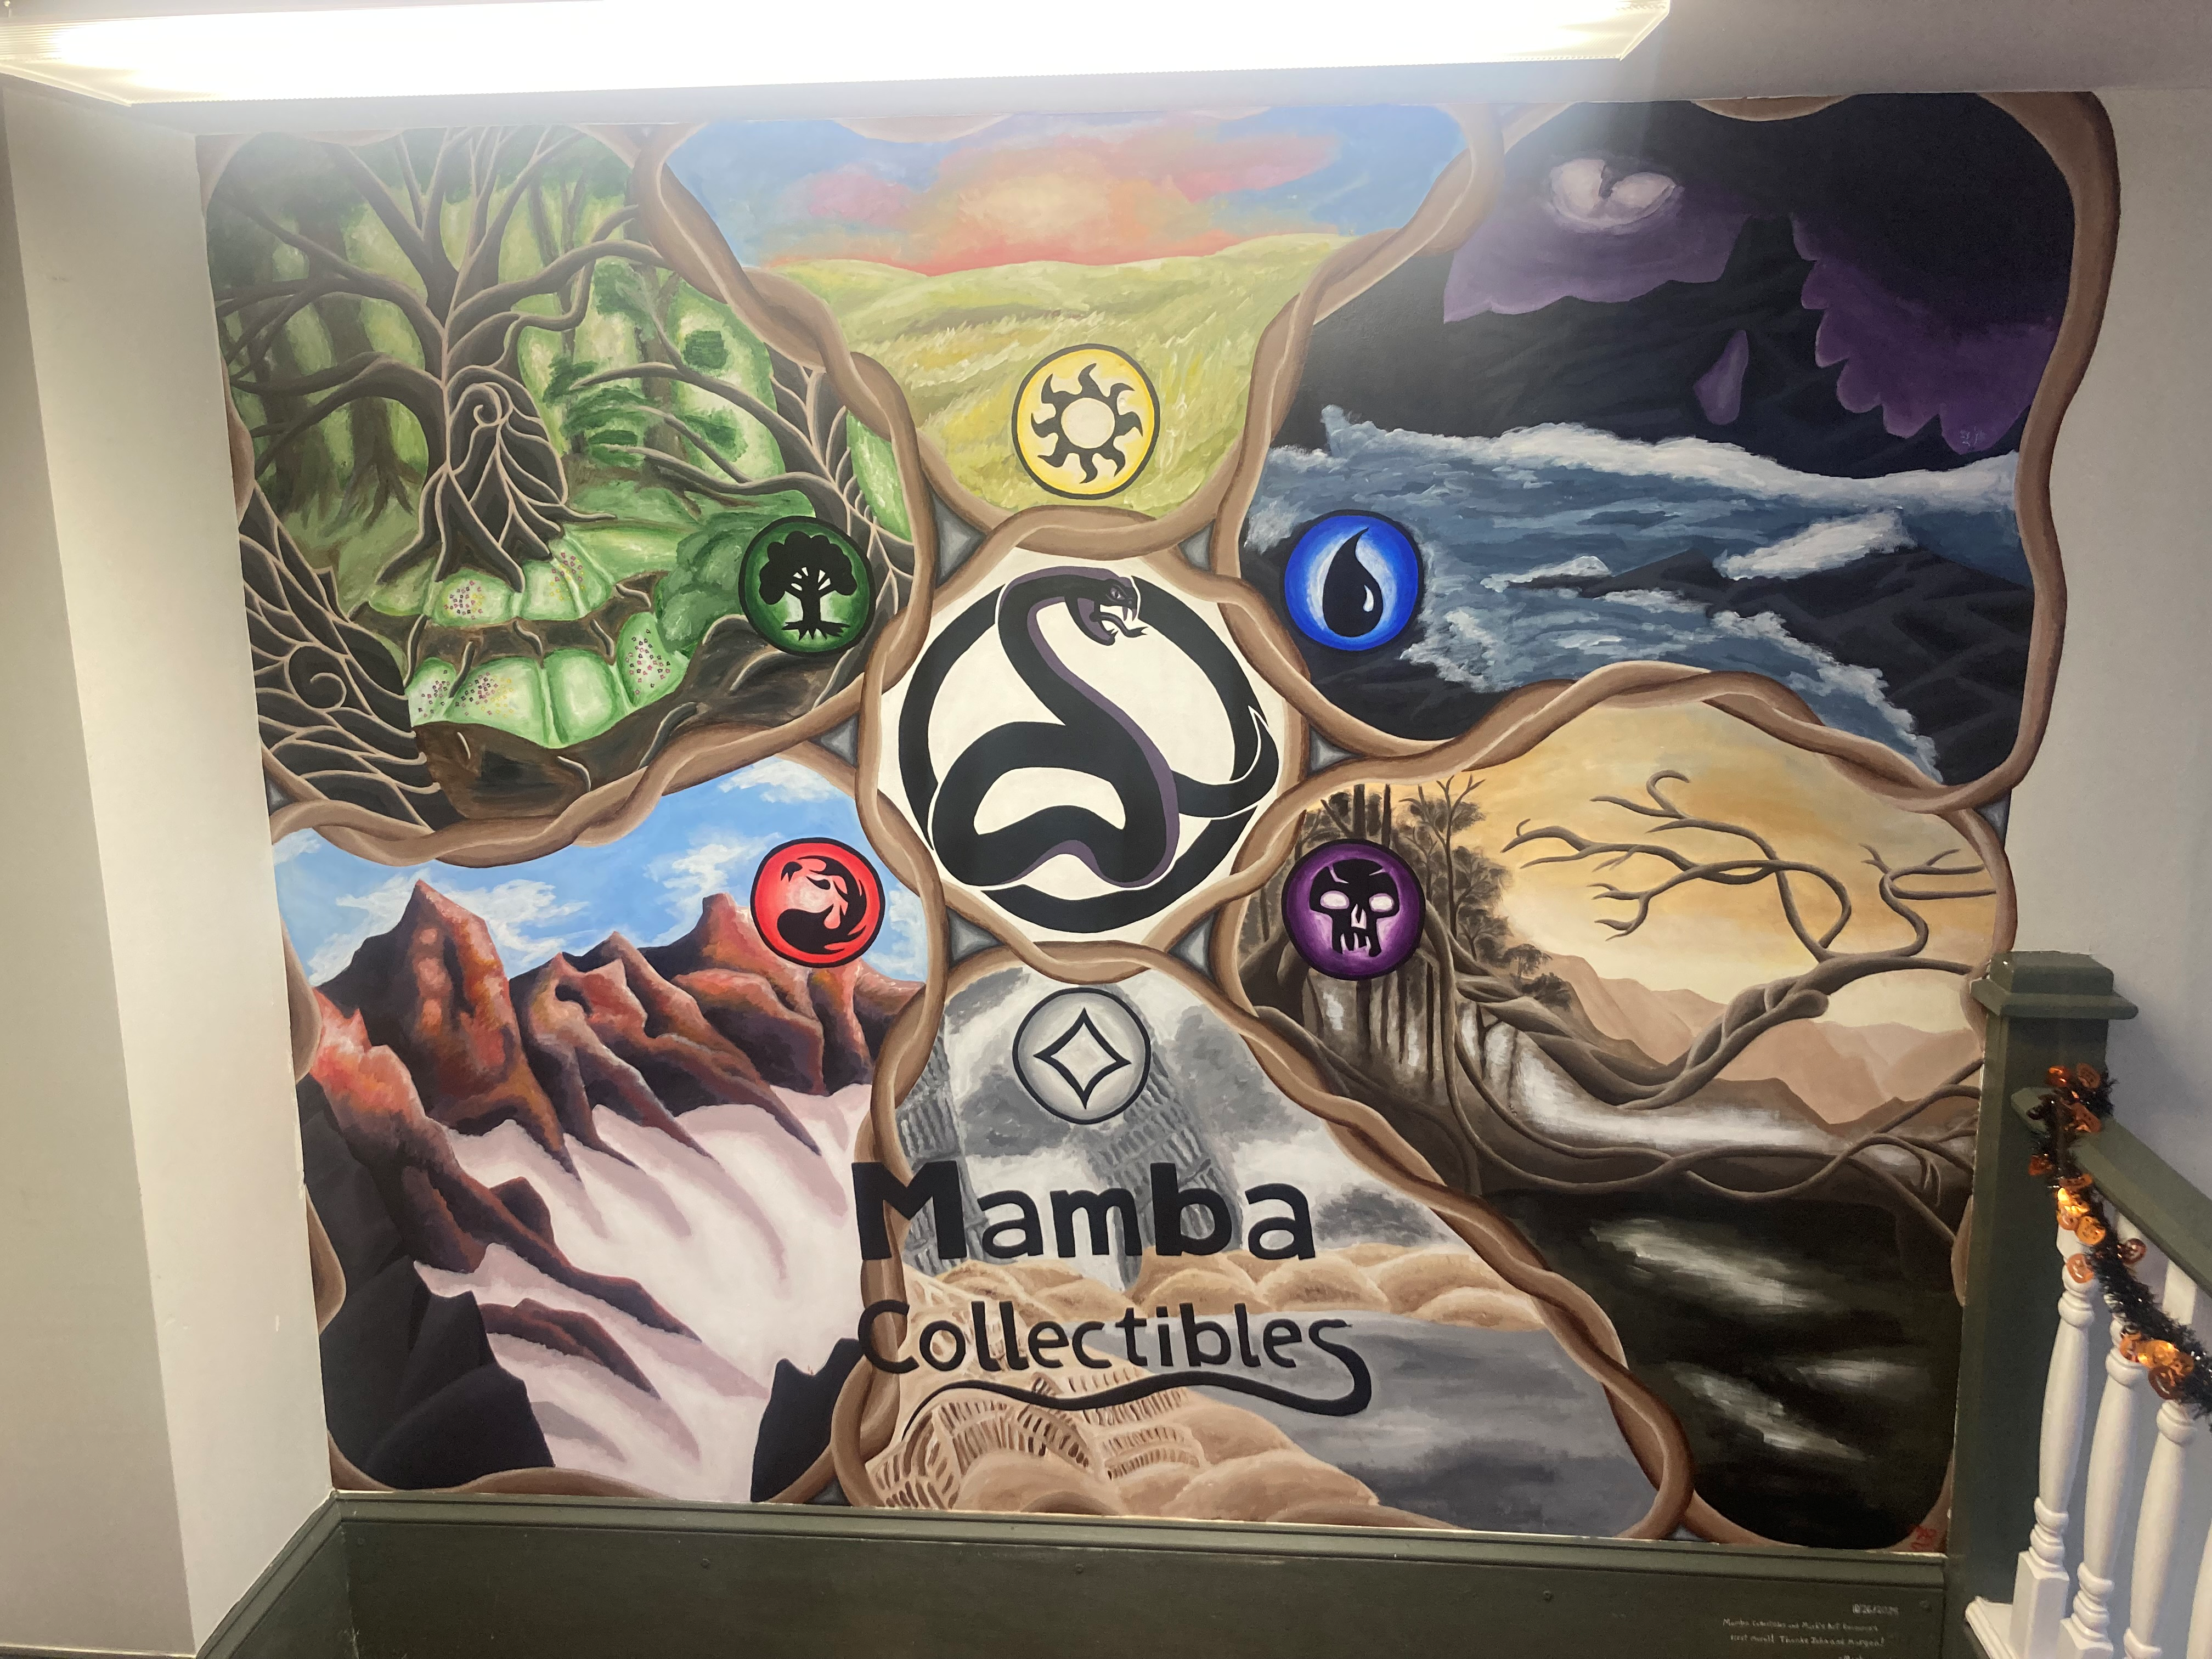
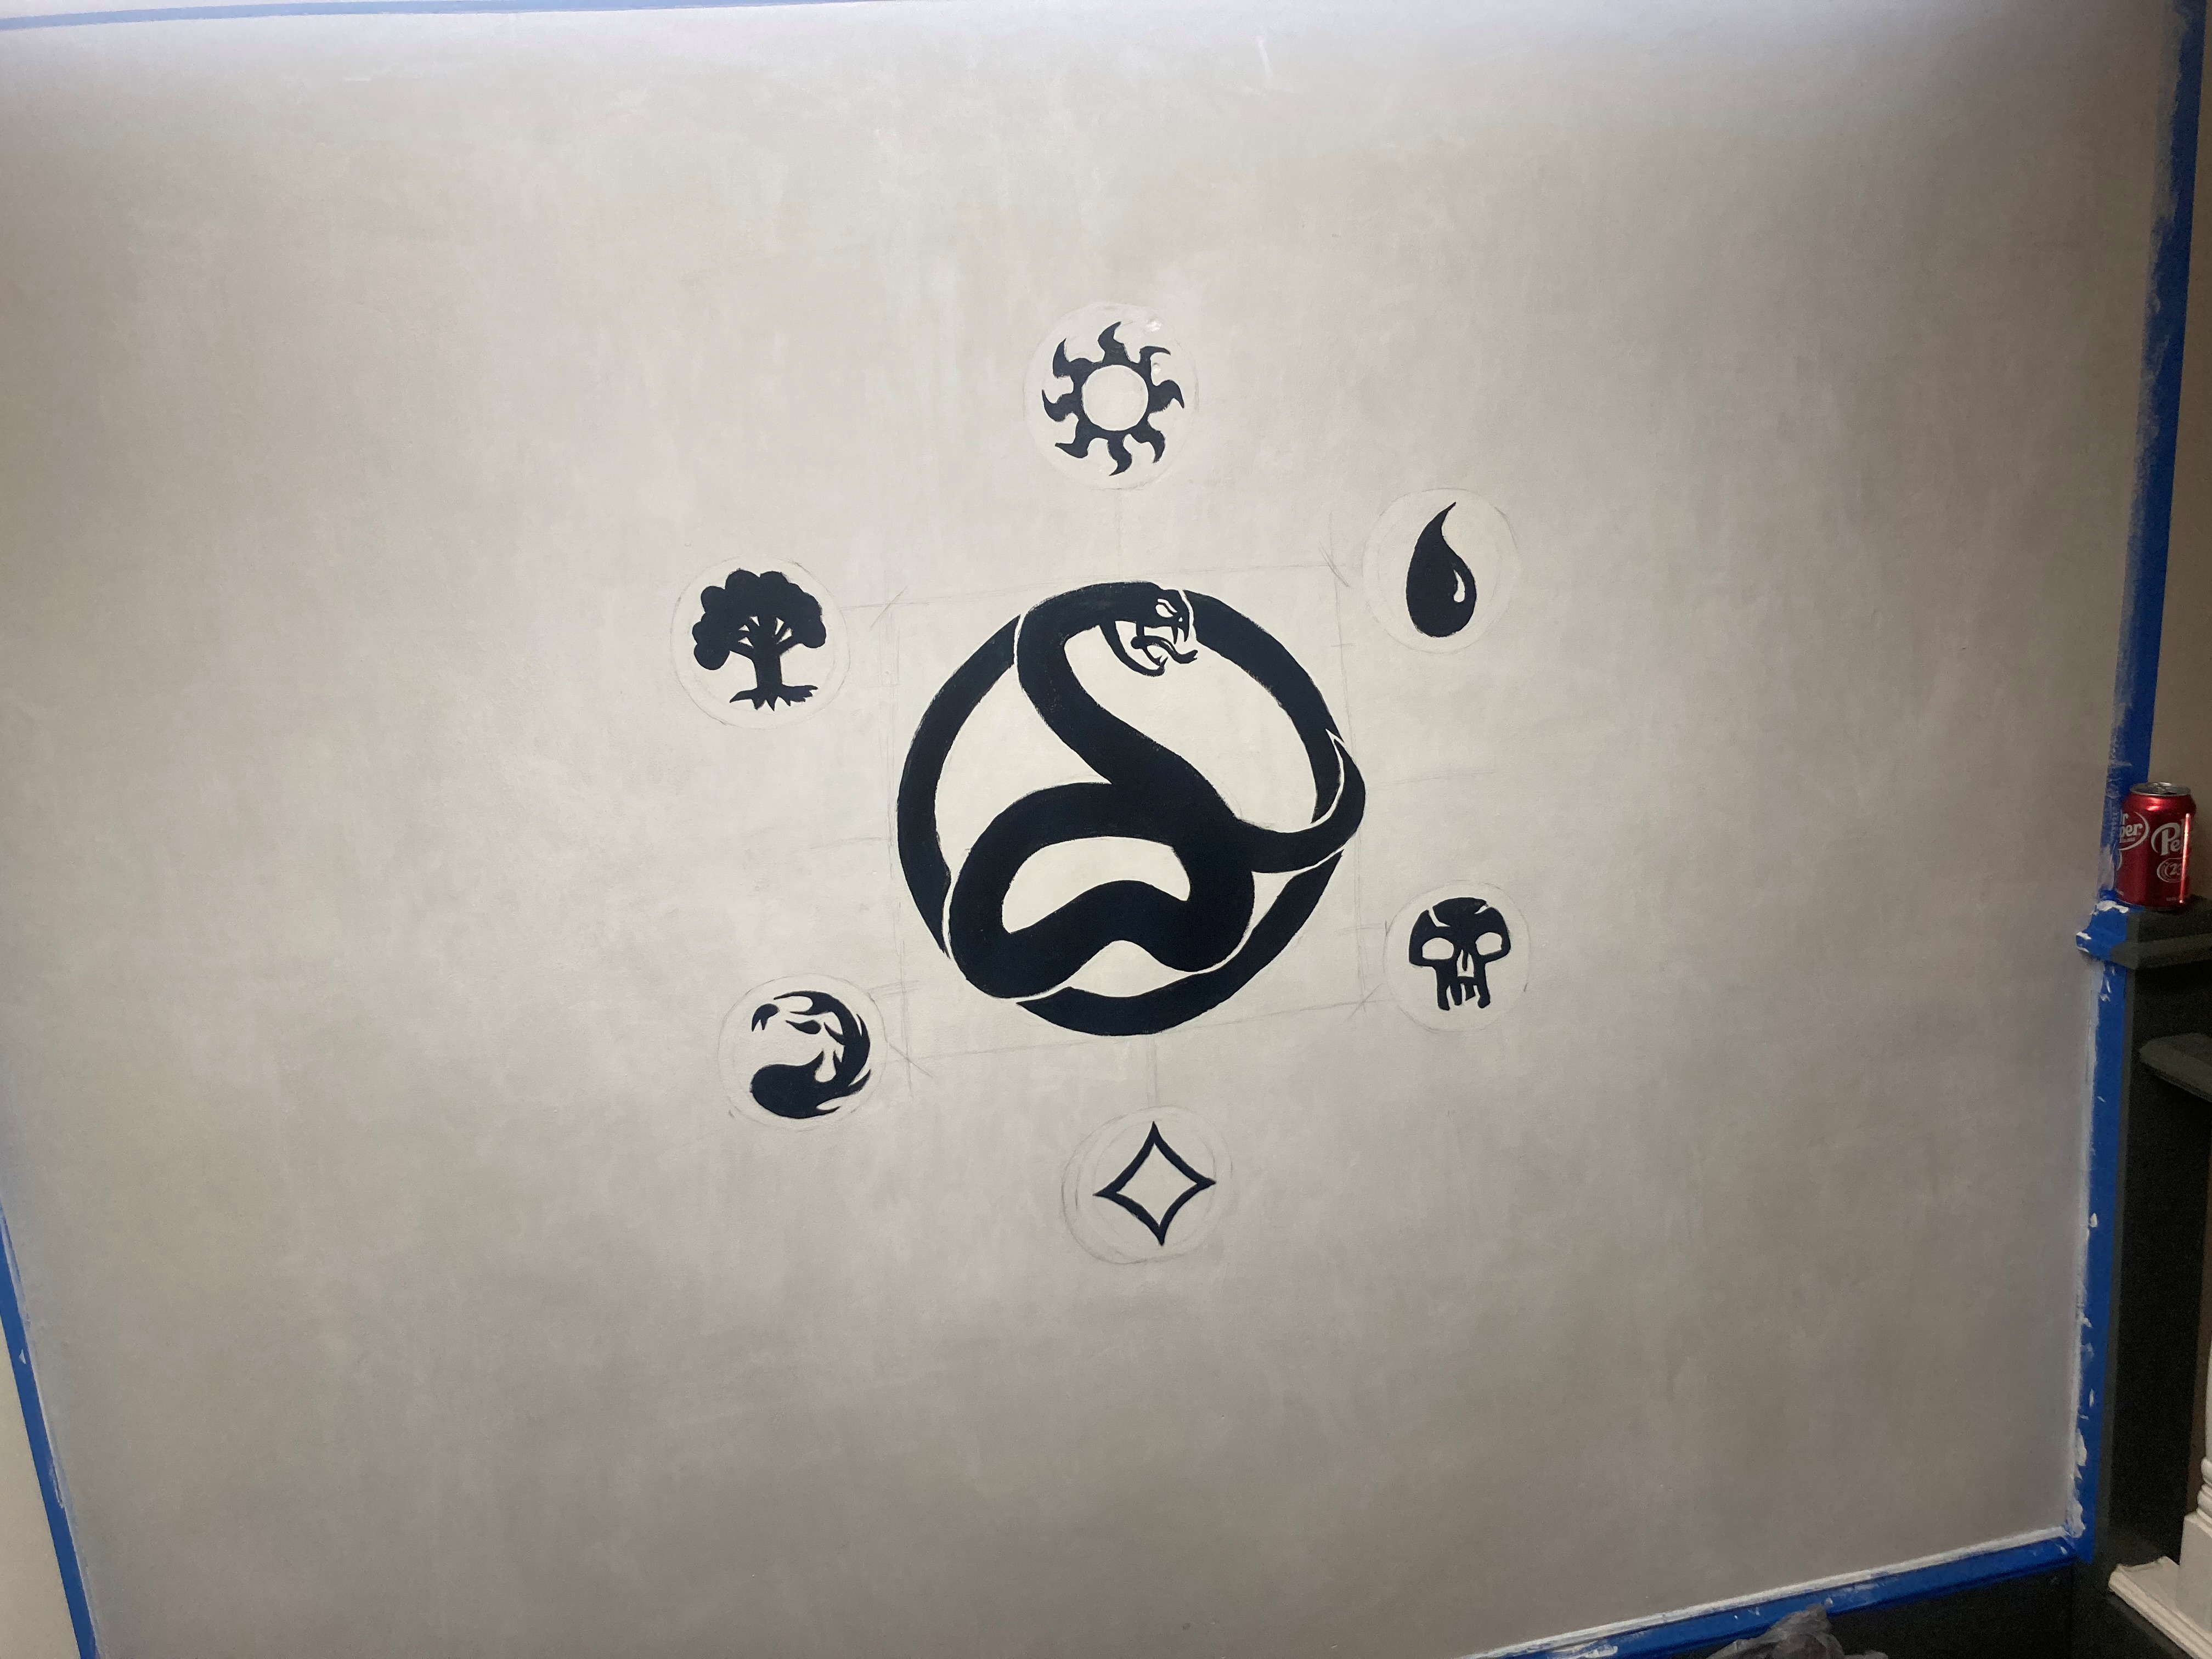
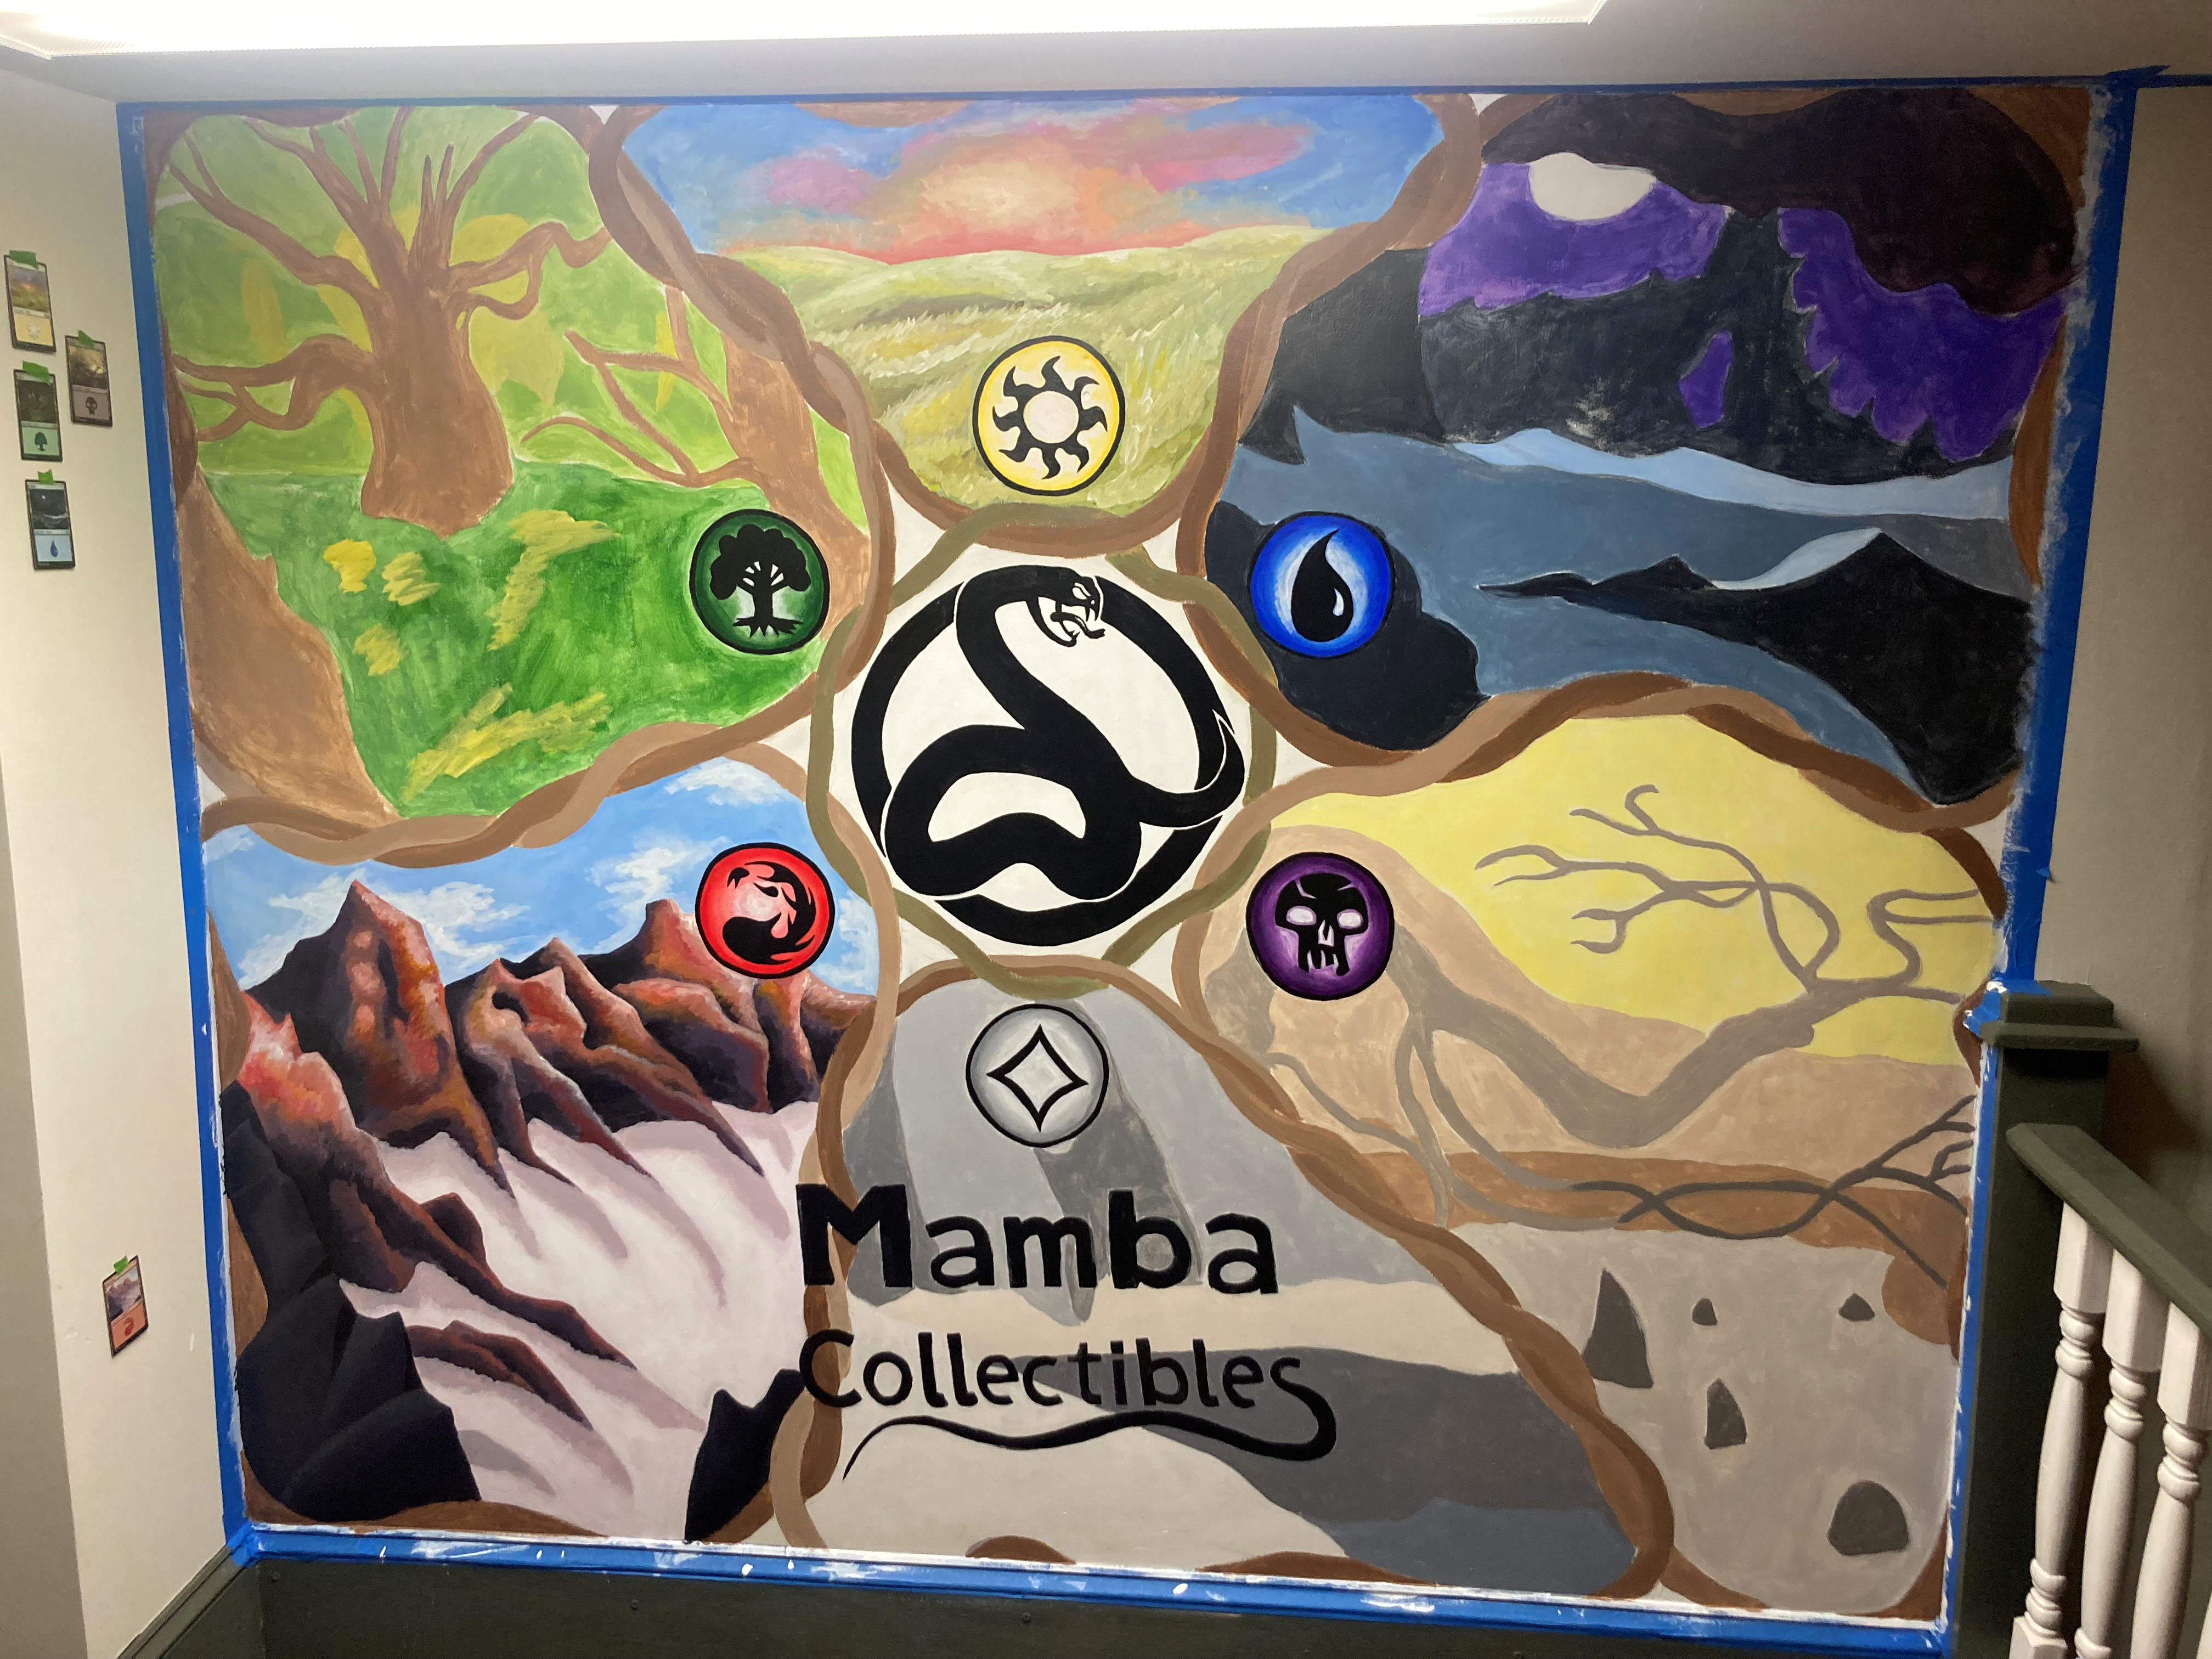
For over a month, Mark worked on a Magic the Gathering (MTG) Mural at Mamba Collectibles. This is the first of three to showcase the main trading card games the store carries.
This is the completed product; however, you can see its progress from day 0 by waiting patiently, or clicking the right arrow.
Session 0
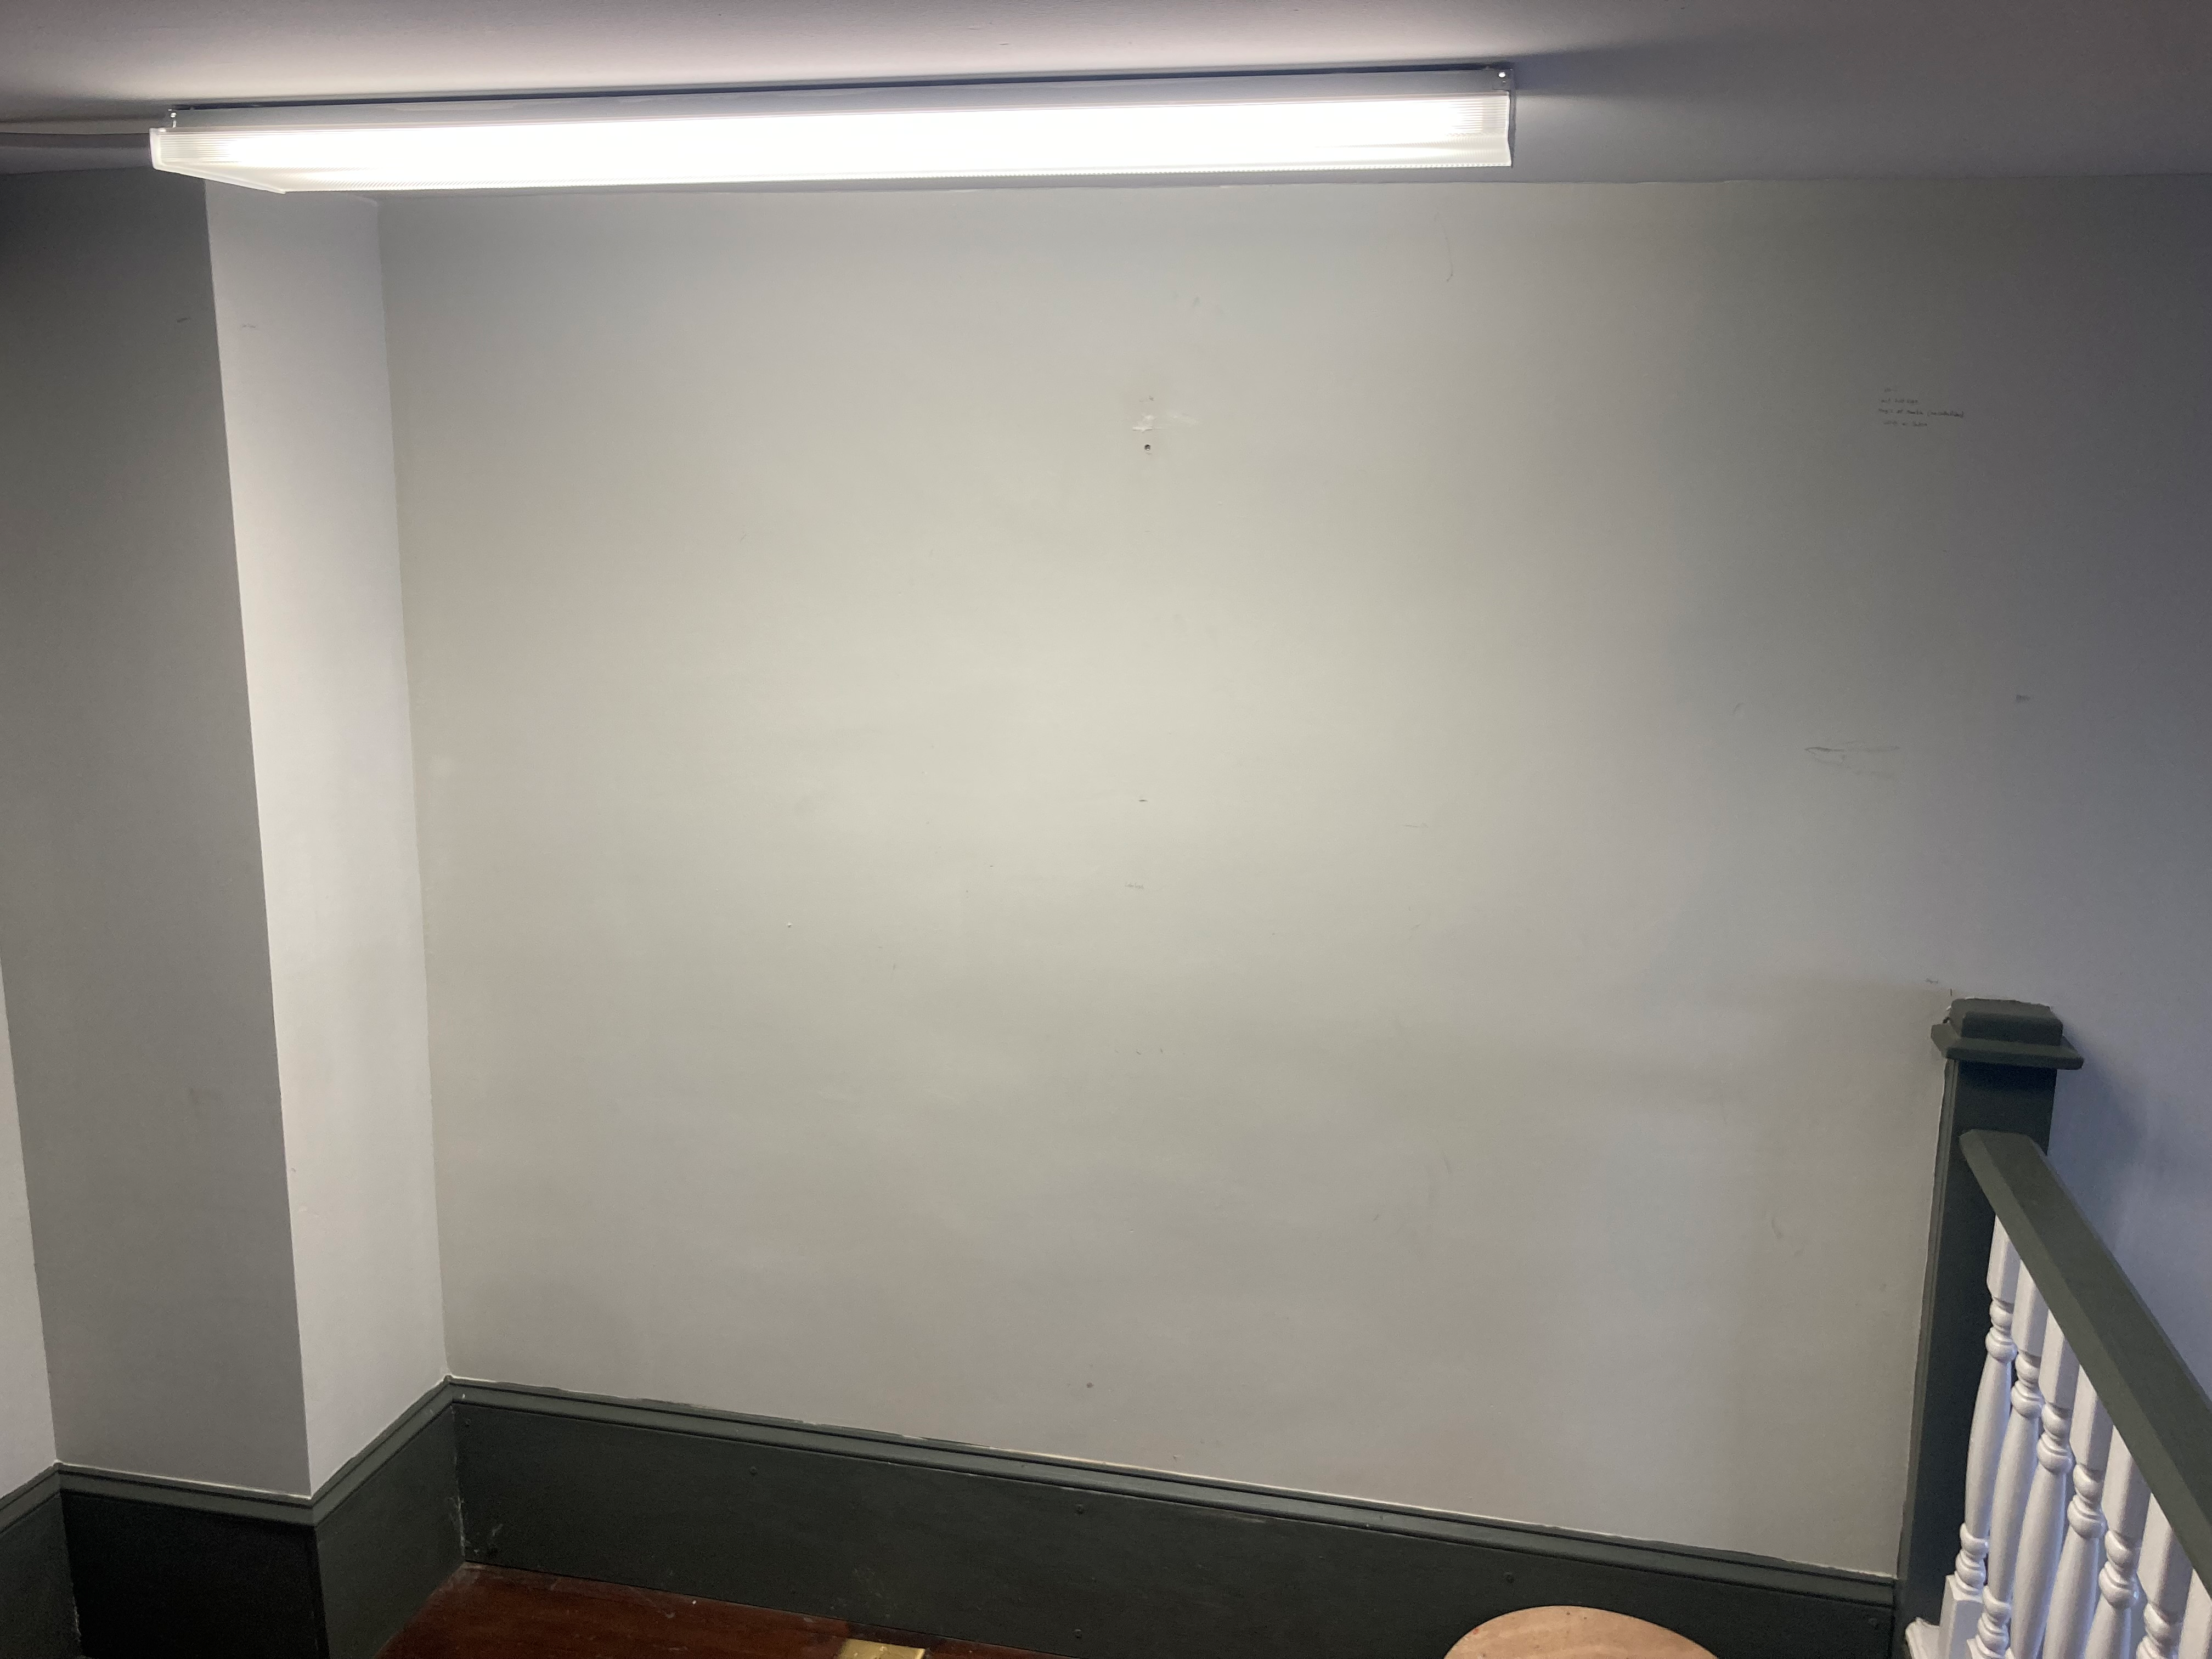
Here's a picture of a blank wall! This was the untouched wall that Mark began the mural on.
The mural is located at halfway point of a staircase, so that those that trek up the stairs and take a break have a nice scenery to gaze at (there are a ton of stairs). But it also serves as a nice logo to introduce the TCG floor of the store.
Session "1"
So, this isn't actually day 1. We had to put a primer layer down first, but it's the most notable first step with some progress on it.
At this point, we knew what the owner wanted as far as the logo went, but, we didn't know what was going to go in the background. A ton of measuring and placement was performed to make sure the centerpiece looked dope before we could continue.
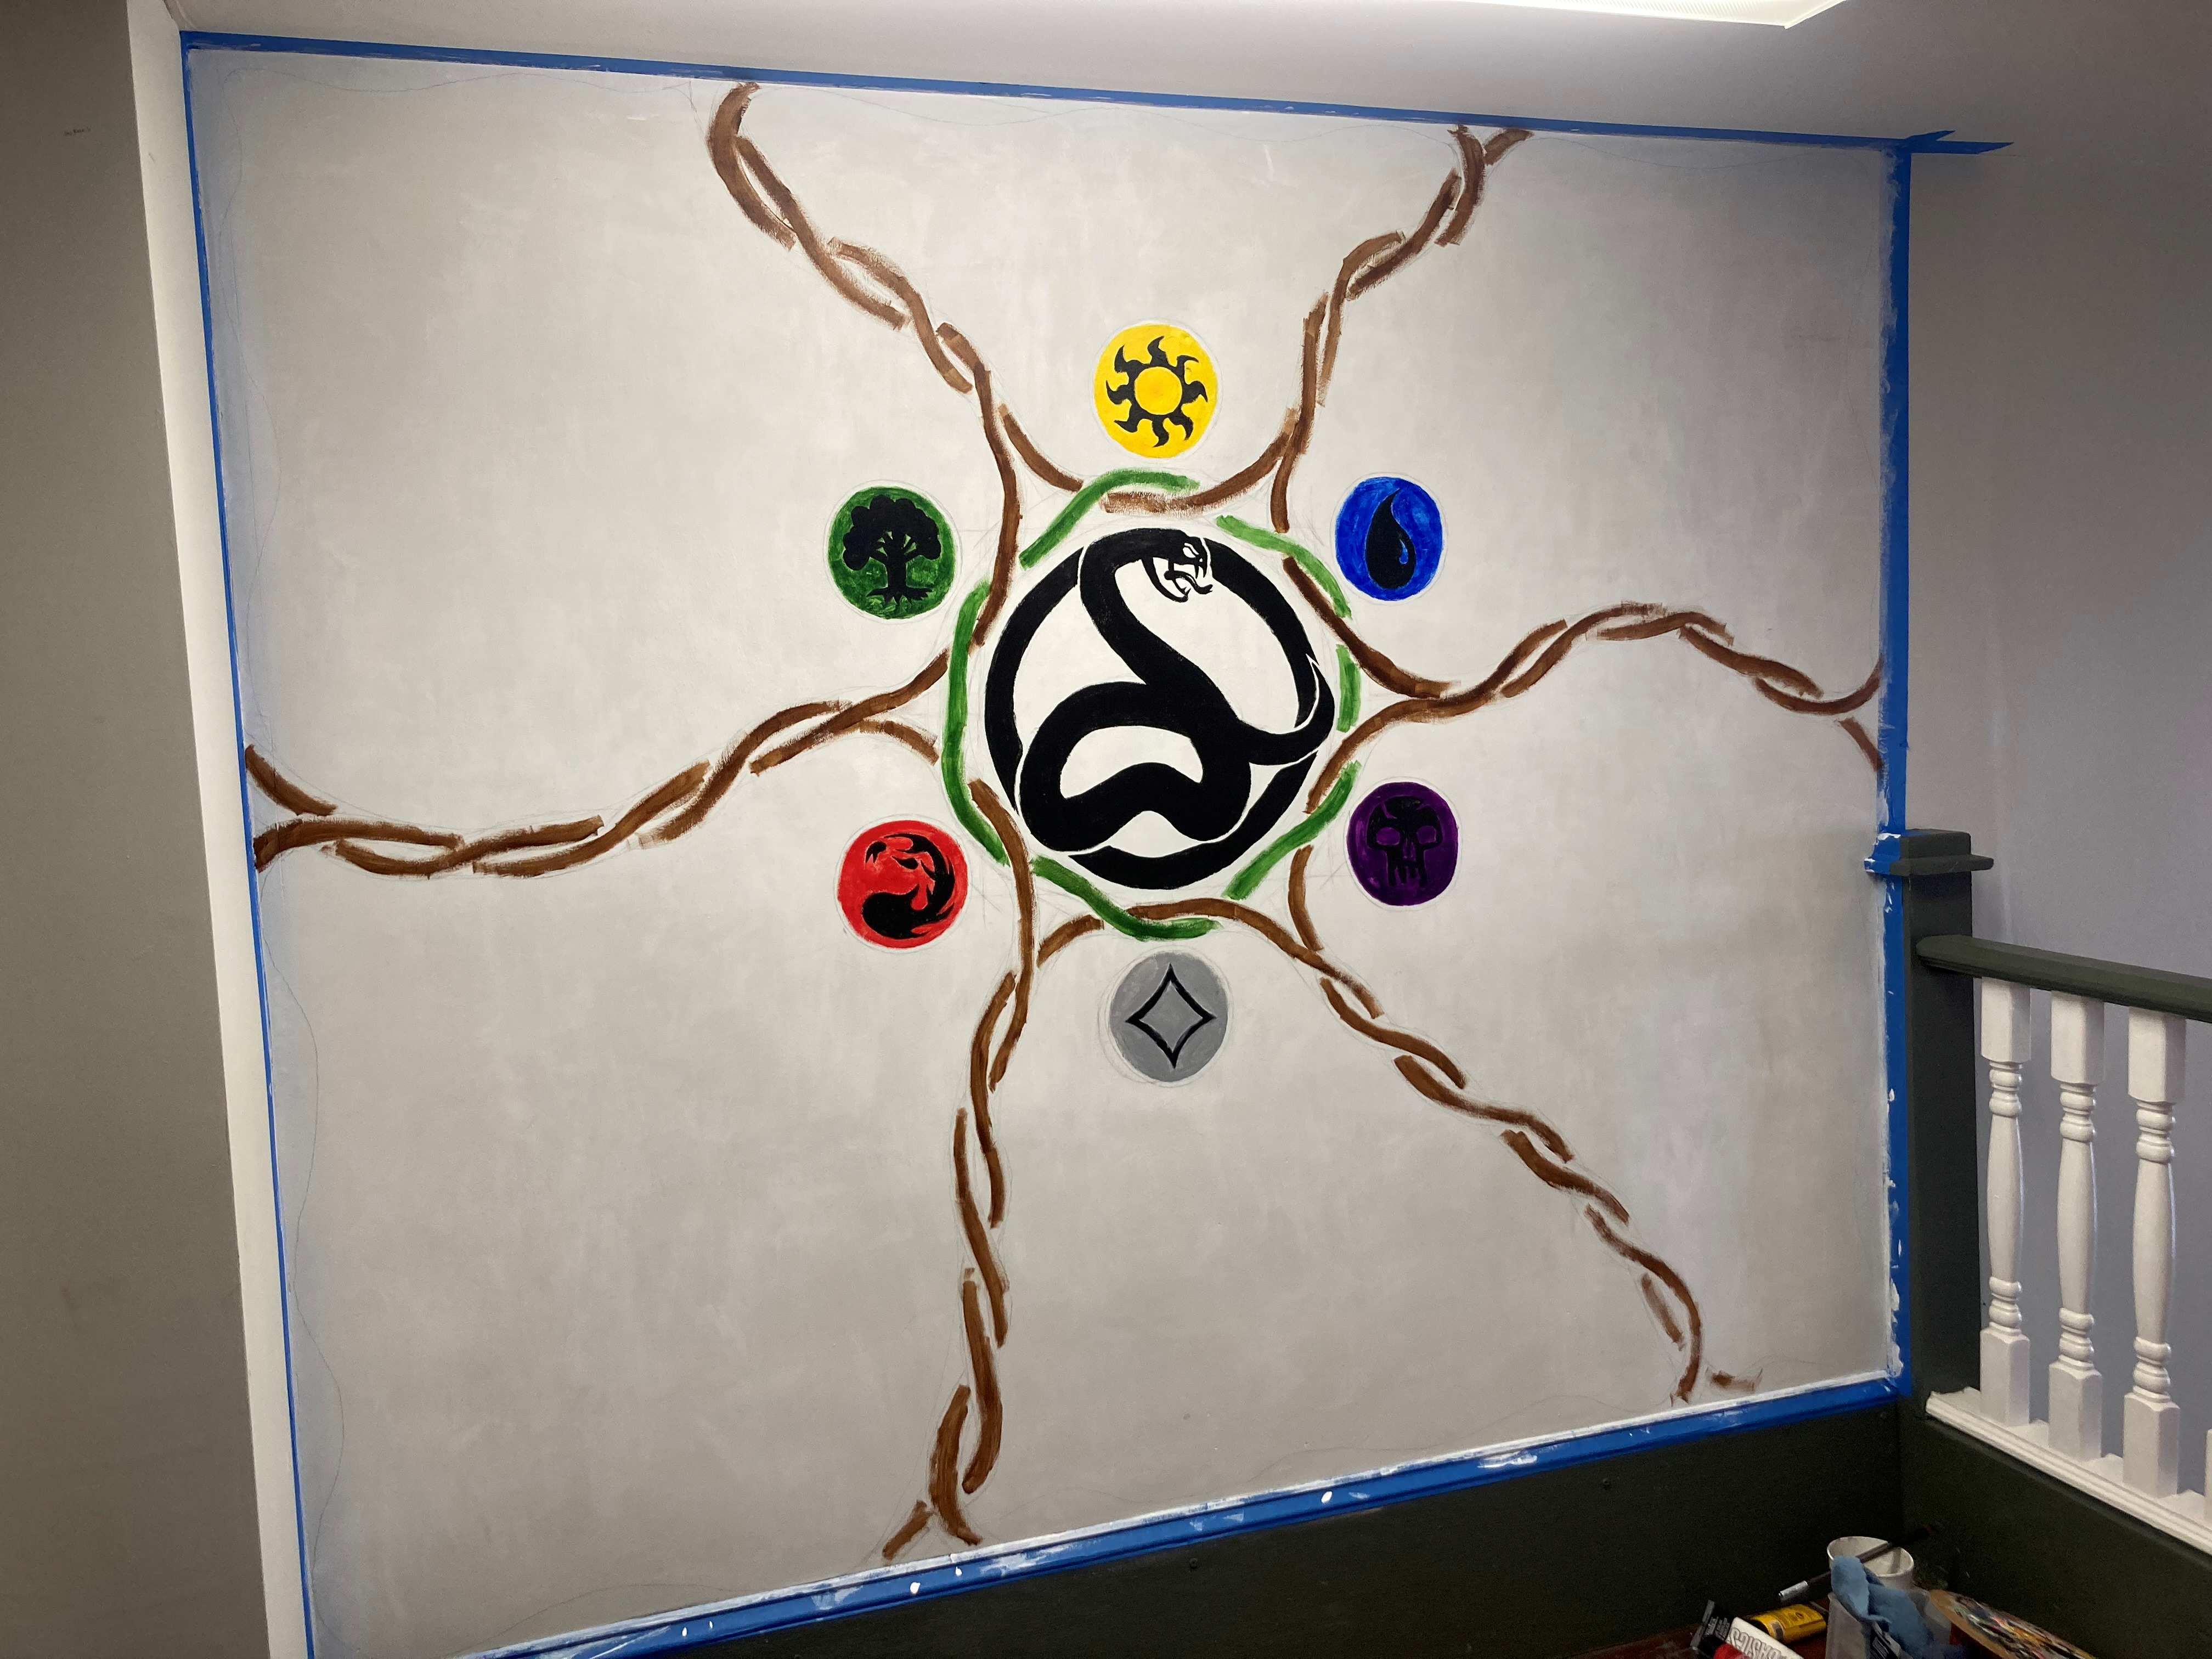
Session 2
We got the logo down, now it was time to get the MTG portion of the mural started. Mark spoke with the owner and vines seemed like a good idea to divide sections of the background.
We talked with him and the manager and solidified that we were going to do the backgrounds of MTG's basic lands with some intricit combinations and detailing.
Session 3
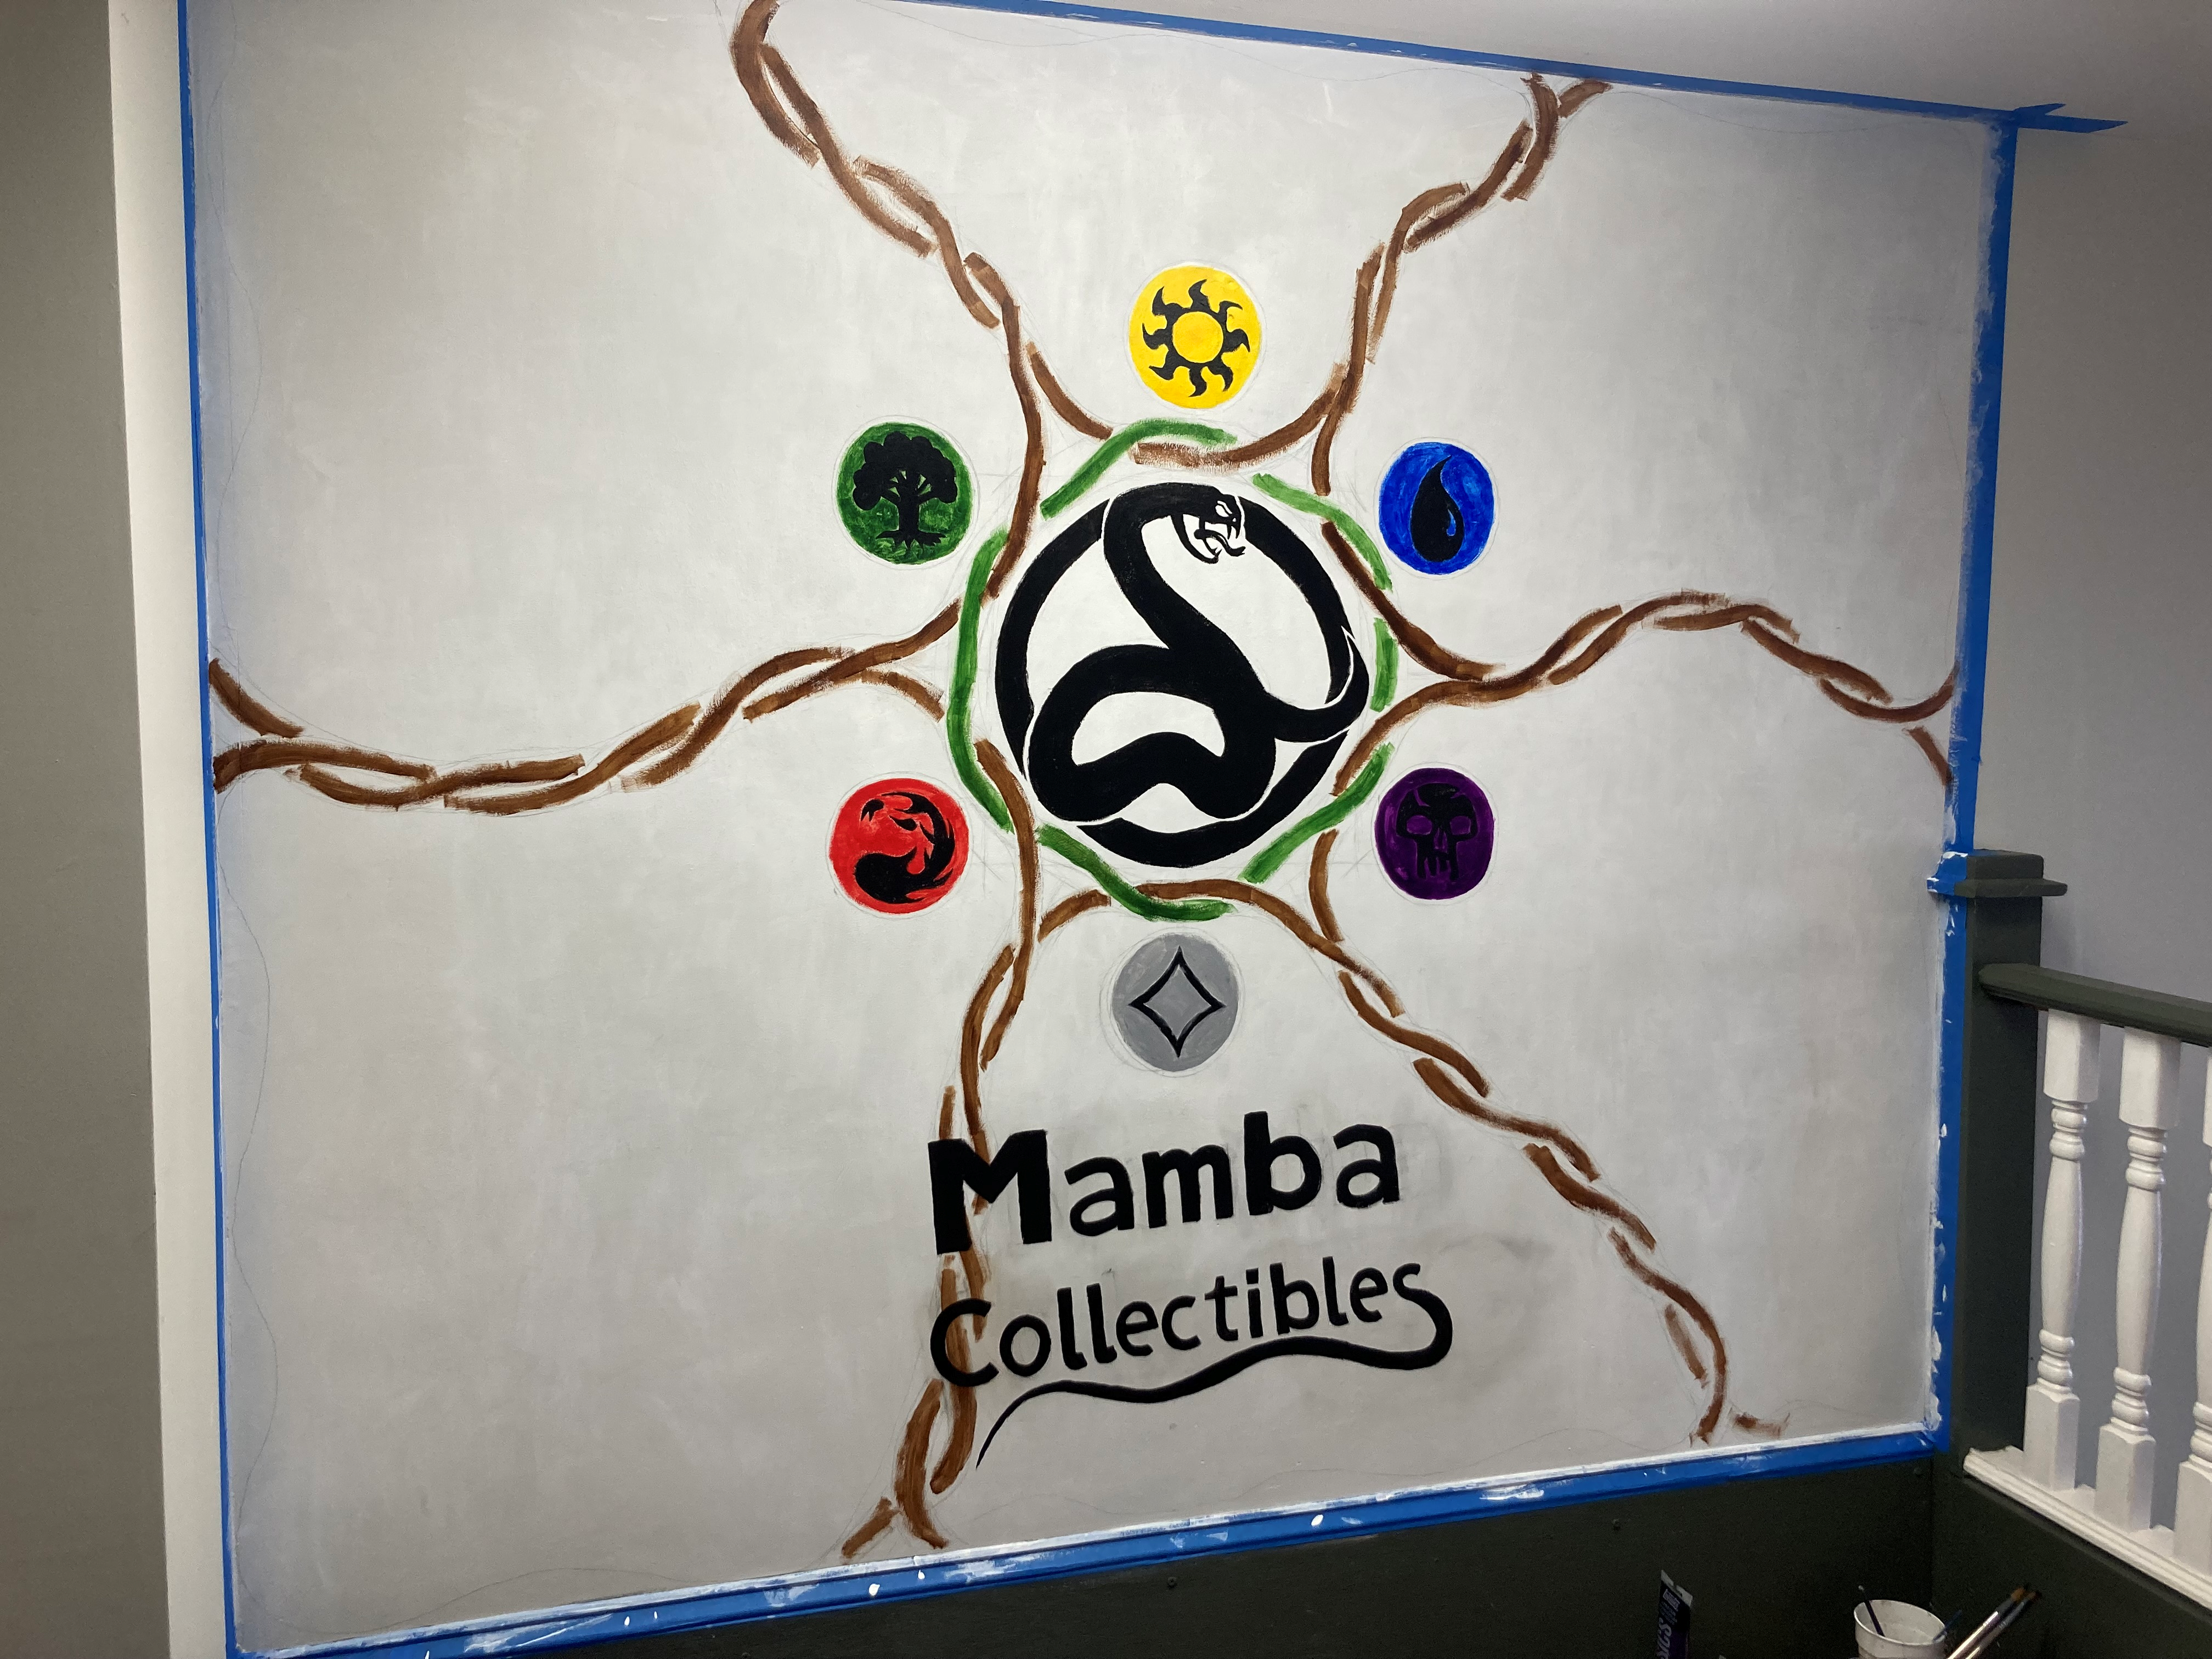
Woohoo! We got the words down!
Mark decided to make the "S" into a snake to give it some extra pizazz. At this point, we'll mention that Mark was working this mural on Saturdays and Sundays, so some of the pictures in-between were left out to only show major milestones. In total, this project took around 10 sessions with a few rest days inbetween.
Session 4
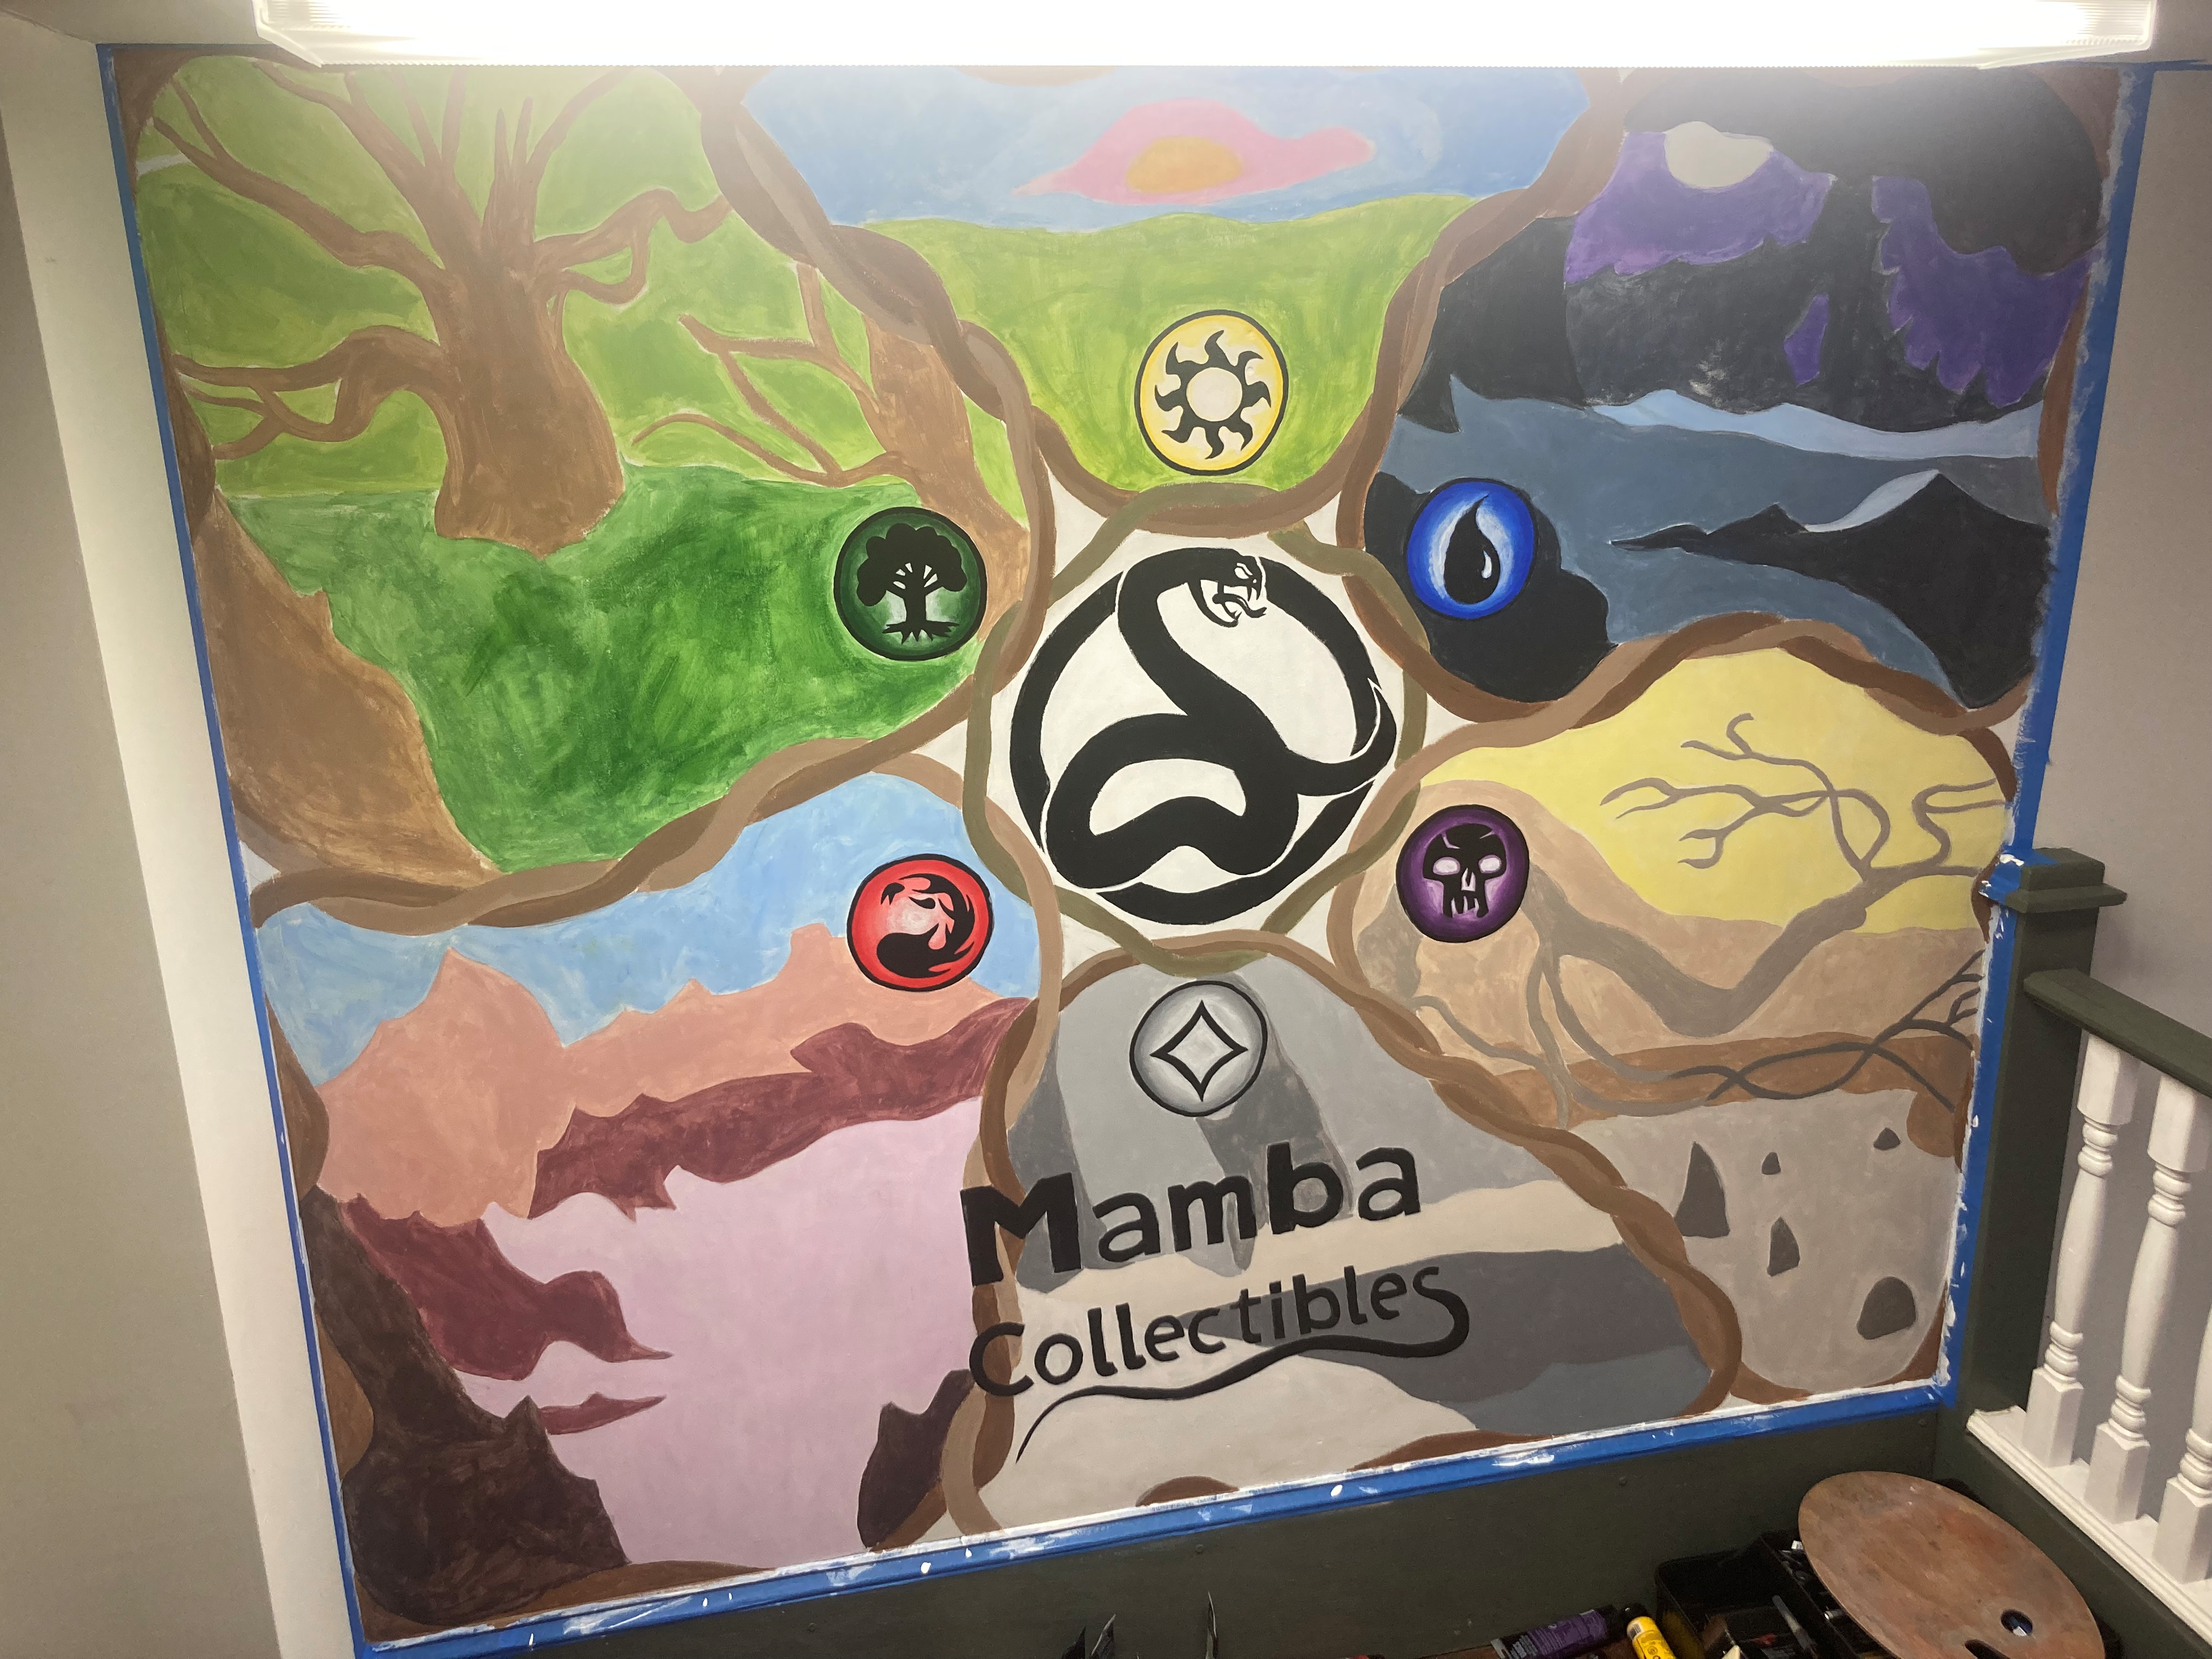
The landscapes were drafted!
When Mark paints murals, he uses layering to get the basic colors and placement before going into the detail. He likes to call this "children painting" because it is very rough and colorful. Sometimes, he lets kids paint a little because there's wiggle room, and anybody can be an artist with some motivation and patience.
Prior to this step, he touched up the vines a little and added shading to the MTG symbols.
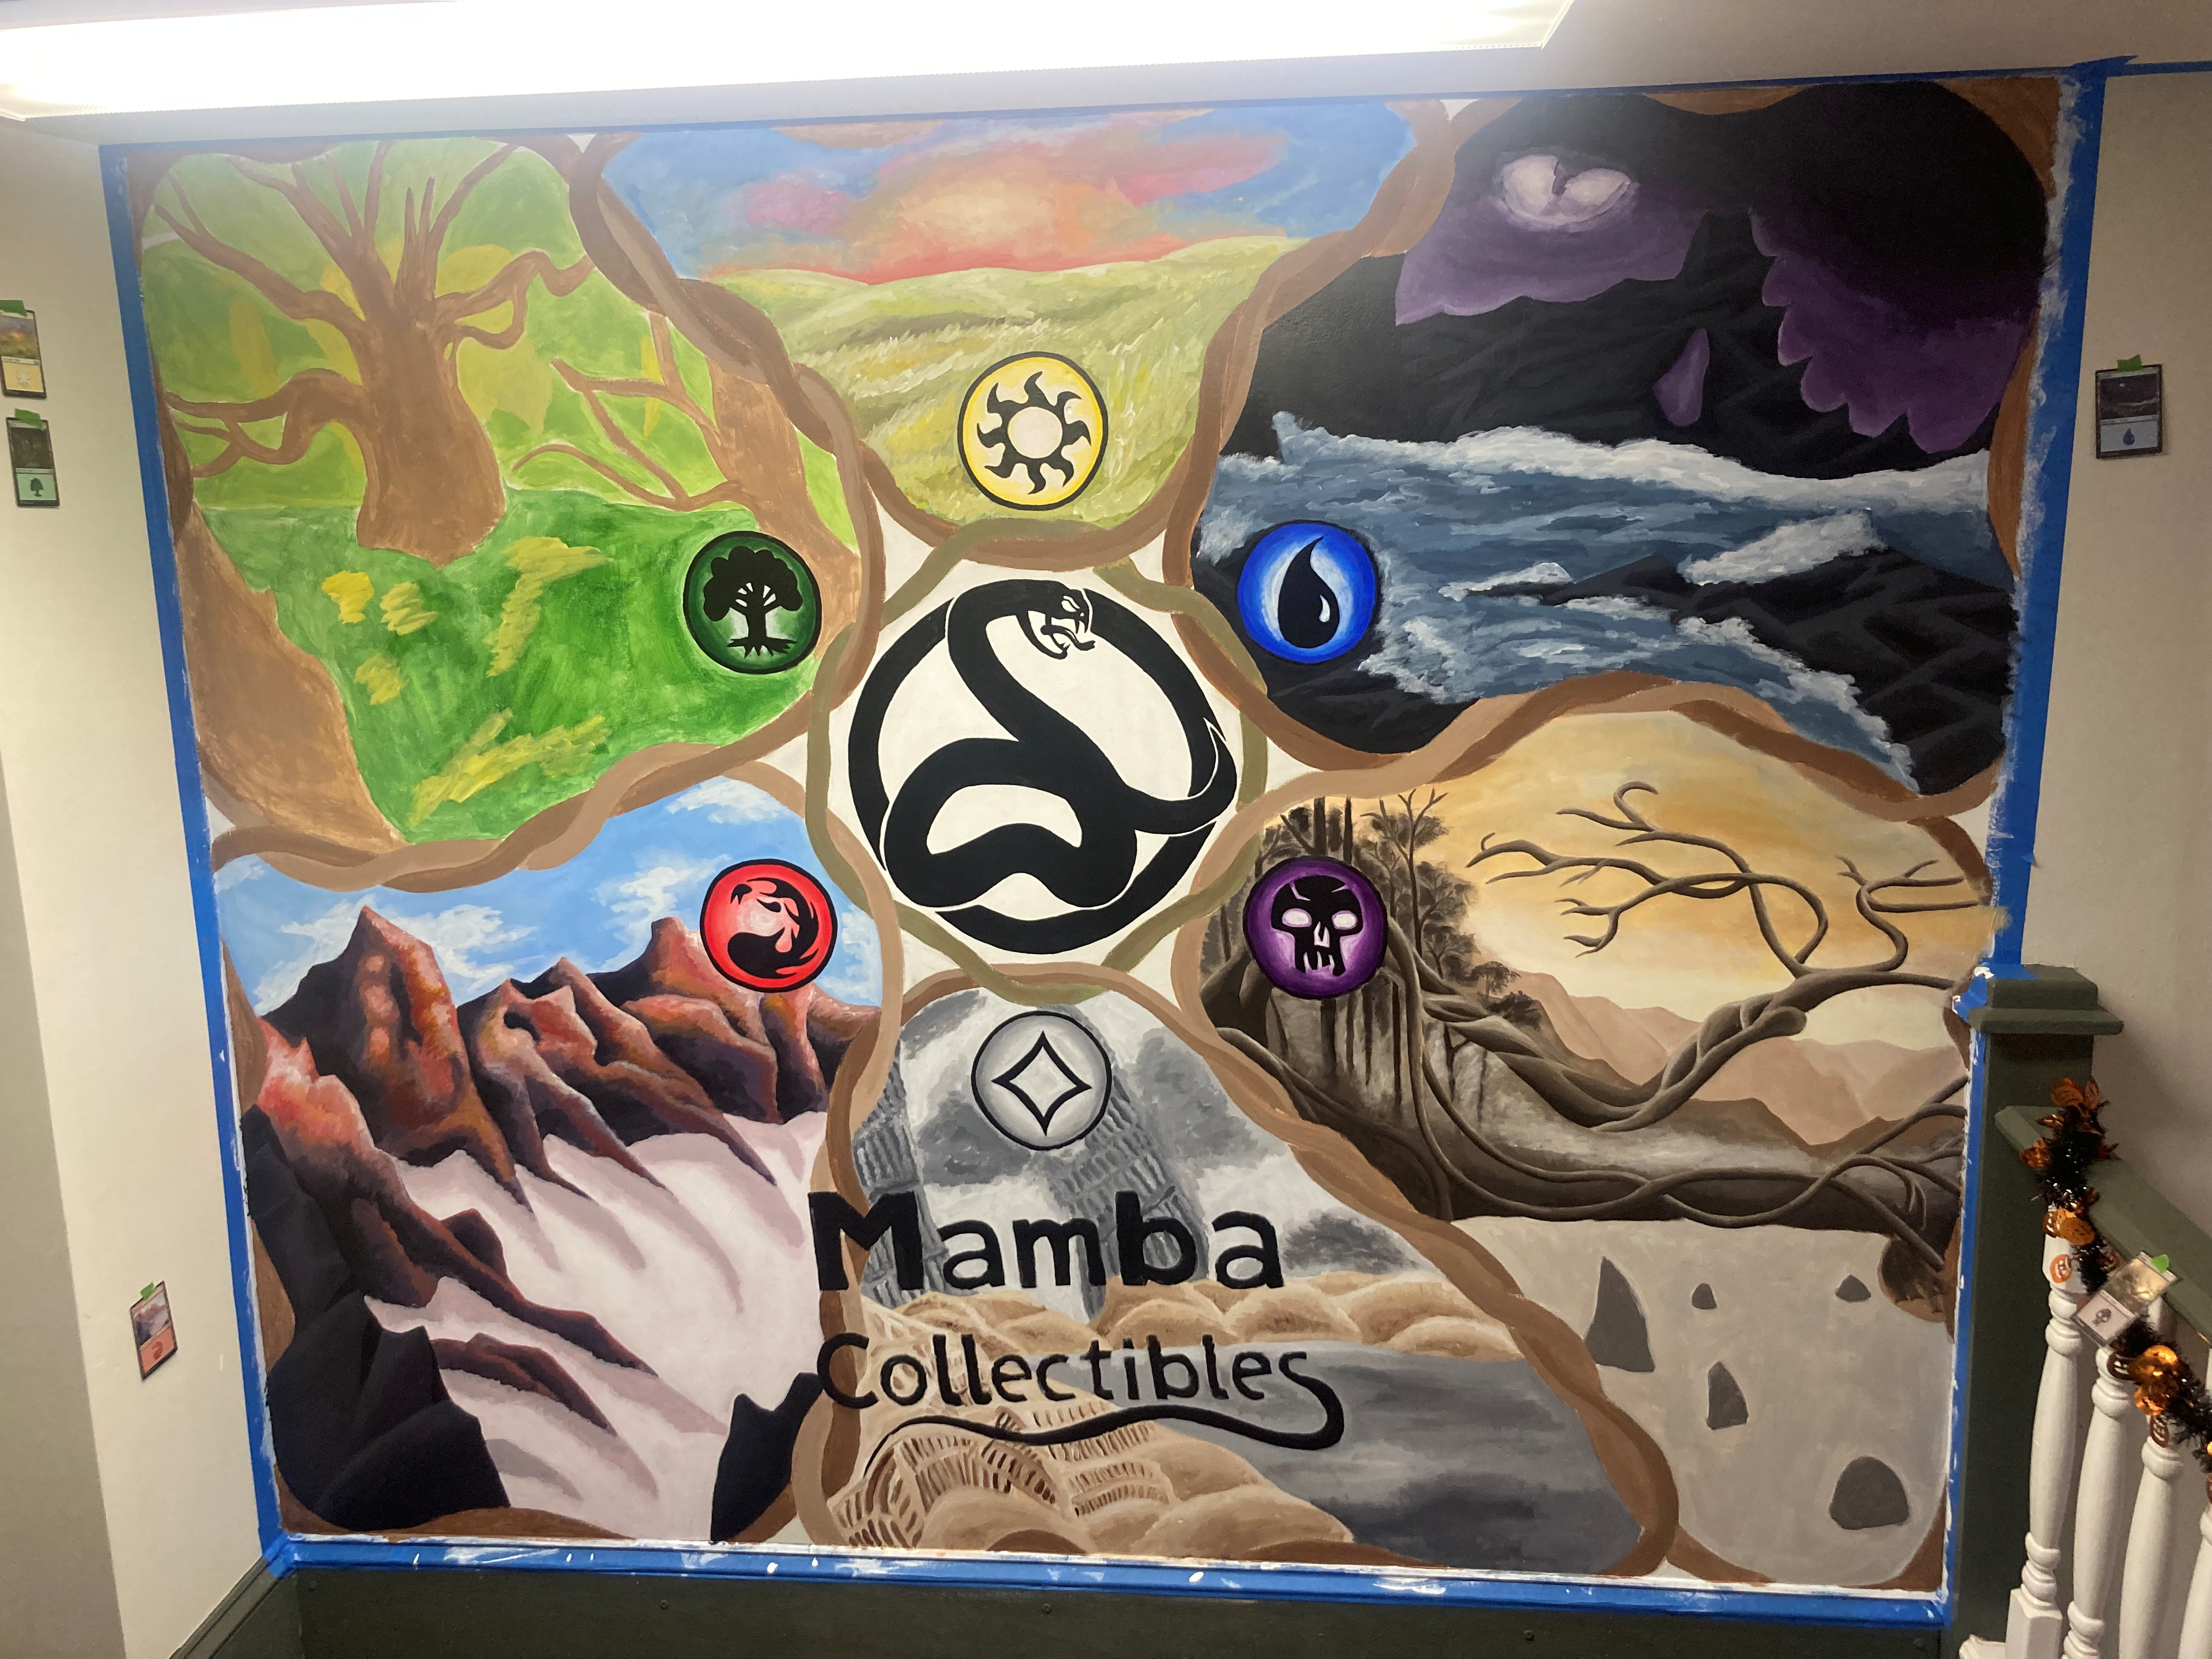
Session 5
Let there be mountains and plains!
Woohoo! We took it a step further than children's painting. We were going to go for some more intricit detail on the mountains, but happy mistakes were made - and we were very pleased with the result.
Session 6
Let there be islands, wastes, and half a swamp!
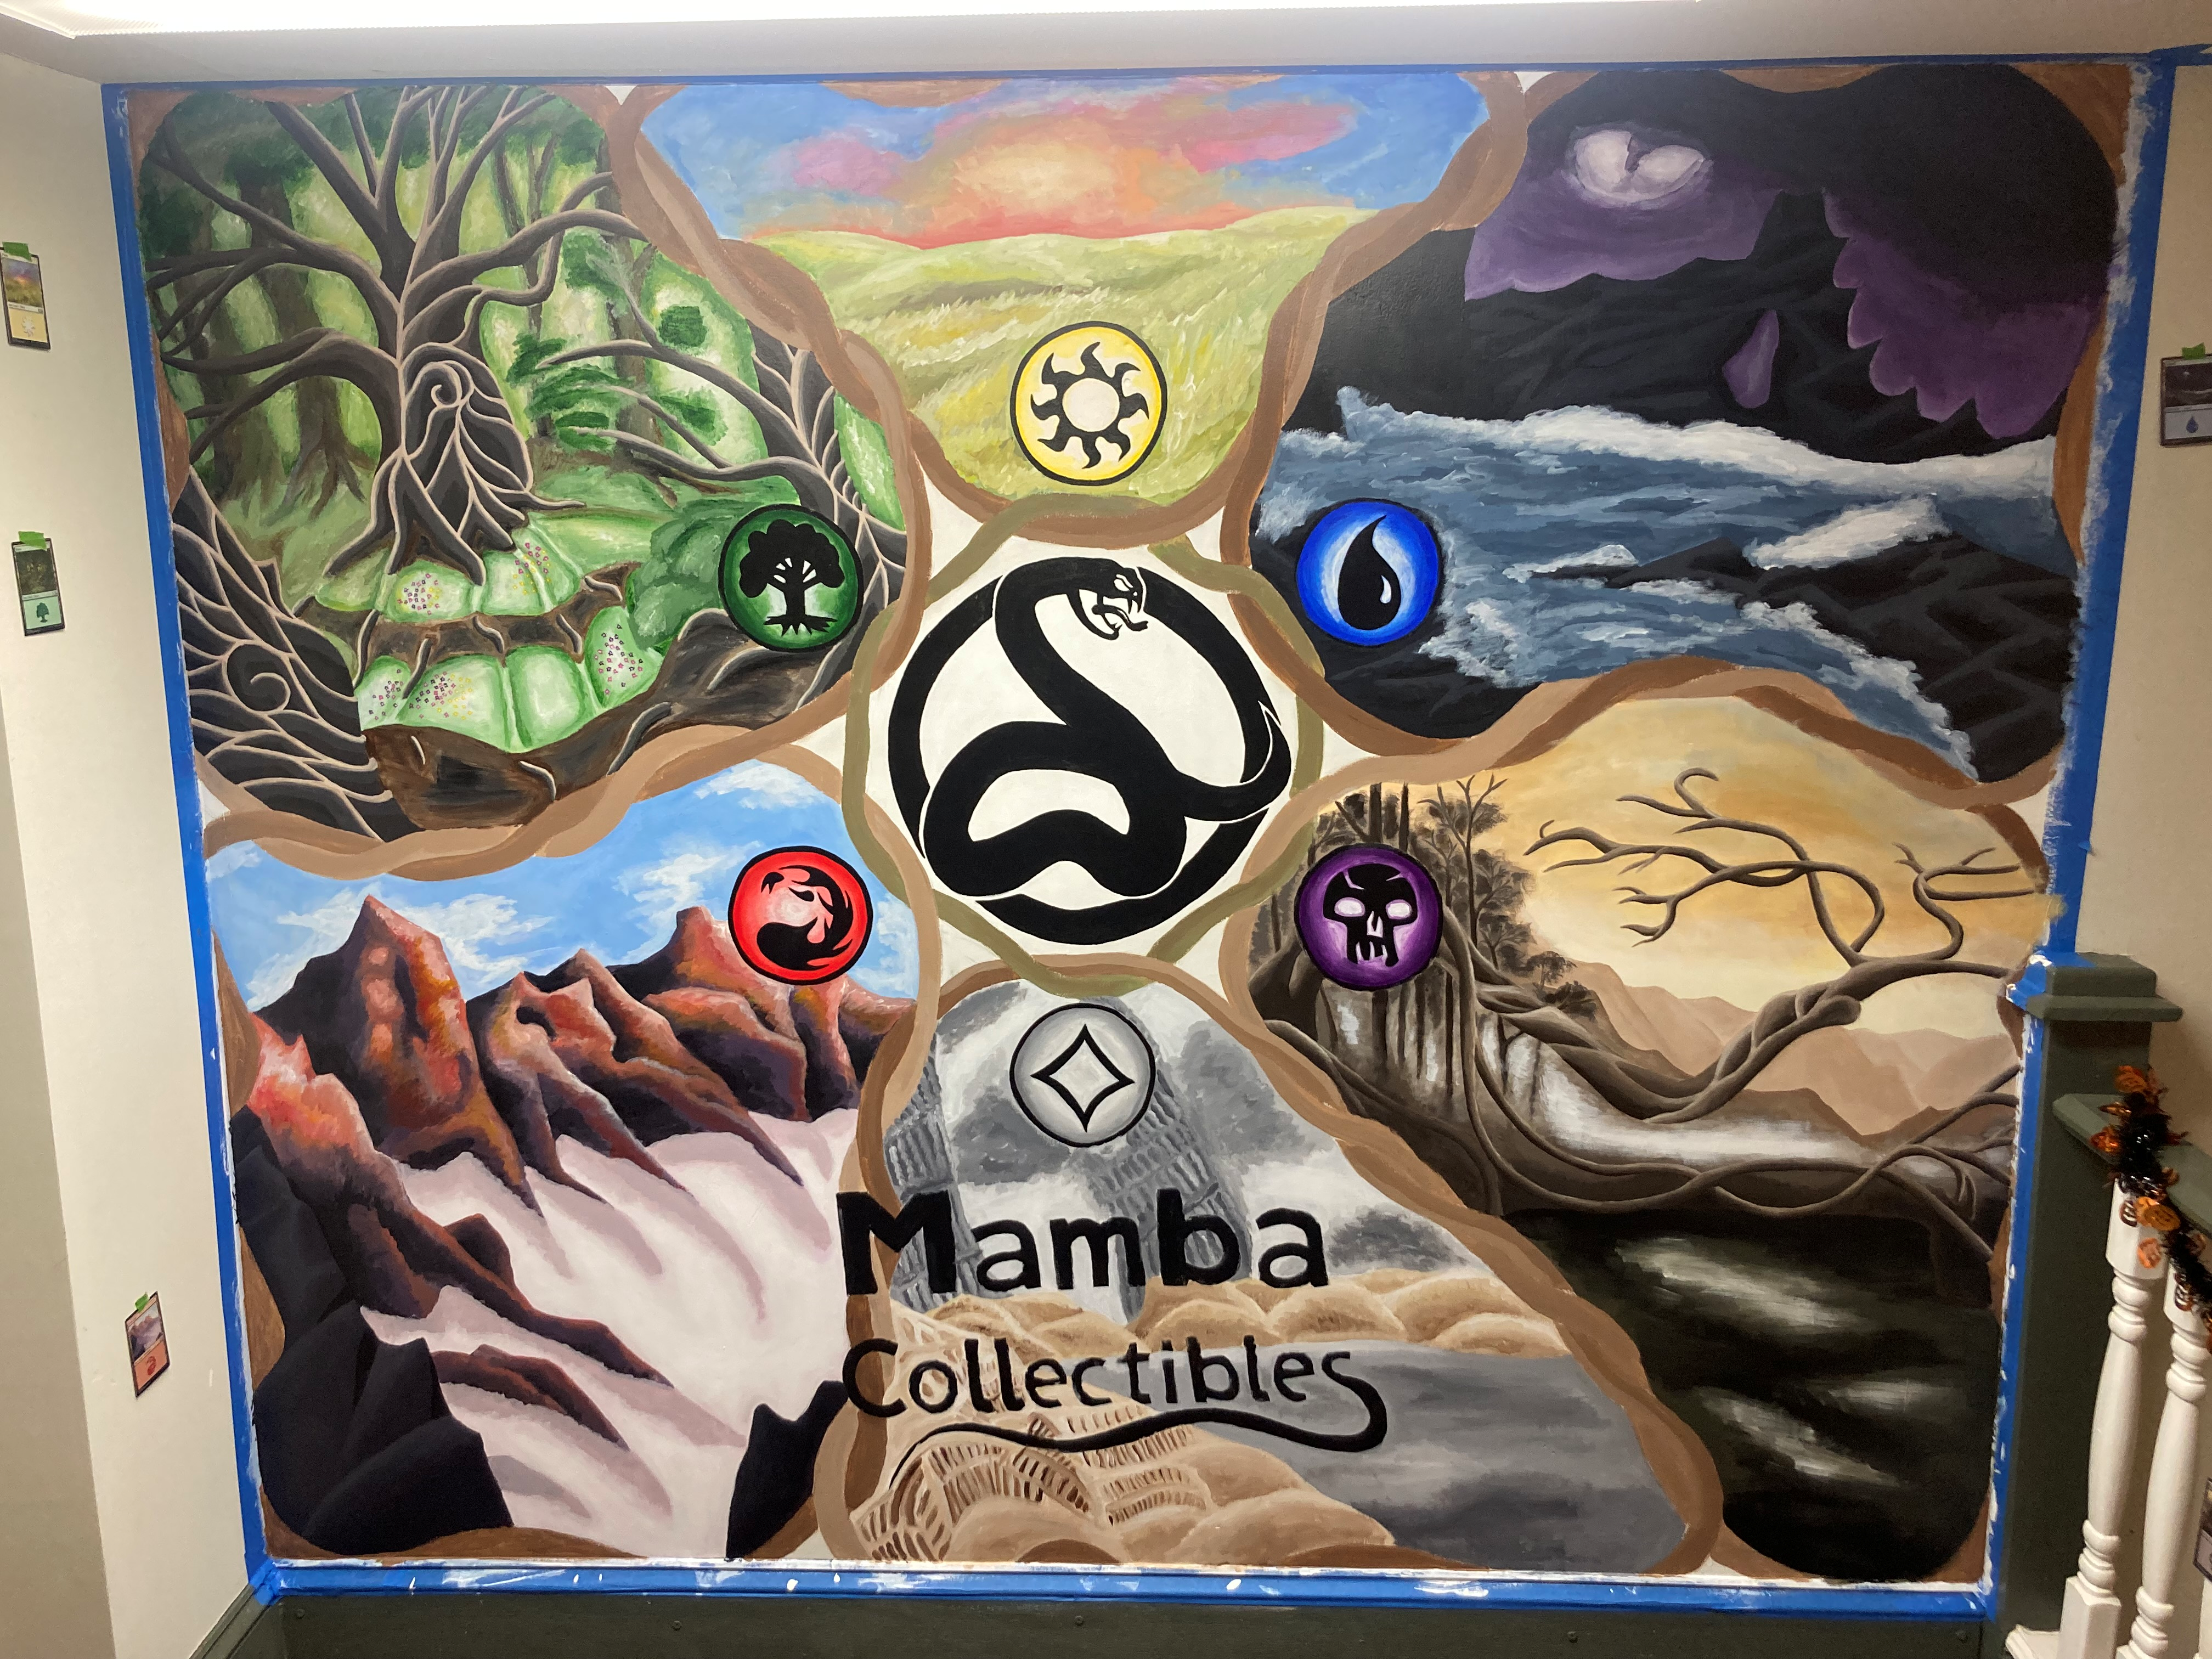
Session 7
Let there be forest and a full swamp!
Session 8
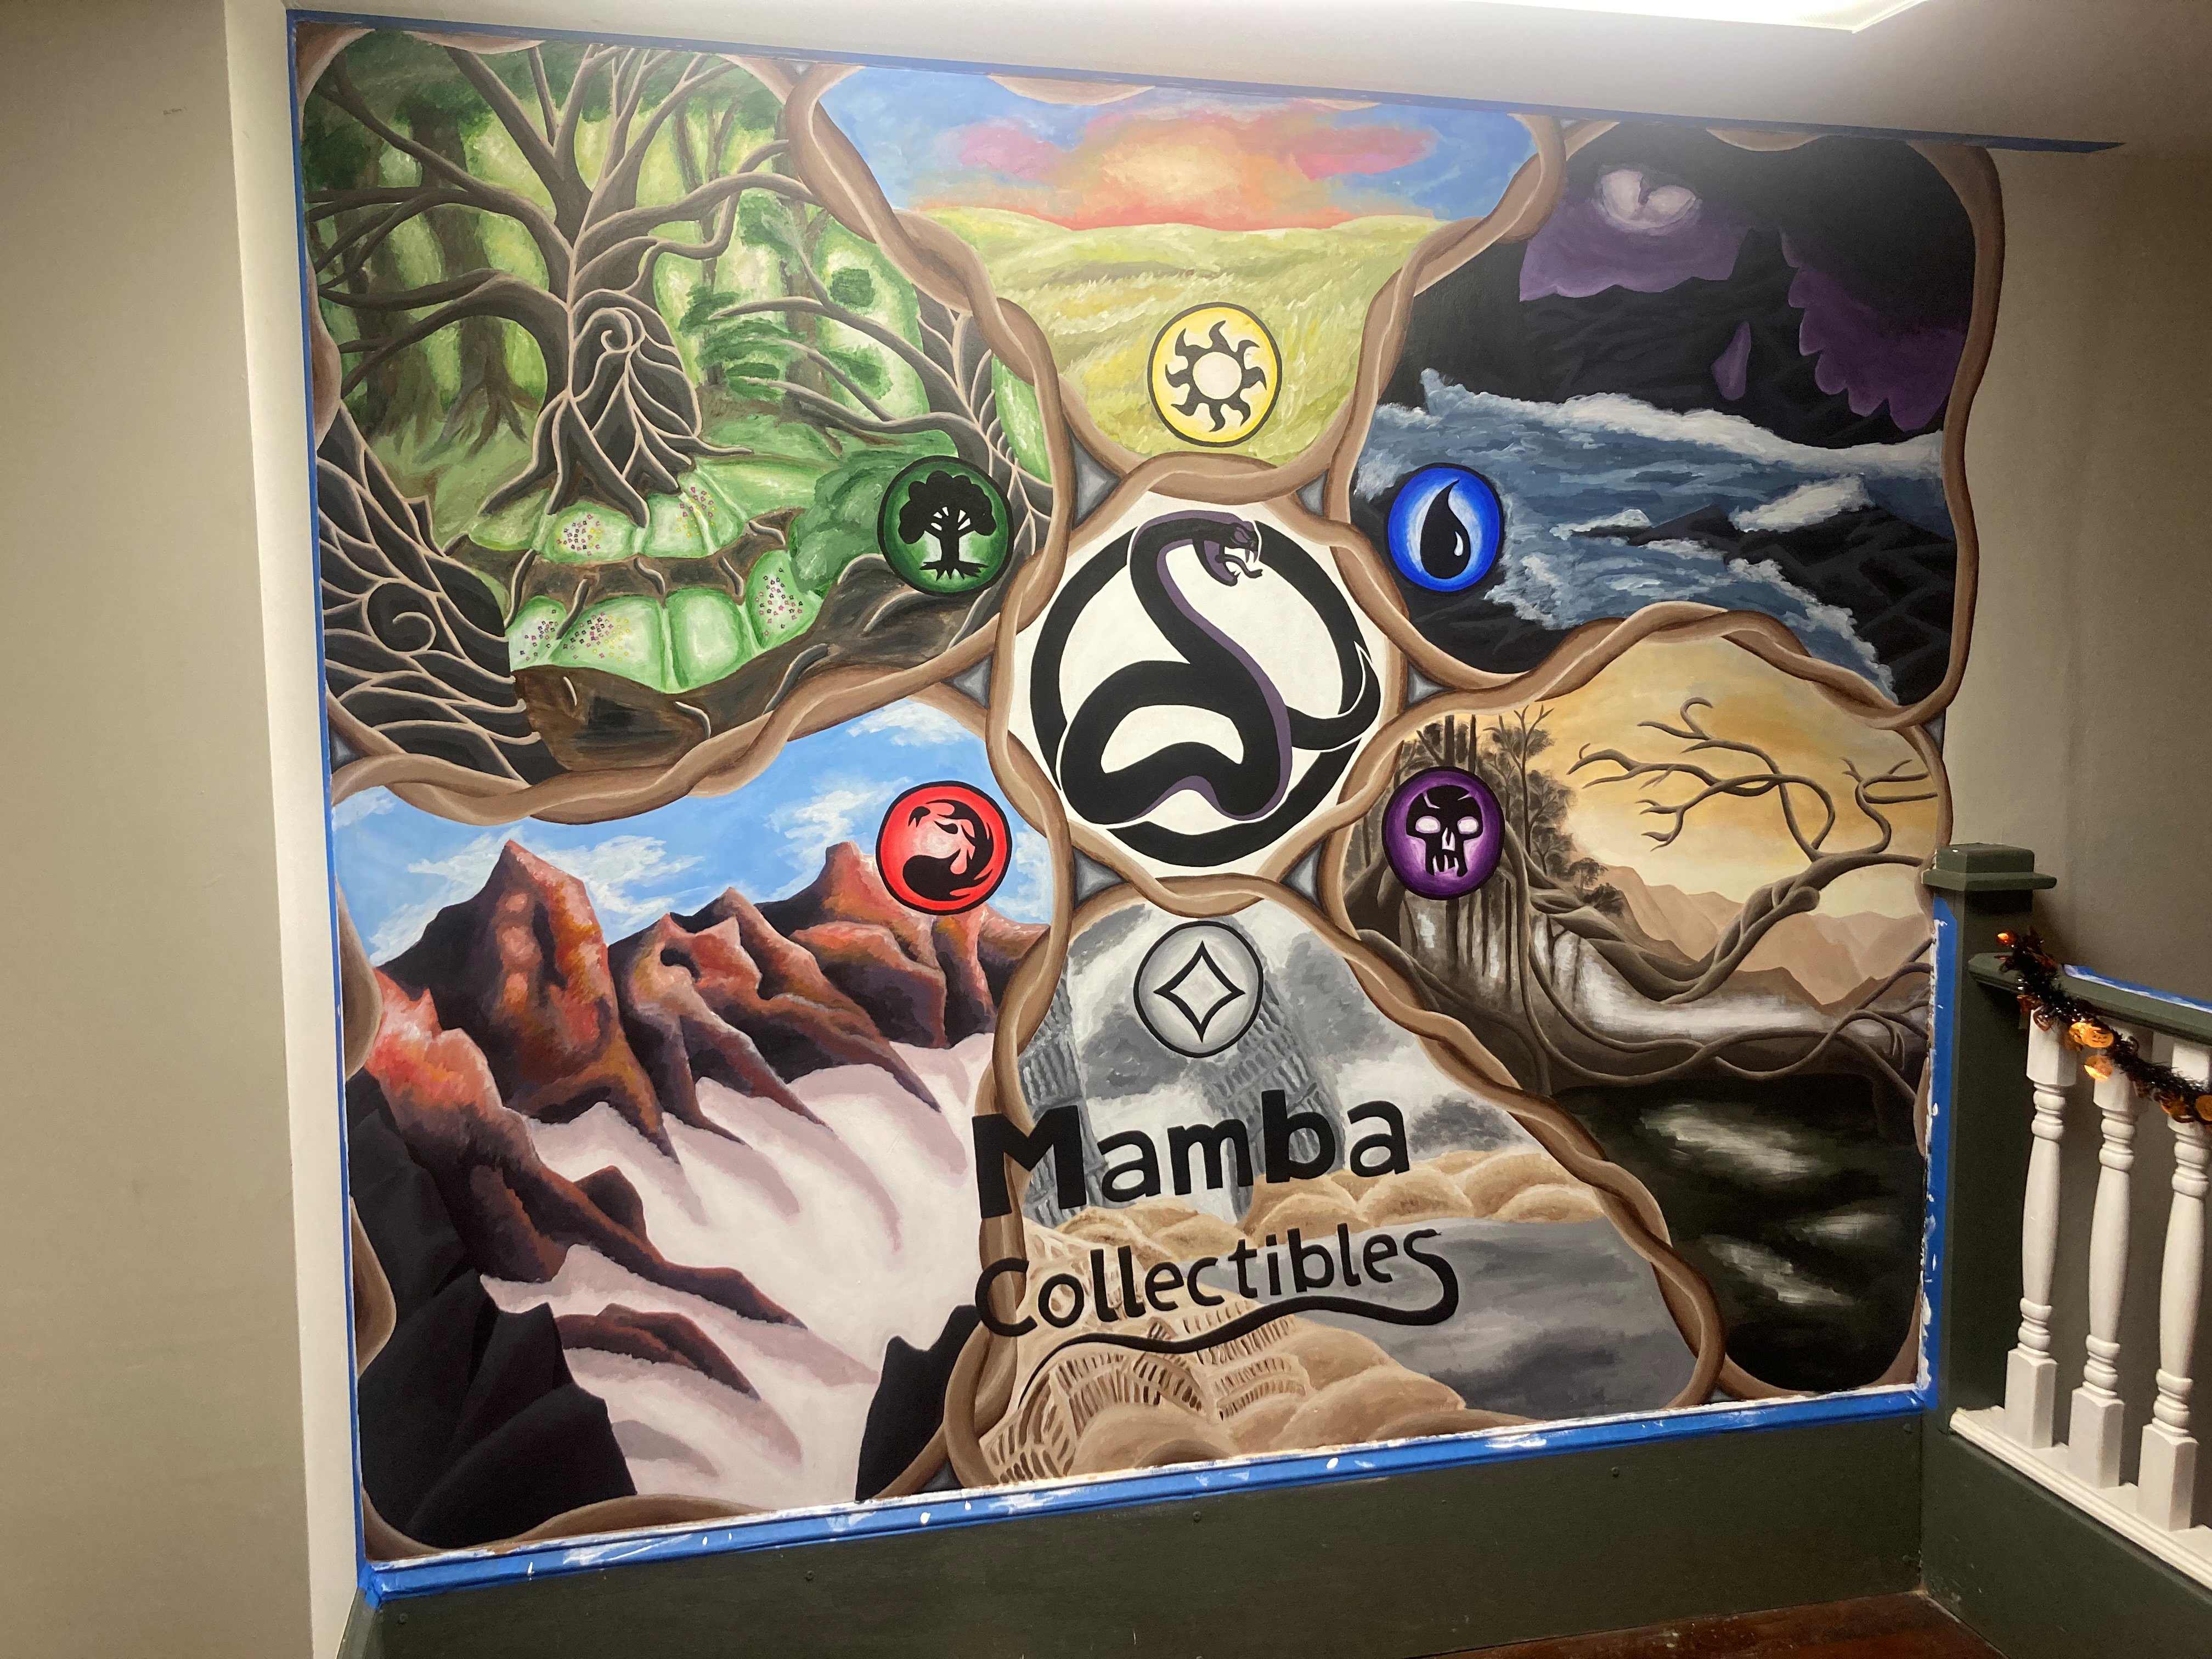
Let there be vines and a nearly-completed mural!
At this point, we were almost done with the mural! Mark worked on the vines and the details of the Mamba logo.
All that was left were some polishing touches and adding some hidden planeswalkers in the mural. Unfortunately, the planeswalkers are too tiny and too well hidden to be seen from the final image. You'll just have to stop by and find em' yourself!
So, this was one of Mark's favorite projects. Mark was hired in Morgantown, WV by a local burrito place called Chico's Fat Burritos. He worked for a few months to give them a one-of-a-kind mural that demonstrated and emphasized their culture! It's hard to tell from the picture, but see if you can find the Looney Tunes characters, the Grateful Dead Bears, and the Panda wearing a Sombrero... Unfortunately, due to a Chipotle opening up across the street - they went out of business :( So, for those who saw it in time, congratz! You may be the only ones to have seen this gem. It closed so quickly that Mark never got to take a picture of the completed mural (all that's missing are the clouds - they were redone).
RIP Chico's Fat. Their Mexican Poutine will always be missed by Mark.
Marker on Panel
This was a commission completed by Mark in Dewey Beach, DE. The design was to show the Forza Group riding the tidal wave hitting the competition in Dewey. He worked on this for around a month, while handling other things, and gave the completed version to the owner.
Oil on Canvas
After Mark's grandpa passed away before the COVID-19 Pandemic, Mark worked in secrecy for a few months to complete a portrait of him. He worked from a black and white reference photo secretly taken while visiting to try and capture his grandpa's personality. If you look closely, you can see him thinking "Loreto! It's cold! Hurry up and take the photo!" The portrait was given to his grandma on Christmas and she proudly has it hung up on her wall to this day - apparently, her friends love to talk about it.
We love you Meme!
Acrylic on Wall Mural
So, Mark was pretty bummed about Chico's Fat closing. His mural that he put hard hours in would never see the light of day outside of the owner's, we're assuming, house (if it still is in existence). So naturally he began working on a personal mural to help fill the void. Fortunately (and Un), he lived in the Morgantown equivalent of a Bodego, so he put this beauty up in his house - and still kept his security deposit when he left (thanks black mold and collapsed ceiling from water damage!).
Marker on Panel
This was a quick commission for his friend to make a GMU signage for what Mark assumes was a Frat house at the time.
Created using Pixelmator with mouse and keyboard
This was during Mark's High School days where he designed an iron-on patch for his friend's tie-dye business. The image is reversed so that it can be ironed onto shirts.
Created using Pixelmator with mouse and keyboard
This was a quick logo for a Minecraft server! None of that new console stuff - an old school Technic Pack running modded Minecraft on Java - Mark and Erin are getting old!
Created using Pixelmator with mouse and keyboard
Another quick logo for a Minecraft server! Also none of that new console stuff - an old school Bukkit server running a modified version of Minecraft on Java.